I finally decided that all the projects needed a good boost, for the simple reason that many of them are waiting for a resto since too long.
This Sand Scorcher for instance has been waiting in the box for about 2 years now since i picked it up...and there are many others left to do. 
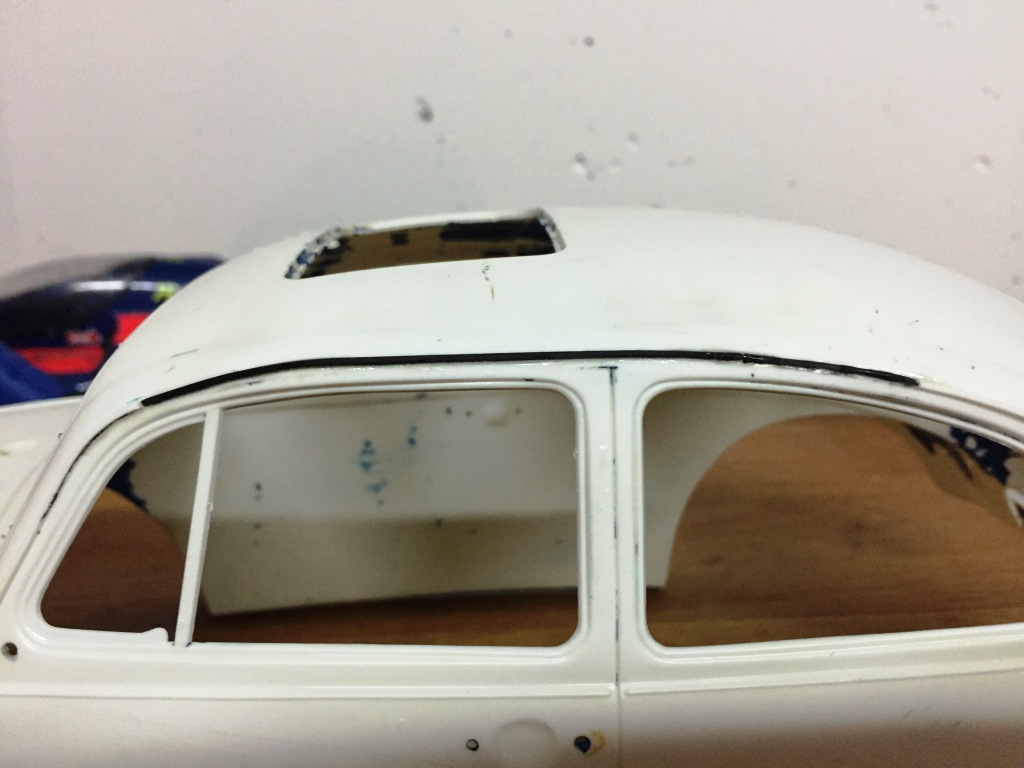
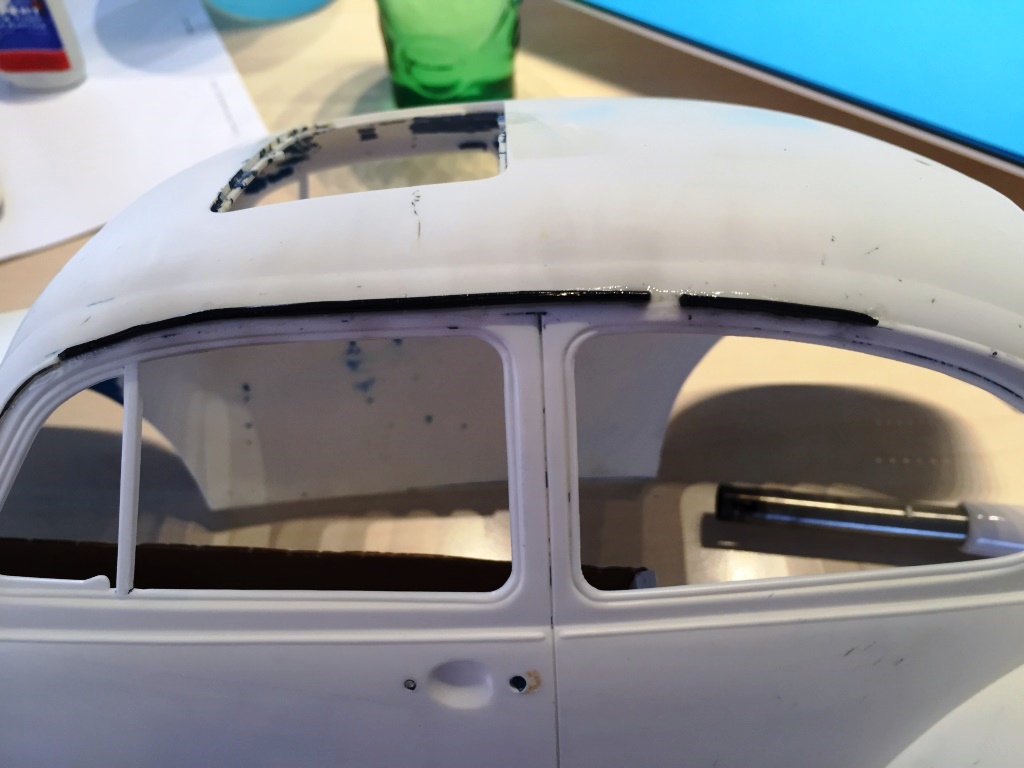
During the winter season it's not the best period to start a paint job so i started many body preparation at the same time to get them ready for painting as soon as the weather condictions allow a painting job. I already started the Mountaineer, my Blazing Blazer and this SS is the third body i've been working since a few weeks now. The main reason to start with those models is because those bodies are the ones that need more work...in comparison the others are a piece of cake. Enough talking, let's see some pictures : 
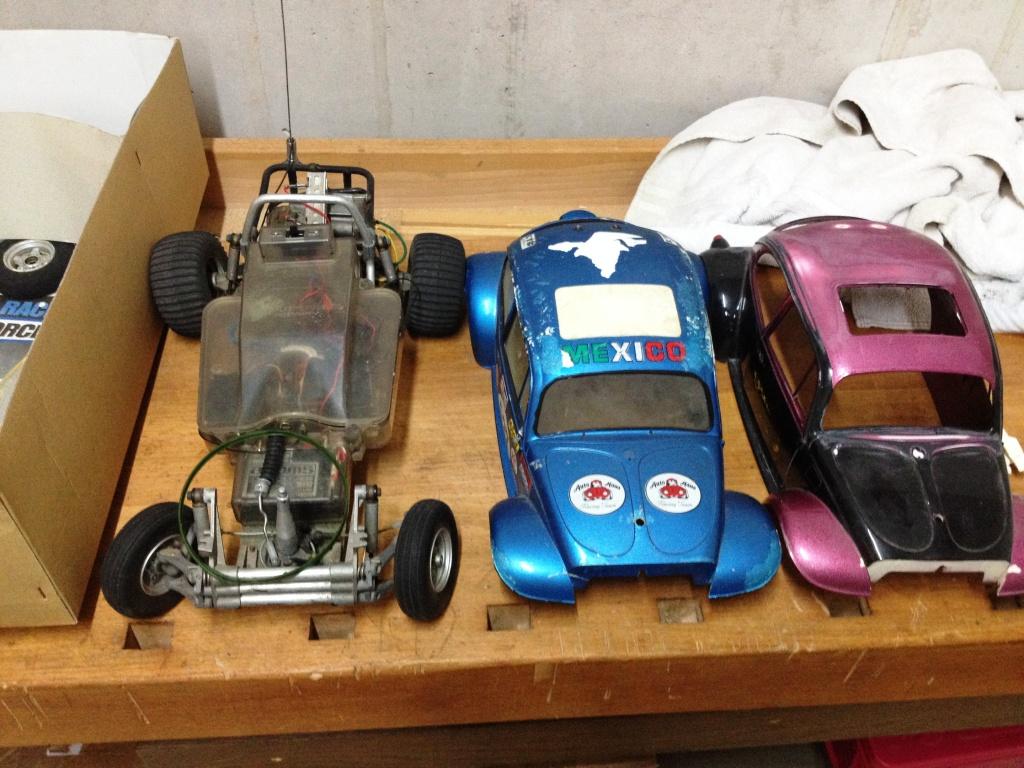
This is how i got it 2 years ago.. 
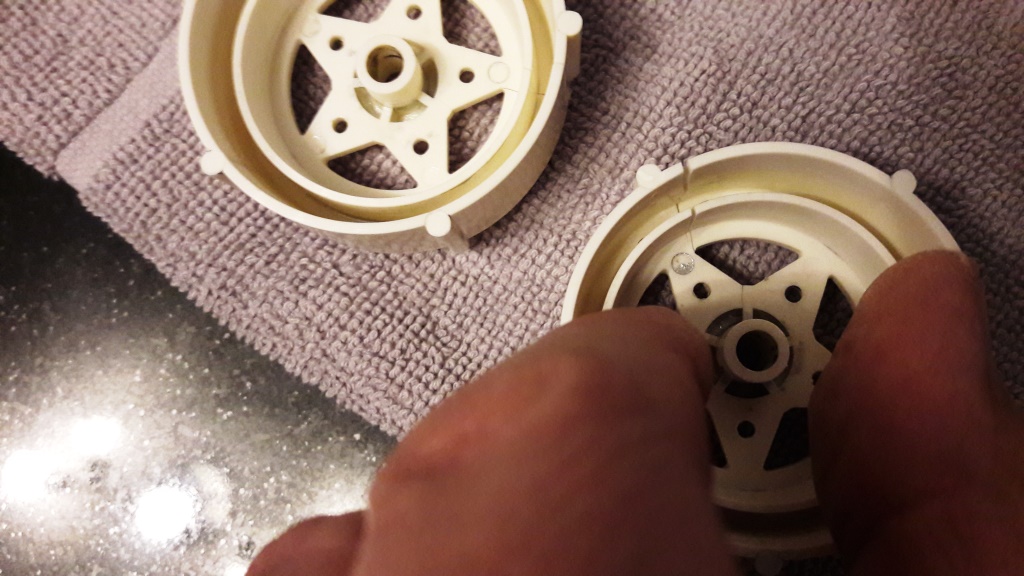
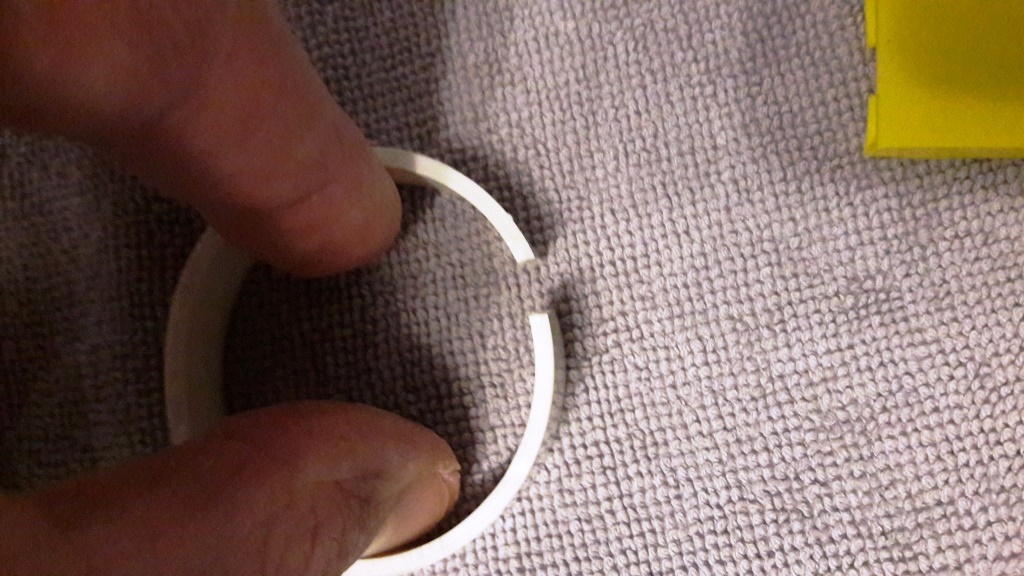
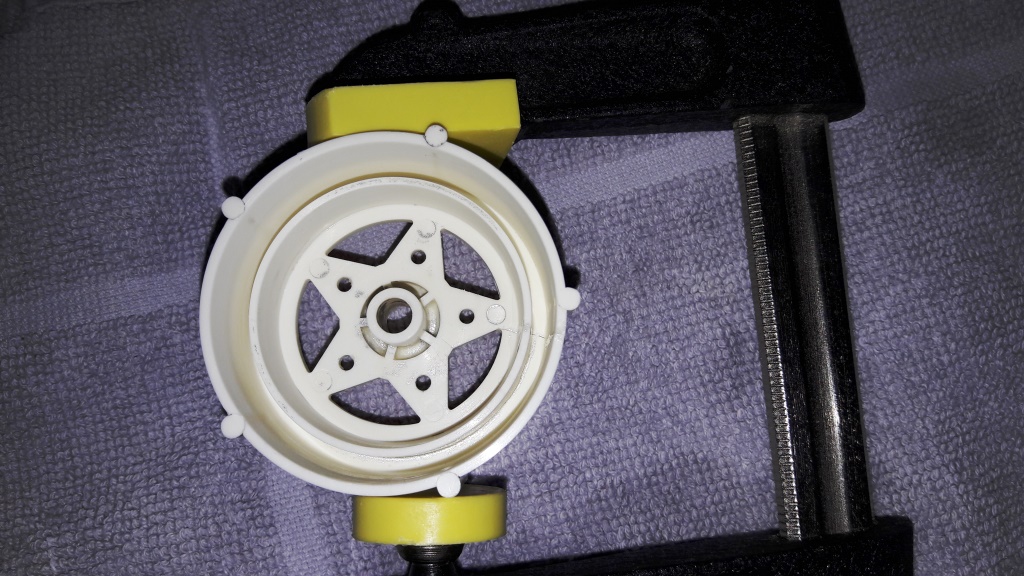
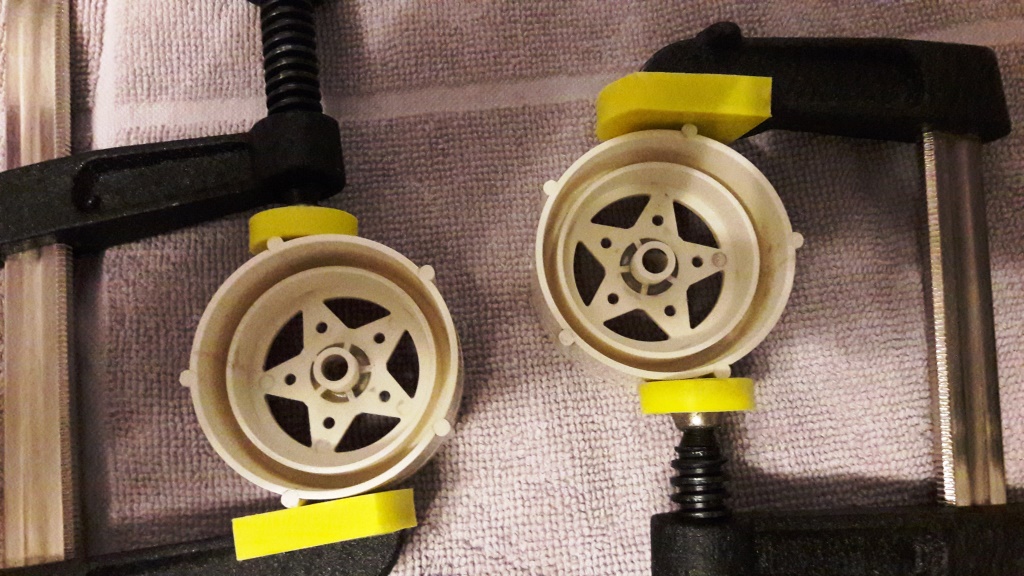
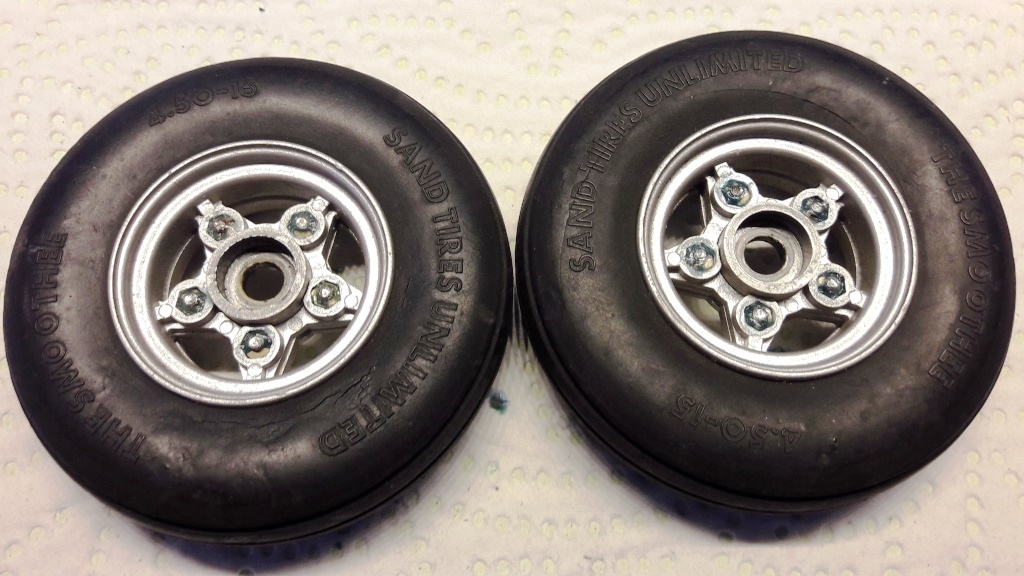
It came with 2 original vintage bodies, 2 sets of wheels (all cracked), broken front bumper and broken radio box. The most surprising thing was when i opened the original manual... I was so happy when the 2 original decal sheets appeared there 
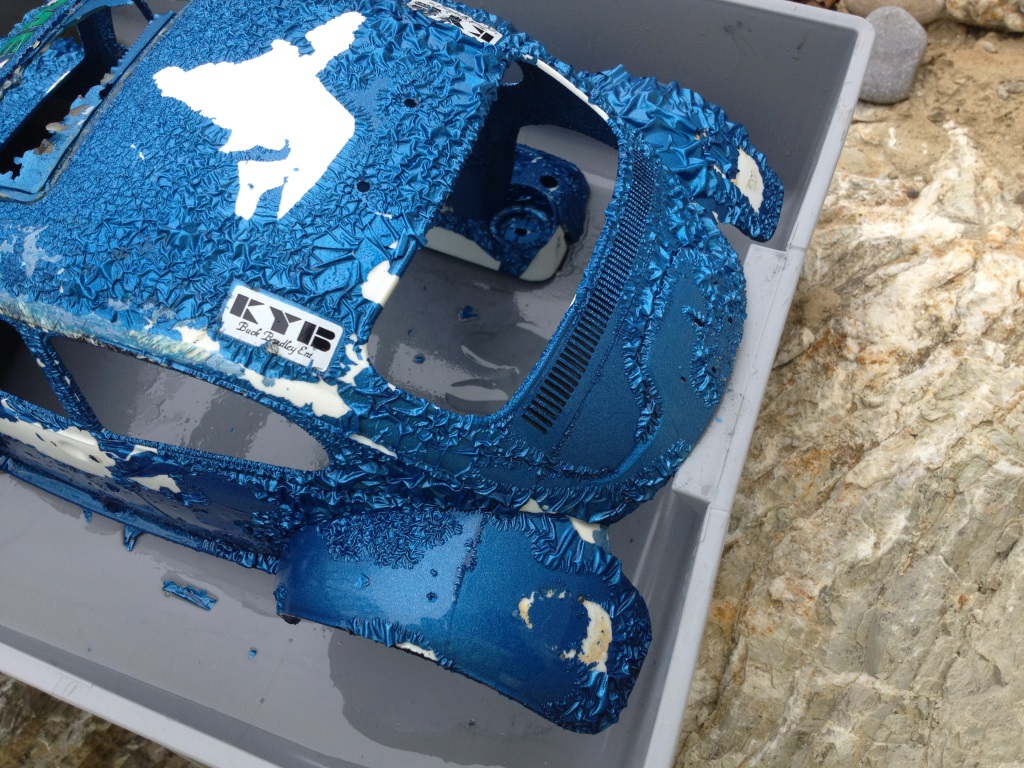
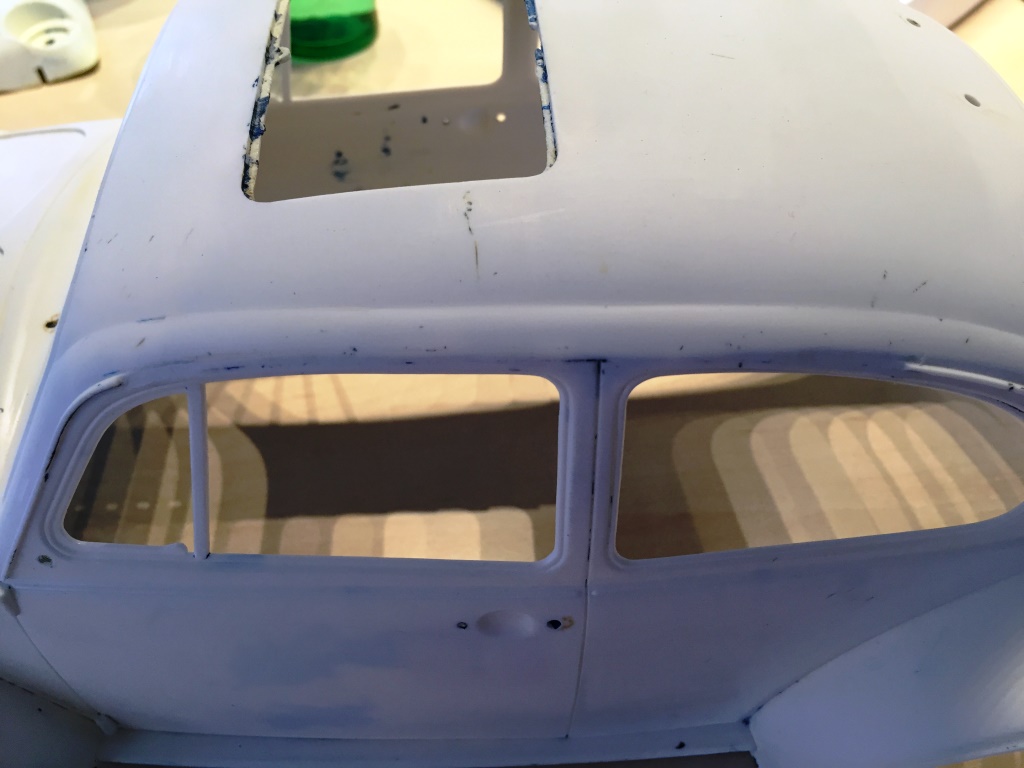
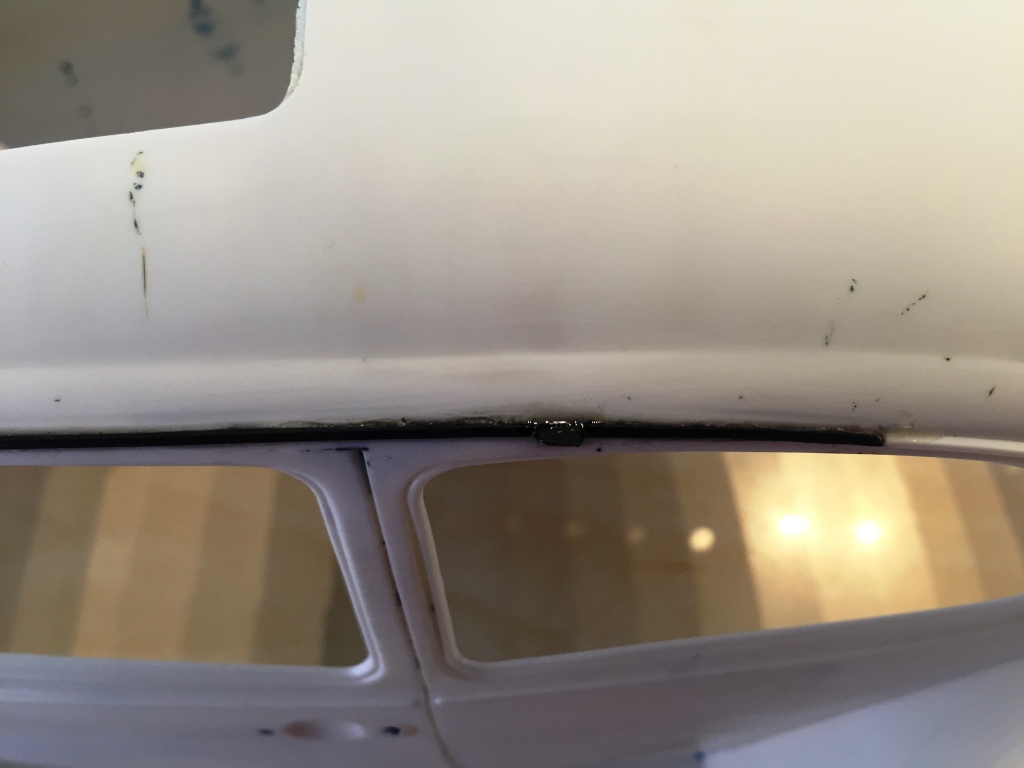
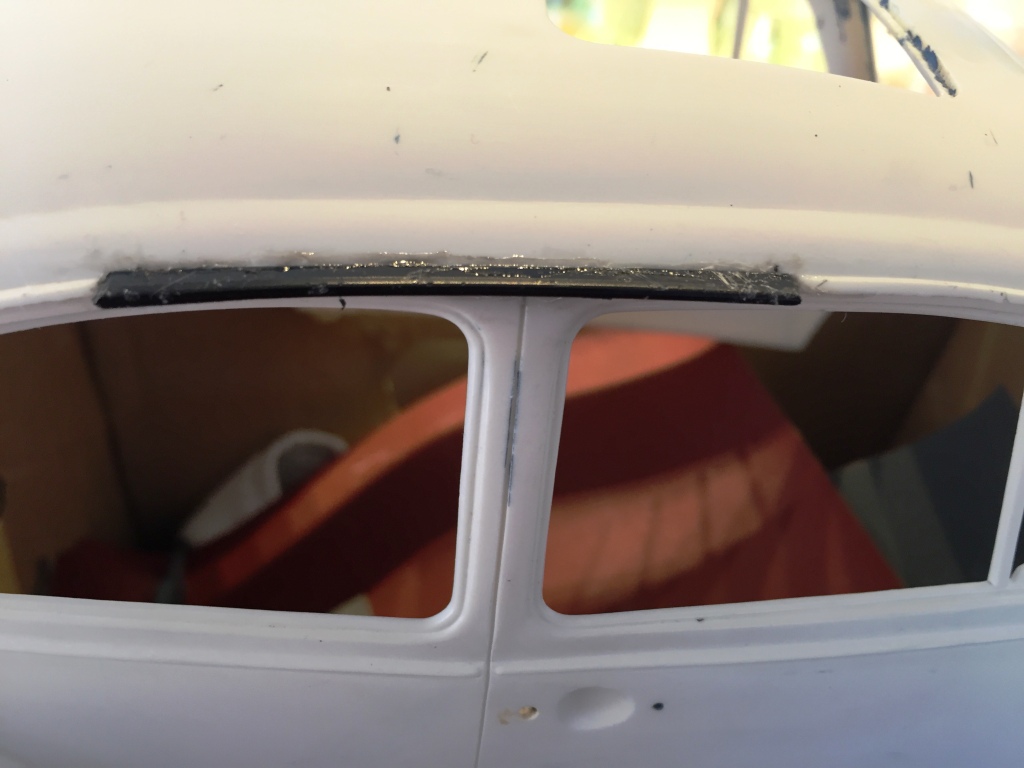
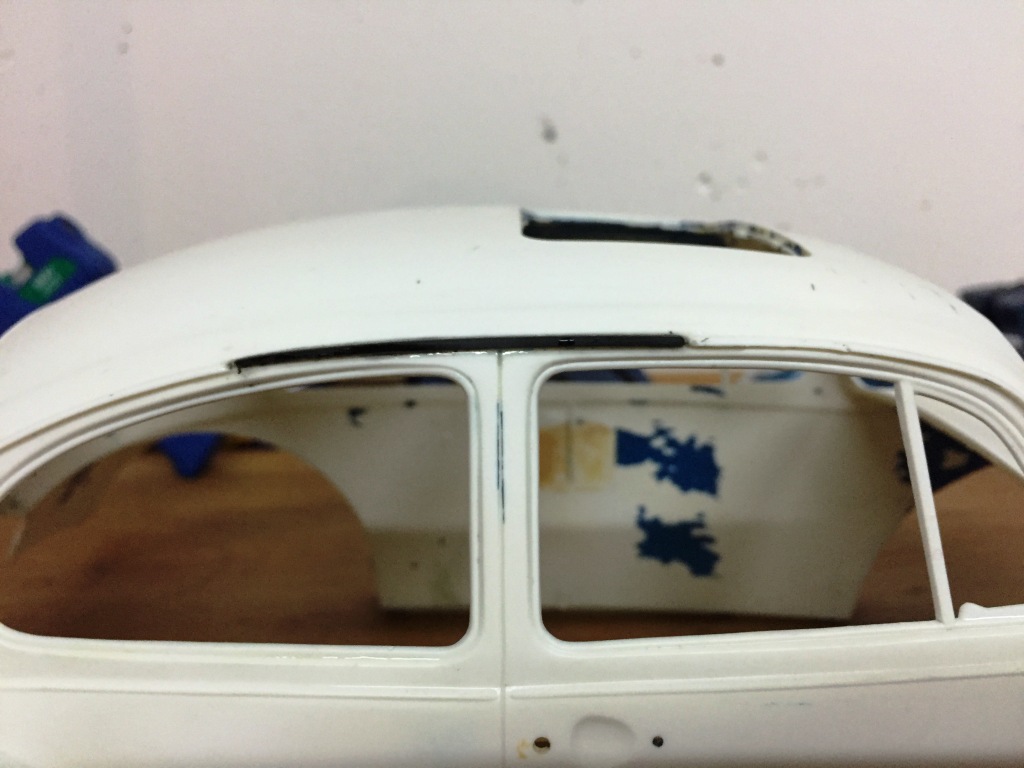
Alright, after inspecting both bodies, i decided than i'll for the blue one. The black and pink paint is not getting off using my usual methods. Despite the blue body is in a worse shape than the other i decided that that one should be my restoration basis. 
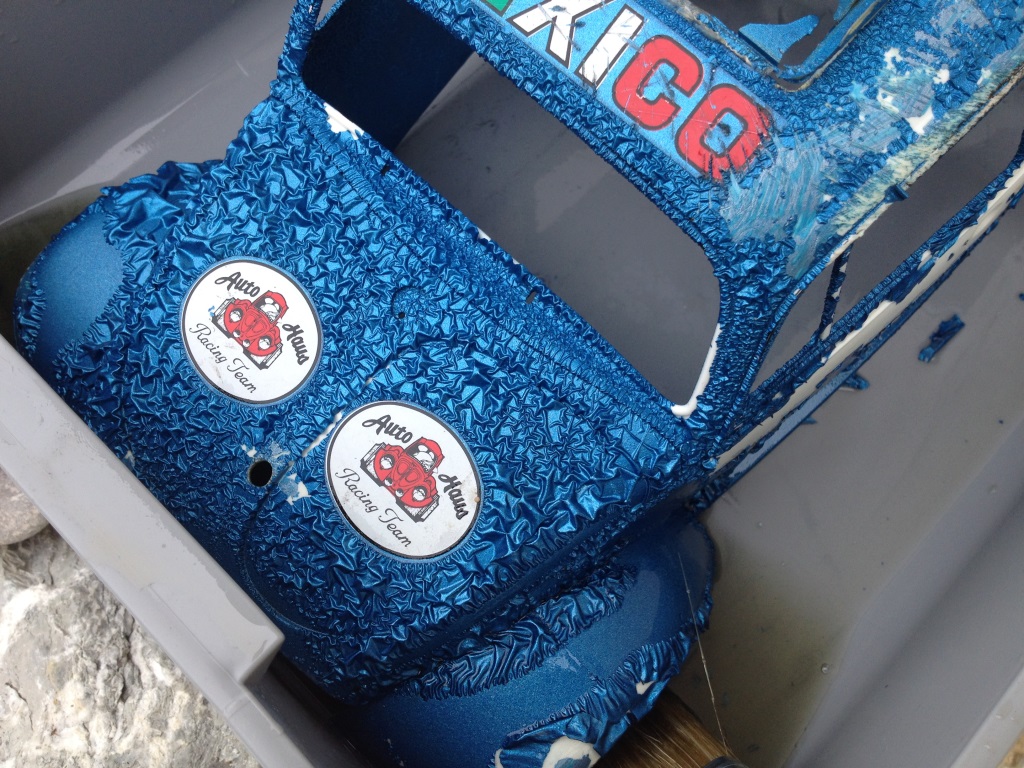
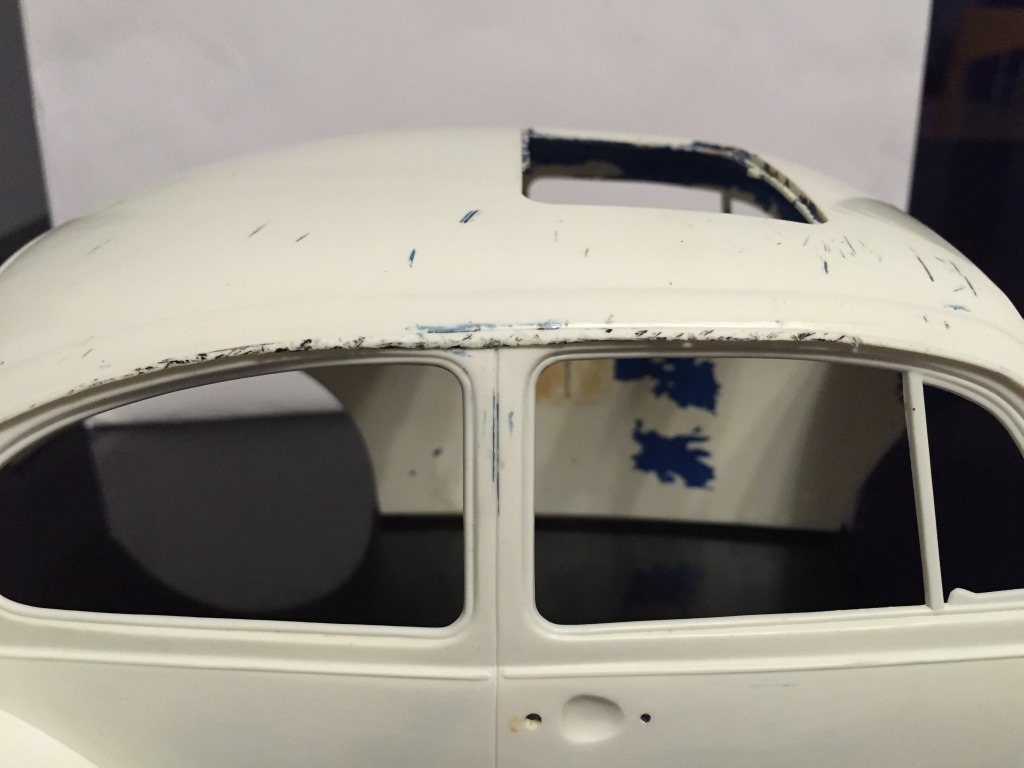
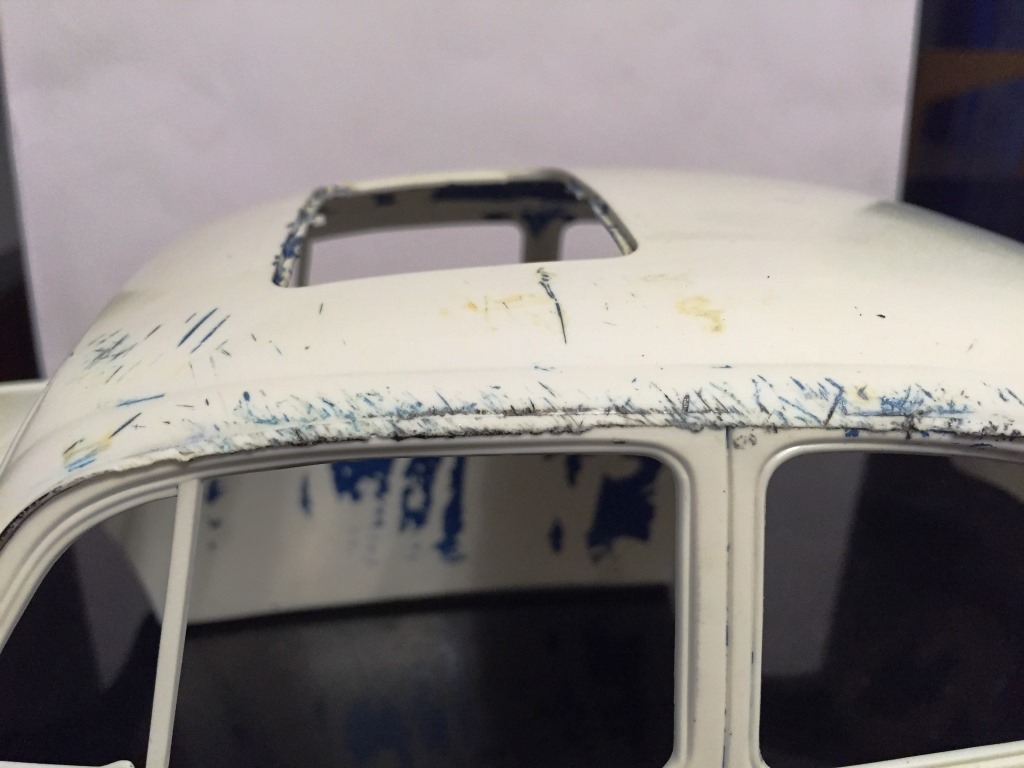
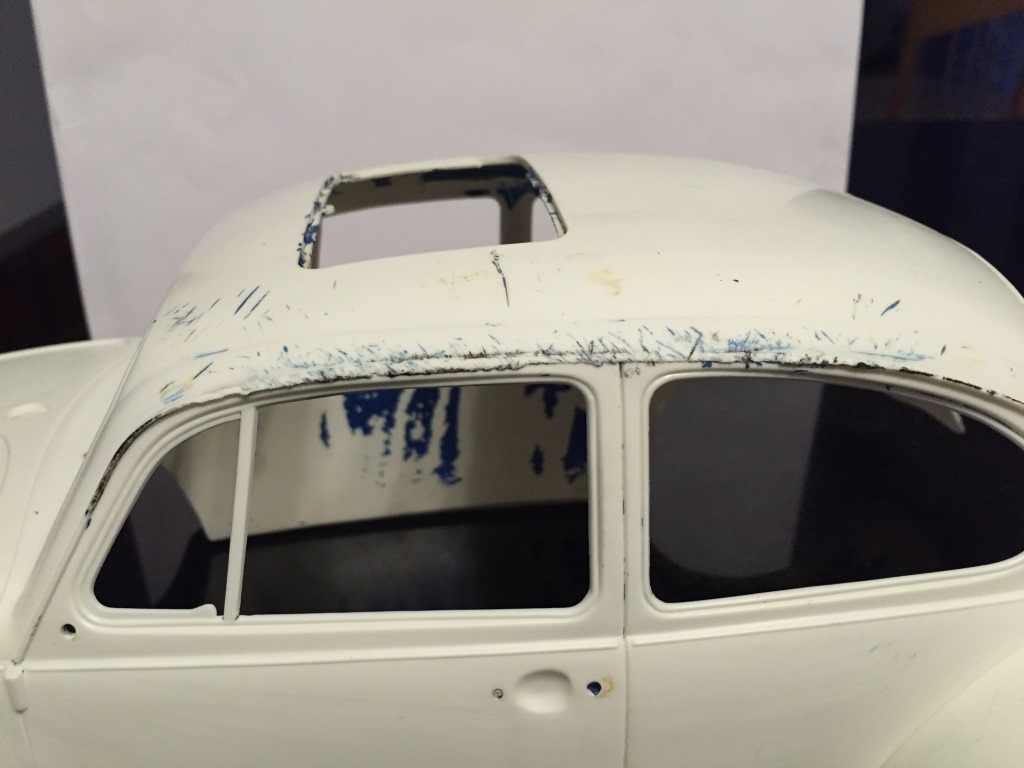
Started removing the decals and put it in brake fluid
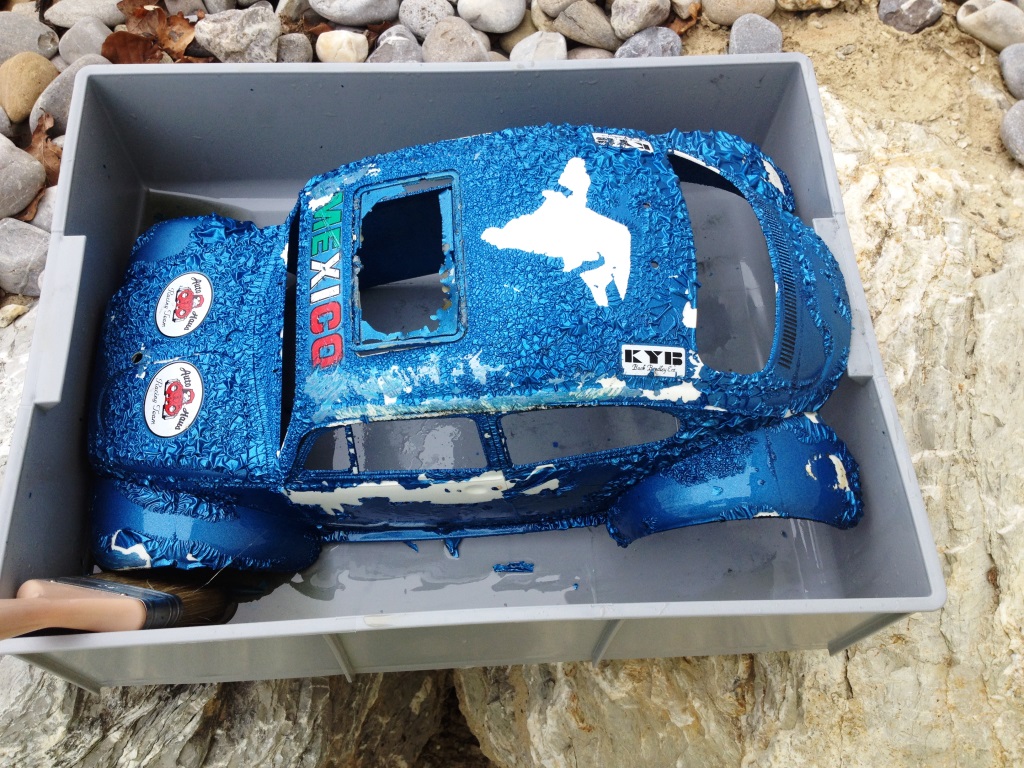
 Proud owner of the Bruiser Family
|
|
Please Log in to join the conversation. |
After removing the paint all the scratches appeared
Ok, those scratches aren't that bad very easy to repair with a usual filler. The main problem are the gutters. I thought about many options, buy a re-re body and cut them off from it and put them back on the old one or find another solution to re-construct them. I finally choosed the second option for the simple reason that i didn't wanted to destroy a new body. I ended using bit from old CD cases i had left, you'll see them in the following pics I started cutting the damaged parts off : And here the CD-cases parts already cutted off The small one for the right side And the longer one for the other side Proud owner of the Bruiser Family
The following user(s) Liked this: stingray-63
|
|
Please Log in to join the conversation. |
Then after giving them the right shape i glued them
Left side This first attempt wasnt really satisfiying...so i took them away and started again The main issue was that the left overs weren't long enough. The only solution was to made a small bit to fill the gap Same process for the right side And after sanding Proud owner of the Bruiser Family
The following user(s) Liked this: up_the_irons
|
|
Please Log in to join the conversation.
Last edit: by Manotas.
|
|
Nice!
|
Please Log in to join the conversation. |
That's some proper restoration work, Manotas!
The brake fluid worked very well on that blue paint and this picture is just cool: Signature now gets correct formatting if you edit it in your Profile. Use normal BBcode if you want.
www.tamiyabase.com was formatted automatically. |
|
Please Log in to join the conversation. |
In the meantime i started working on the rear lights, sunroof and rims.
The sunroof had also many scratches And with filler Now waiting a while before sanding it I had lot's of glue to remove from the rear light....i think the previous owner was scraed to loose them The other glass is having his DOT3 bath to remove the paint Started to fill the broken parts of the rear lights Next step are the rims, they were allpainted in grey which does not suit the Sand Scorcher. Have a look at those tires... Proud owner of the Bruiser Family
|
|
Please Log in to join the conversation. |
Topic moved.
Signature now gets correct formatting if you edit it in your Profile. Use normal BBcode if you want.
www.tamiyabase.com was formatted automatically. |
|
Please Log in to join the conversation. |
|
slurp
|
Please Log in to join the conversation. |
Other surprise after removing the paint from the rims....
Both rear rims are cracked and the top ring came off. I suspect the main cause is an overtightening of the wheel nut over the long storage years. I've been looking around on the internet and E-bay and noticed that many had cracked rear rims. Once again, the easiyest solution would be to replace them with re re ones but as i'm not keen to follow the easy way i decided to repair them and keep the slight yellowed plastic made by the passing years After removing the paint: Both rear rims cracked : And the external ring Glued them Proud owner of the Bruiser Family
|
|
Please Log in to join the conversation. |