TOPIC:
CC-01s: RV, Unimog, Bedford TM, Valp, Ford CMP, Series 3 Land Rover, SD Revopak 9 years 2 weeks ago #34567
|
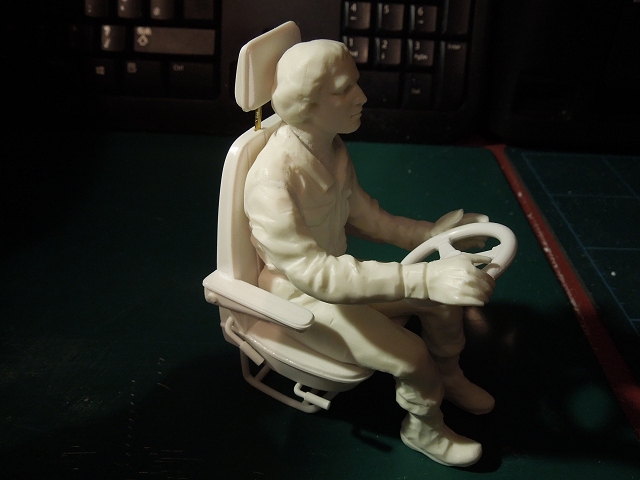
He looks very much like a lorry driver, no longer a laid-back American military reserve
Signature now gets correct formatting if you edit it in your Profile. Use normal BBcode if you want.
www.tamiyabase.com was formatted automatically. |
|
|
Please Log in to join the conversation.
Last edit: by larbut.
|
CC-01s: RV, Unimog, Bedford TM, Valp, Ford CMP, Series 3 Land Rover, SD Revopak 9 years 2 weeks ago #34569
|
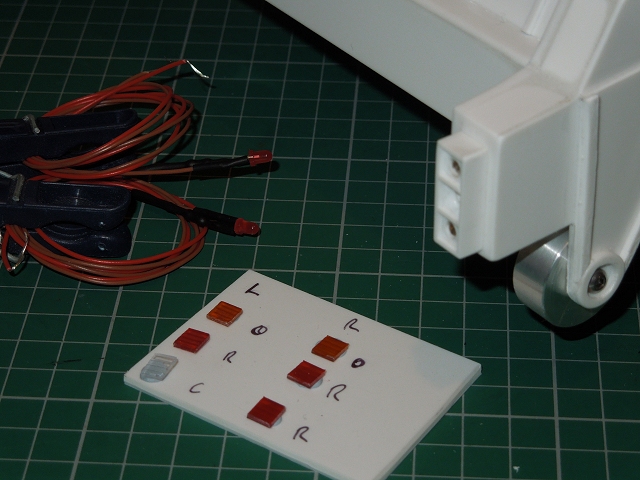
Rear lights done ... there was no way I was going to be able to get LEDs to the back of them if I made them a permanent fixture, so I cheated a bit & put M2 screws through the unused portions:
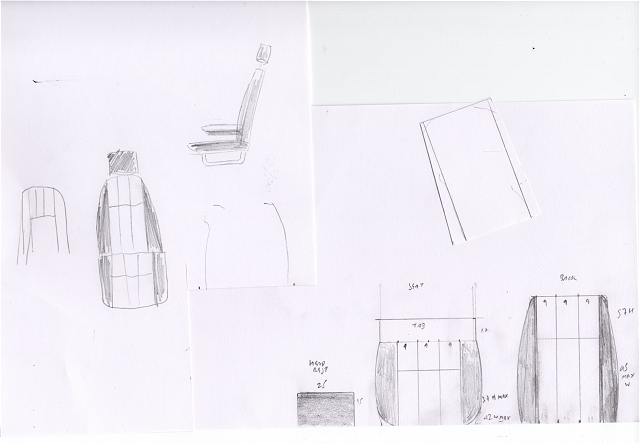
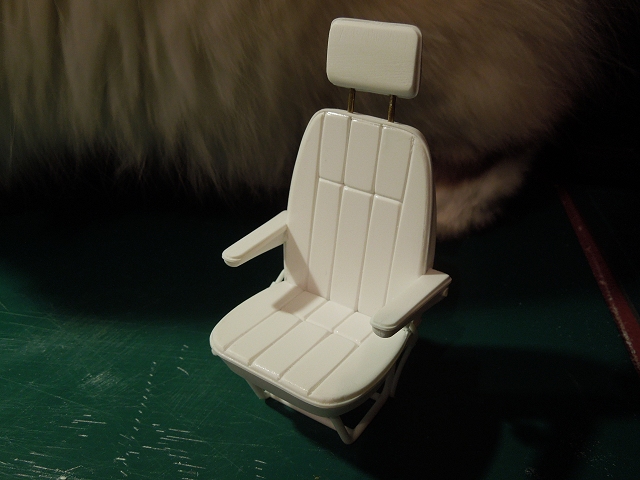
Work on the drivers seat started with a back-of-a-beermat sketch, then something a bit more dimensioned ... I scanned that in, redrew it & printed out a few copies - I've finally found a use for that box of non-stick (or at least low tack) A4 sheet labels... Basic structure of seat done: Seat done, I make it 60 parts It's a bit flat on the back & squab, but that's deliberate to match the shape of the driver. The passenger seat I'll try & make a little curvier. |
|
Please Log in to join the conversation. |
CC-01s: RV, Unimog, Bedford TM, Valp, Ford CMP, Series 3 Land Rover, SD Revopak 9 years 2 weeks ago #34570
|
Great looking seat
If you can't fix it with a hammer, you've got an electrical problem mate
The following user(s) Liked this: Jonny Retro
|
|
|
Please Log in to join the conversation. |
CC-01s: RV, Unimog, Bedford TM, Valp, Ford CMP, Series 3 Land Rover, SD Revopak 9 years 2 weeks ago #34579
|
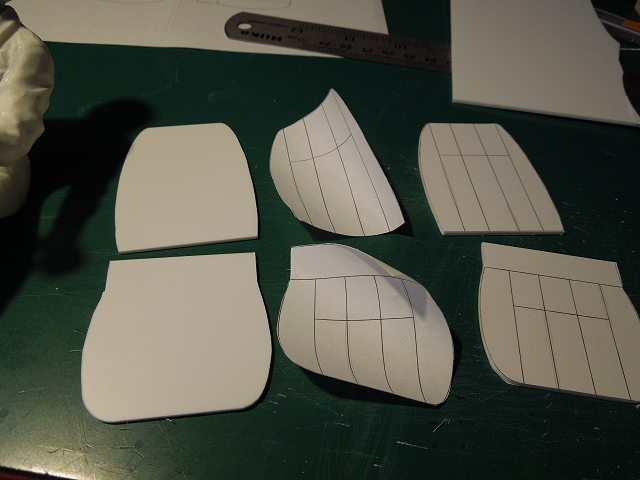
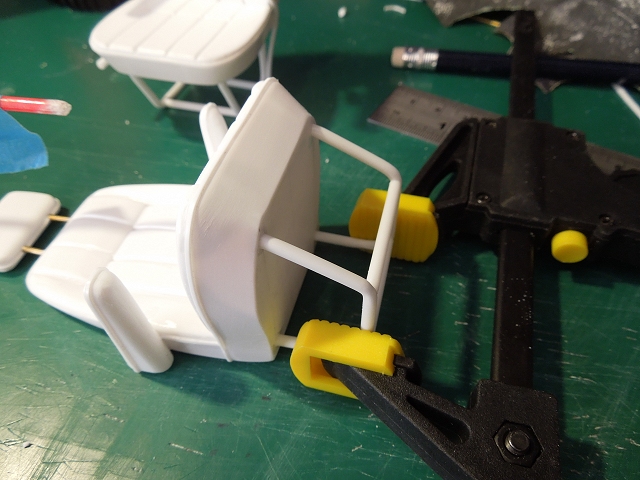
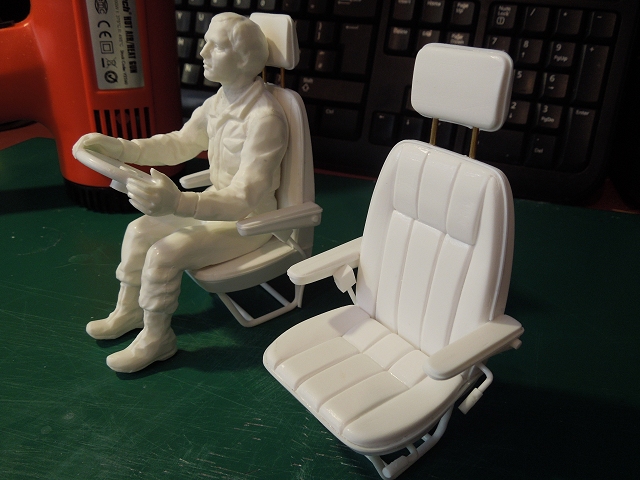
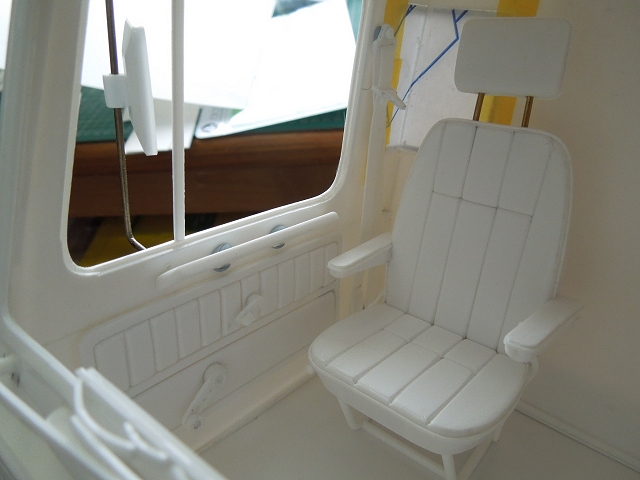
Built the 2nd seat, pics should fill in some of the gaps from my method ...
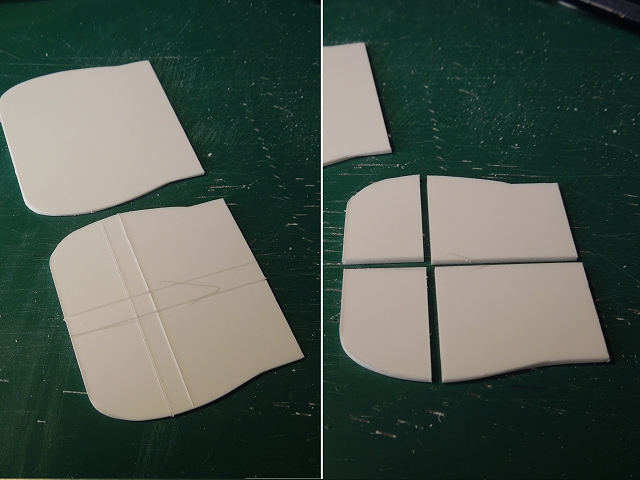
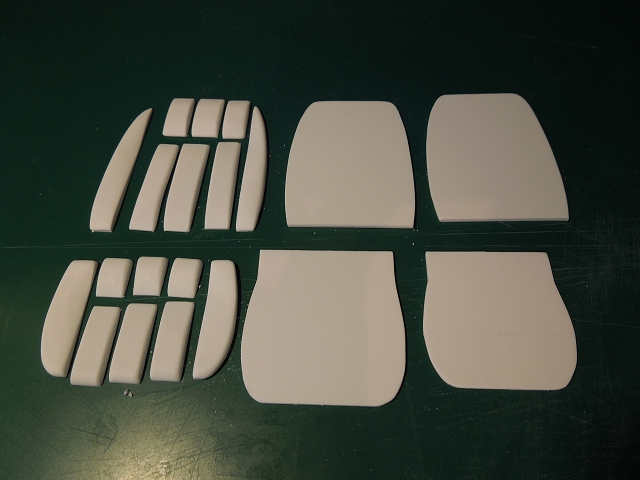
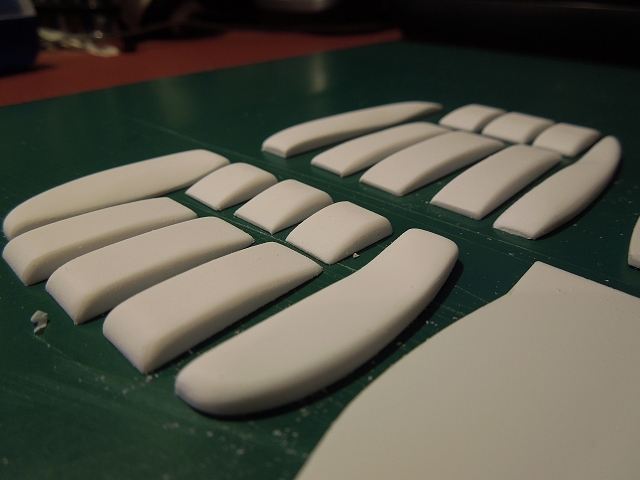
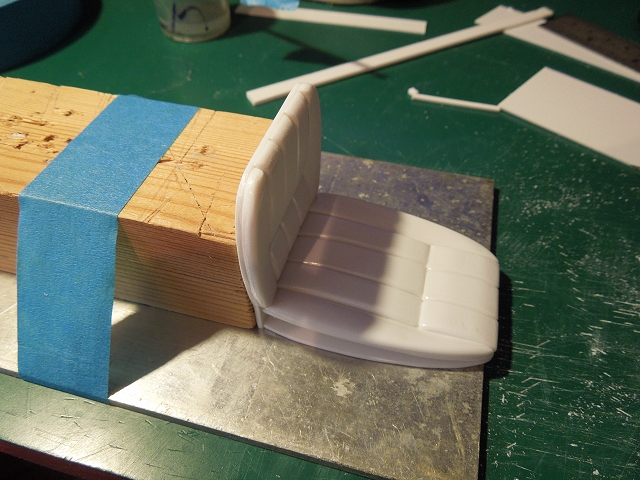
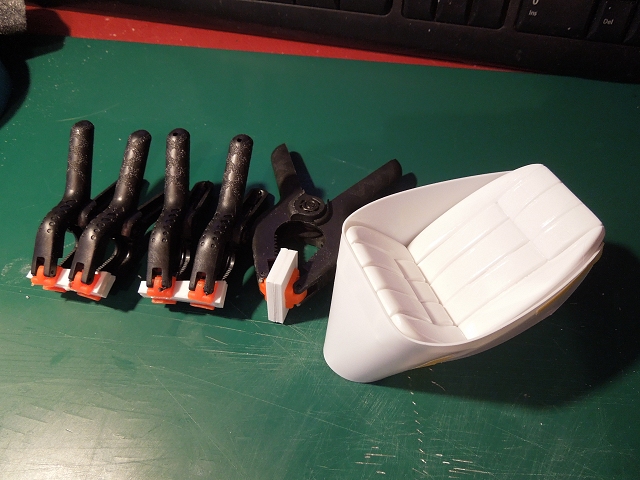
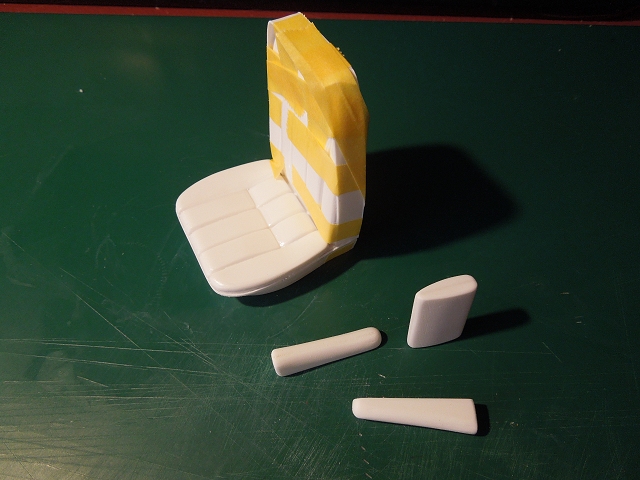
"Shrinking" bottom of seat by cutting portions out of the middle: Complete set of cushion parts ... ... made from 3mm sheet this time, note sculpting: Impromptu clamping jig arrangement for seat back angle (tape removed for clarity): Clamps on headrest & arms are not the greatest quality, but they're superior to clothespegs in that they exert a lot more pressure, and the tips are free floating so stay parallel regardless of the width of the thing they're clamping. Seat base angled part is so irregular it needed a lot of tape (since removed) to "clamp" it while the parts set. Lots of trimming required, the part had to be very over size to cover all the angle/direction changes. Top is a lot more regular so gets a much smaller bit of sheet; arms/headrest dremmelled & sanded to shape: Quick clamps (even mini ones) like this can exert an awful lot of pressure, or you can be quite delicate with them... ... & that's it done. The driver fits surprisingly well in the contours, but I couldn't have known that until I'd built it, so it still makes sense to have made a "flat" one initially - although I was briefly tempted to make another "curvy" one, even though you can't see the difference with the driver in it Part count is now up to 607, plus another 187 if you count the skip
The following user(s) Liked this: Dam, Oldcoldbellybadness
|
|
Please Log in to join the conversation. |
CC-01s: RV, Unimog, Bedford TM, Valp, Ford CMP, Series 3 Land Rover, SD Revopak 9 years 2 weeks ago #34581
|
If you can't fix it with a hammer, you've got an electrical problem mate
The following user(s) Liked this: Oldcoldbellybadness
|
|
|
Please Log in to join the conversation.
Last edit: by AndyAus.
|
CC-01s: RV, Unimog, Bedford TM, Valp, Ford CMP, Series 3 Land Rover, SD Revopak 9 years 2 weeks ago #34582
|
Those seats are work of art!
The level of detail is unbelievable... Signature now gets correct formatting if you edit it in your Profile. Use normal BBcode if you want.
www.tamiyabase.com was formatted automatically.
The following user(s) Liked this: Oldcoldbellybadness
|
|
|
Please Log in to join the conversation. |
CC-01s: RV, Unimog, Bedford TM, Valp, Ford CMP, Series 3 Land Rover, SD Revopak 9 years 2 weeks ago #34587
|
Thanks for the positive feedback, chaps
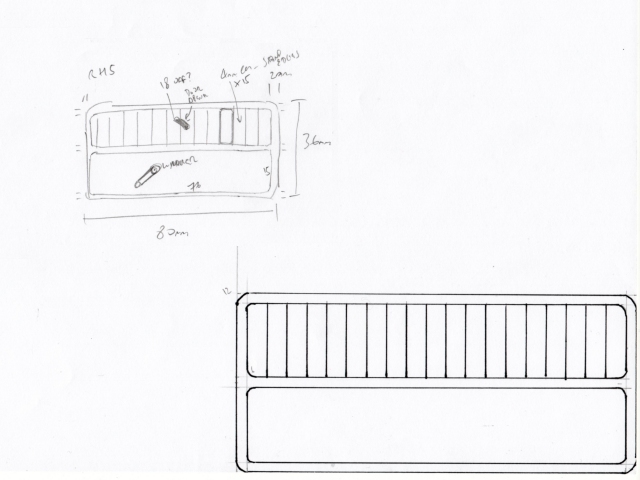
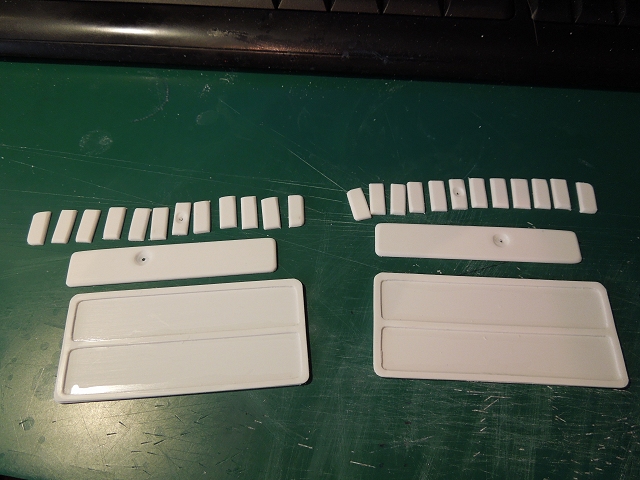
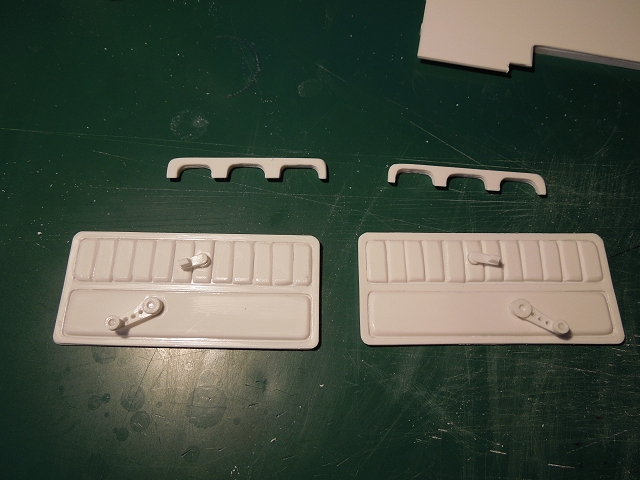
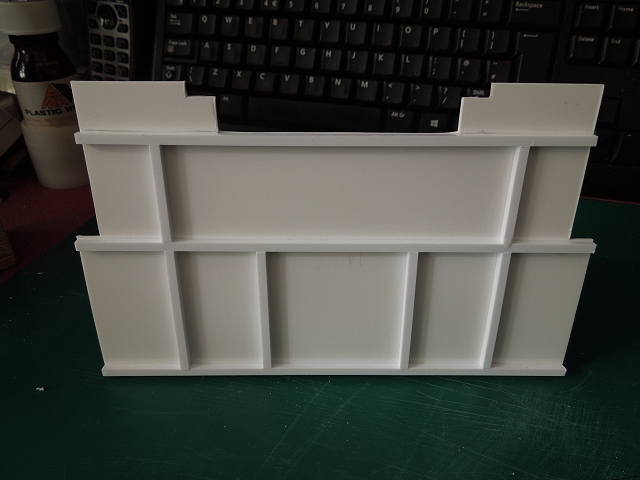
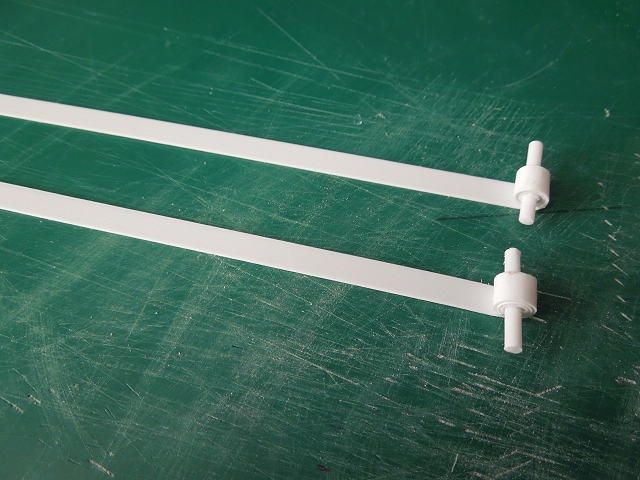
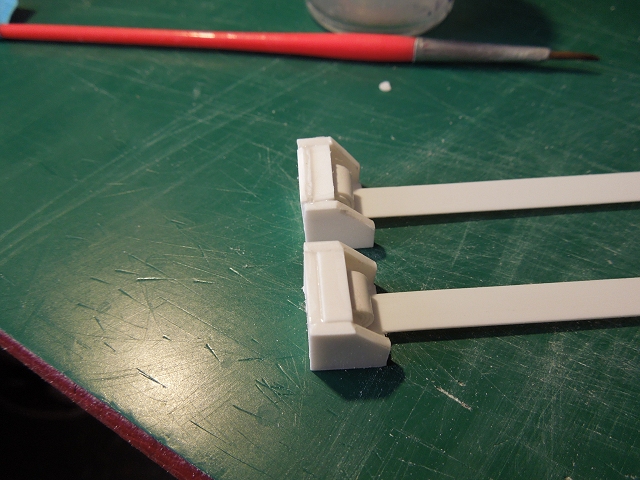
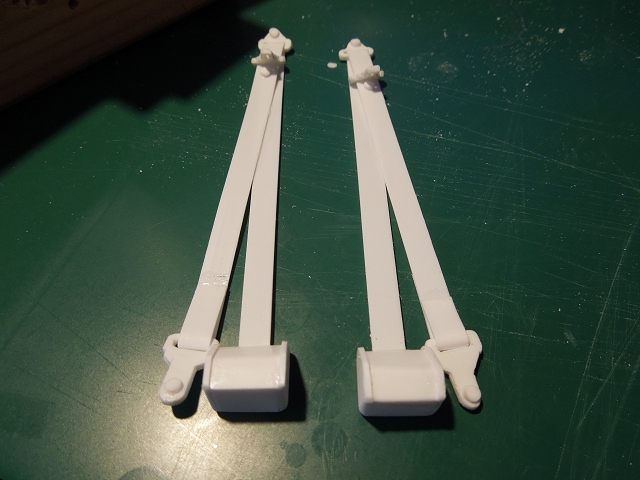
Something none of my previous scratch builds haven't had is much detail on the insides of the doors, so I thought I'd remedy that this time... Rough sketch of door card as modelled on 1:1, plus 2x size drawing (so when it's scanned, reduced & printed on sticker paper it doesn't look 1/2 so rough Back of card is already 2 layers, infills are a bit thicker & have door latch & window winder points dremmeled down, "correct" number of segments in upper area has been reduced from 18 to 12 to make things easier ... All stuck in, along with latch & winder. Holes in winder aren't "correct" but they looked really flat beforehand. I know the cab floor is dull but it took some time to nibble it down to a shape where it can actually be fitted with the seats attached Starting on seatbelts (I did the stalks on the seats, so "had" to do the rest ... Rough looking reel boxes .... ... prettied up with sanding, skinning the fronts, and making the rest of the fittings: ... and held in with blu tac. I don't fancy my chances of painting these glued in, so I'll paint them separately & superglue in after. |
|
Please Log in to join the conversation. |
CC-01s: RV, Unimog, Bedford TM, Valp, Ford CMP, Series 3 Land Rover, SD Revopak 9 years 2 weeks ago #34588
|
Ok, I visited the Tamiya museum and Hobby Square in Shizouka last Thursday and they had some very nice things (semi custom static kits) but this beats
The following user(s) Liked this: Jonny Retro
|
|
|
Please Log in to join the conversation.
Last edit: by waterbok.
|
CC-01s: RV, Unimog, Bedford TM, Valp, Ford CMP, Series 3 Land Rover, SD Revopak 9 years 1 week ago #34615
|
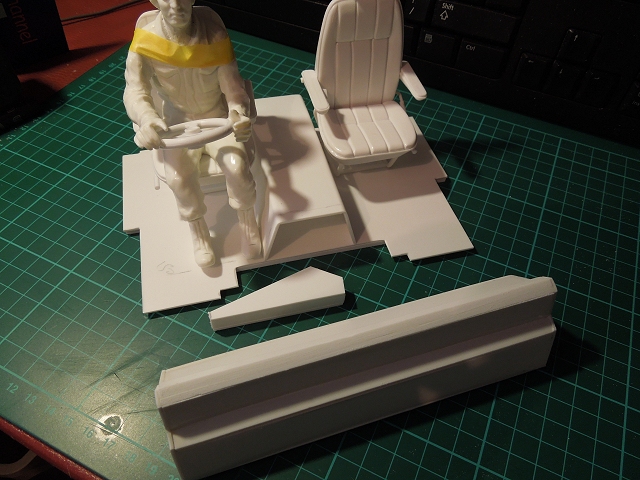
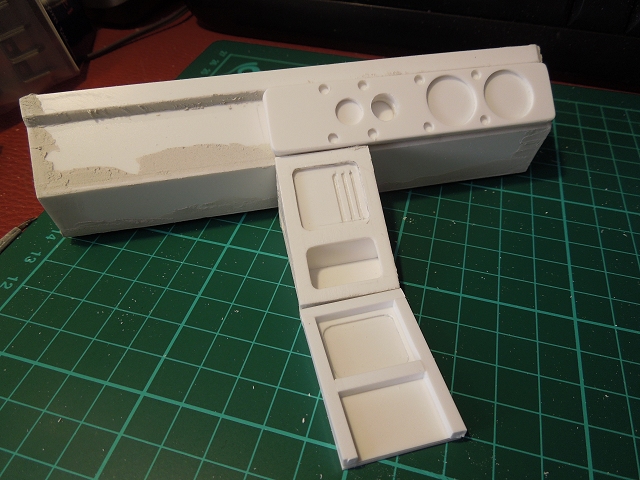
Working on the dashboard & associated bits has mostly been an exercise in juggling & re-measuring over & over, but it's beginning to bear fruit.
Starting on basic dash profile box, steering column, and "hump" (where the engine cover intrudes a long way into the cab): Starting on instrument panel & centre console sections: |
|
Please Log in to join the conversation. |
Time to create page: 0.281 seconds


