Keyword

TOPIC:

CC-01s: RV, Unimog, Bedford TM, Valp, Ford CMP, Series 3 Land Rover, SD Revopak 9 years 2 months ago #33736

Jonny, I know you have an aversion to 'likes', but I had to 'like' this, thanks

Please Log in to join the conversation.

CC-01s: RV, Unimog, Bedford TM, Valp, Ford CMP, Series 3 Land Rover, SD Revopak 9 years 2 months ago #33748

Planks calmed down a bit with satin clear ...


I still have to wire in the LEDs & fit all the electrics, but the paintwork is all done:


Please Log in to join the conversation.

CC-01s: RV, Unimog, Bedford TM, Valp, Ford CMP, Series 3 Land Rover, SD Revopak 9 years 2 months ago #33749


I'm quite pleased with it overall :)
The following user(s) Liked this: Dam, Oldcoldbellybadness

Please Log in to join the conversation.

CC-01s: RV, Unimog, Bedford TM, Valp, Ford CMP, Series 3 Land Rover, SD Revopak 9 years 2 months ago #33750

Seriously Jonny, EXCEPTIONAL :woohoo:

If you can't fix it with a hammer, you've got an electrical problem mate :)
Attachments:

Please Log in to join the conversation.

CC-01s: RV, Unimog, Bedford TM, Valp, Ford CMP, Series 3 Land Rover, SD Revopak 9 years 2 months ago #33755

For me, Jonny, this is your best build to date! :woohoo: :y:
Simply stunning, especially knowing it's made from scratch! :ohmy:
Signature now gets correct formatting if you edit it in your Profile. Use normal BBcode if you want.
www.tamiyabase.com was formatted automatically.

Please Log in to join the conversation.

CC-01s: RV, Unimog, Bedford TM, Valp, Ford CMP, Series 3 Land Rover, SD Revopak 9 years 2 months ago #33815

Working on the wiring :whistle:


Rear LEDs needed a 1:!0 scale double jointed spider monkey to fit, I didn't have one handy so Dremelled off a bit of the rear bumper to improve access ... bit of remedial work needed there ...


Body wouldn't go on flat thanks to the steering servo fitting fouling on a bit of bracing ... solved again with the Dremel ...


I originally bought this round amber beacon to go on the Fiat tractor build, I didn't use it there due to having nowhere to hide the wiring thanks to all that "glass" ... it wasn't looking any better on this build TBH, so I modified it.

Original base parts, screw & the signal wire (which didn't seem to be doing much anyway) have been discarded, I made a new 3 part styrene base & fitted a "pole" to hide the remaining wires - just waiting for the drill battery to charge so I can fit it :whistle:

Please Log in to join the conversation.

CC-01s: RV, Unimog, Bedford TM, Valp, Ford CMP, Series 3 Land Rover, SD Revopak 9 years 2 months ago #33816

I've been meaning to give the 1:32 diecast that inspired this last build some attention, not spend any money on it mind you - it'd be cheaper to just buy a good complete one than get all the missing bits for it (sound familiar?) but I did want to brighten it up a bit ...

Open load bed built out of sheet styrene scraps:


Rest dismantled ...


... which revealed that the cab had been orange at some point in its life:


Bits all ultrasonically cleaned, metal cab & chassis bead blasted (then cleaned again):


Bits all primed:


:)
The following user(s) Liked this: AndyAus

Please Log in to join the conversation.

CC-01s: RV, Unimog, Bedford TM, Valp, Ford CMP, Series 3 Land Rover, SD Revopak 9 years 2 months ago #33822

Struggled to get decent photos of the lights, but you get the idea :)


Attachments:

Please Log in to join the conversation.

CC-01s: RV, Unimog, Bedford TM, Valp, Ford CMP, Series 3 Land Rover, SD Revopak 9 years 2 months ago #33829

Nice Jonny :y: How are you liking your new painting setup? (airbrush & booth) :)


Ok, got a chance to use a bit more of the equipment today, I think I can draw some conclusions:

- Mini Compressor/3l tank - pressure is a little awkward to set, it seems to be running an awful lot of the time & does get a bit hot, plus it slows down as the pressure rises & starts to vibrate, prompting wandering across smooth surfaces. I think at that price you have to put up or work around a few issues though. On the plus side it is pretty quiet & the hose is very good.

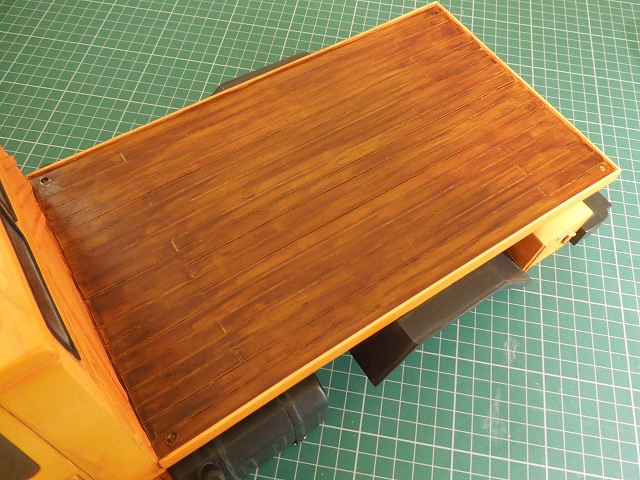
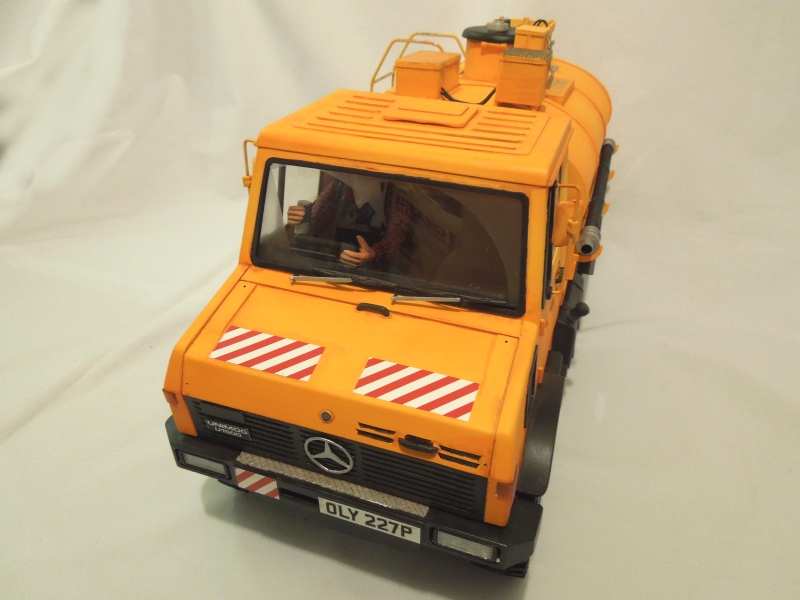
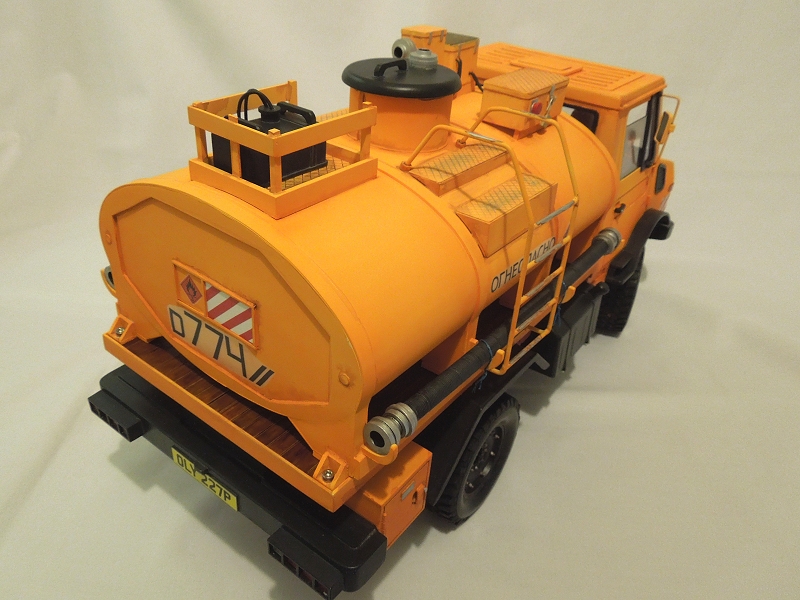
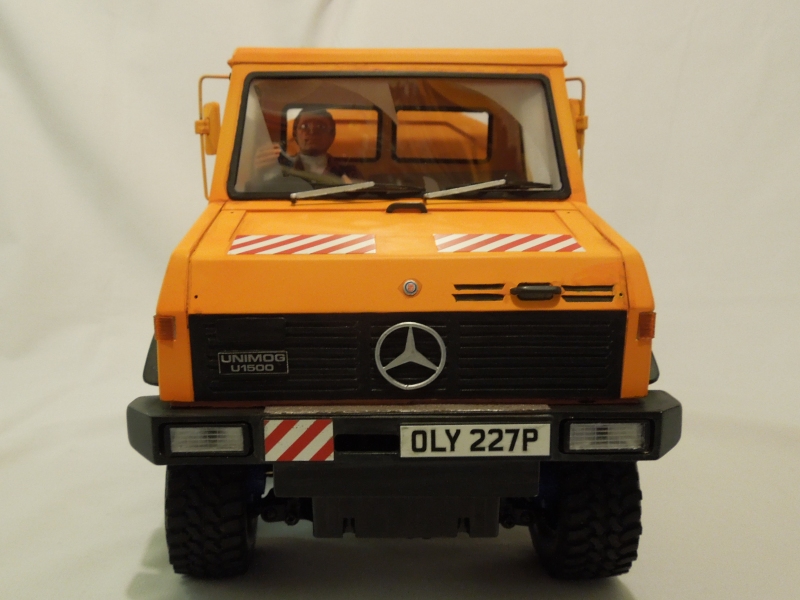
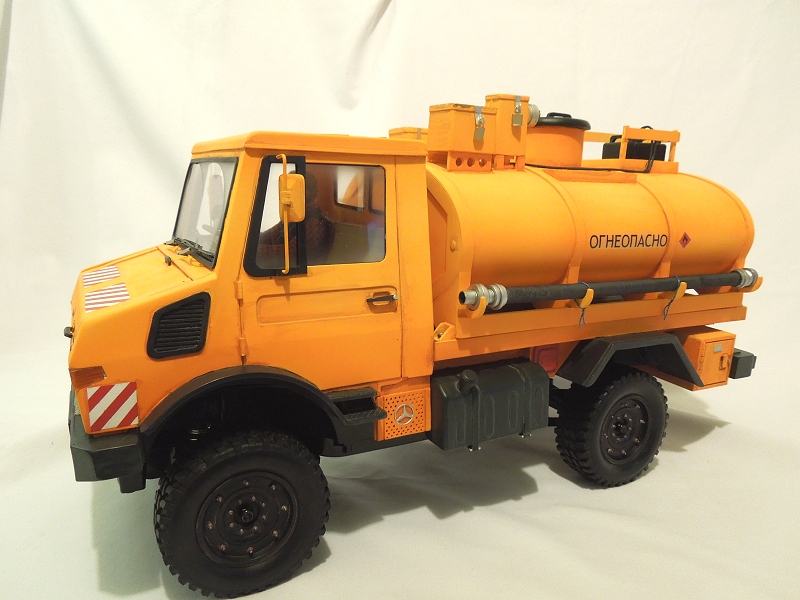
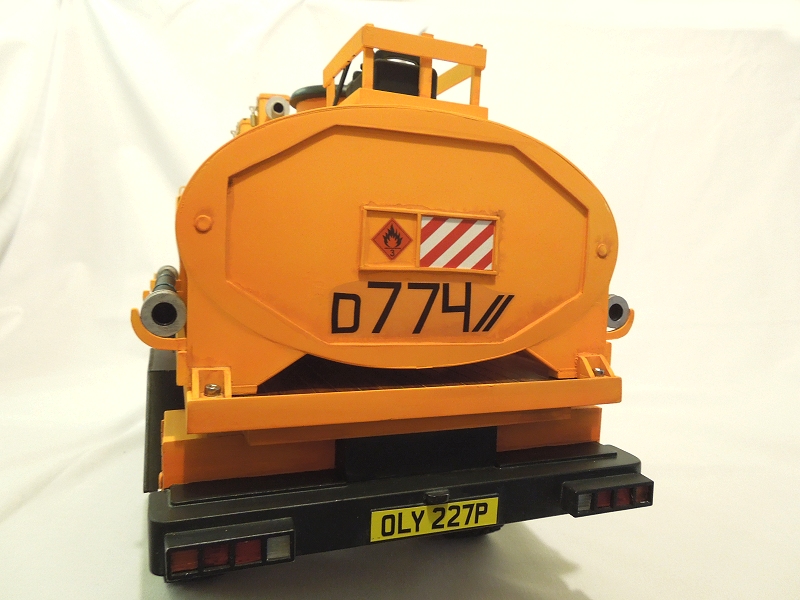
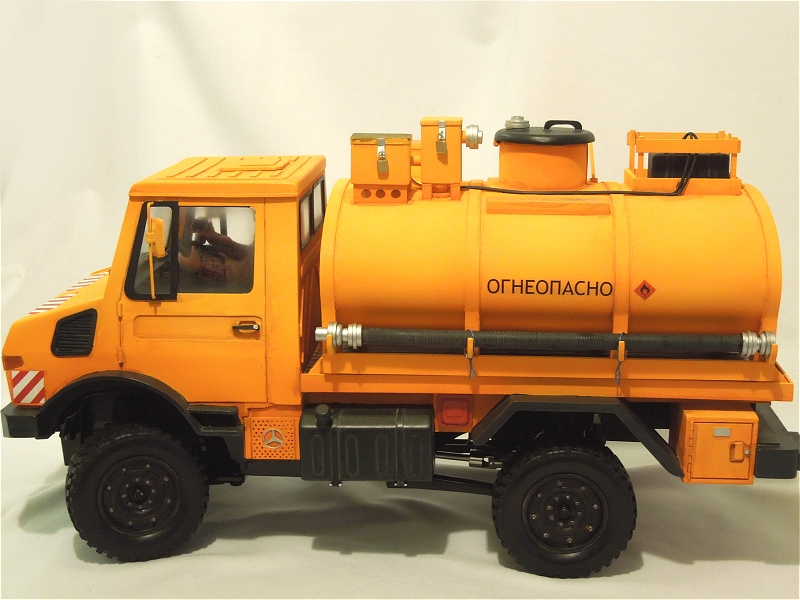
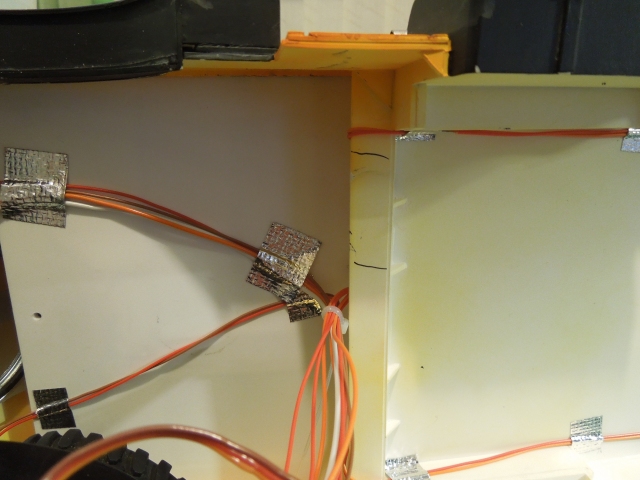
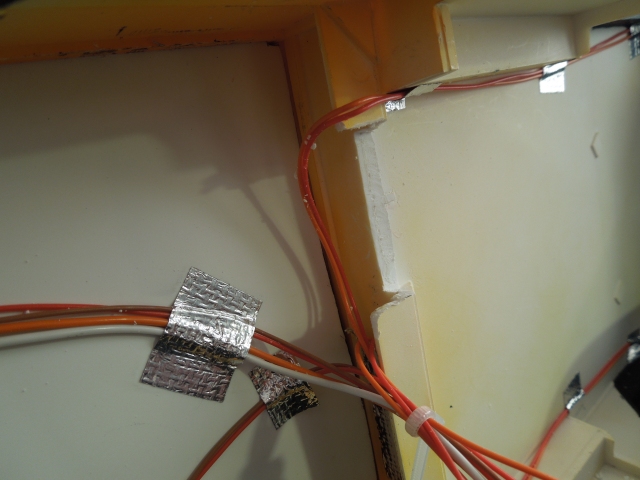
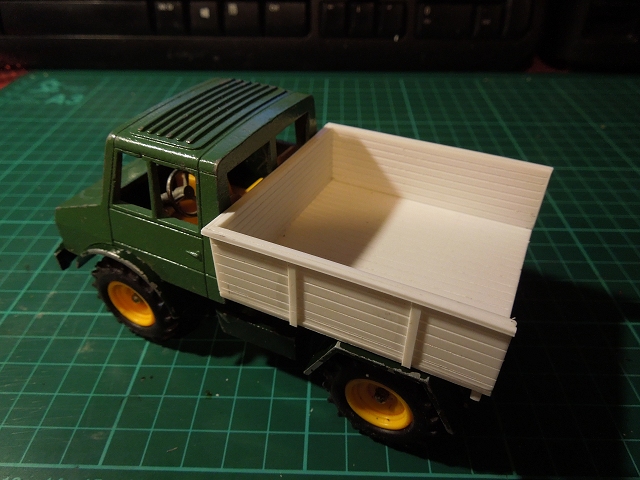
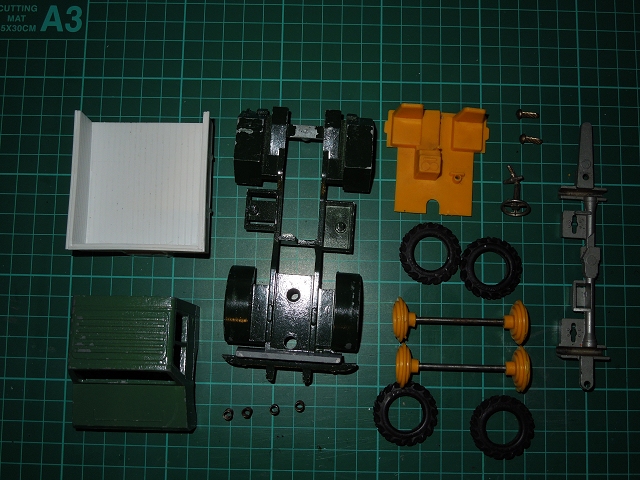
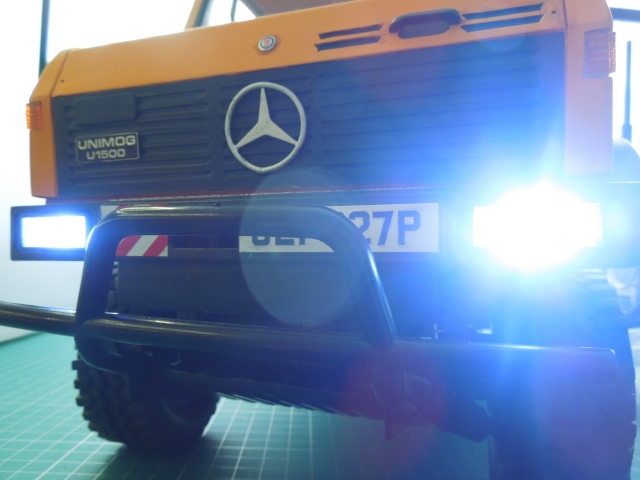
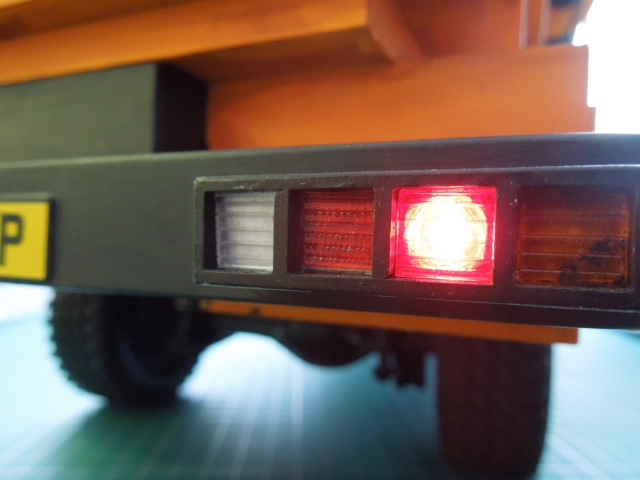
- Bottom fed DA 0.35mm airbrush - air can stick partially on sometimes, I think I need to dismantle, investigate & possibly polish a bit or two. I did the 1:10 unimog with this (upping the pressure & increasing the distance) because the small nozzle isn't the best for coverage. That's not really a criticism, it's just not 100% right for what I want to do with it ATM.

- Bottom fed Single Action, external mix 0.5mm 'brush (new, arrived this week) - plastic body means nozzle holder can twist & get stuck. Nasty coiled hose with "5mm" fittings that don't match the rest of the kit, so I needed an adaptor. Seems a bit more sensitive to thinners %age, too little & it goes the tiniest bit splattery - but you can't expected atomisation to be too great with that type of brush (apparently). overall, cheap (less than 10 GBP), bit crude but effective (good coverage).

- Side feed DA airbrush - haven't used that yet. TBH not likely to unless there's a real need to work at a funny angle as I'm not looking forward to the extra cleaning & higher likelihood of a spill.

- Cleaning Pot - hmmm ... quite useful for holding a loaded airbrush while not in use, but "cleaning" aspect is oversold - it's only any good for blowing paint out, the cap is completely inadequate for getting water through the paint feed. Small goldfish bowl is on order.

Folding spray booth - good at capturing fumes from the SA brush at low pressure (like 15psi), but not so much with greater pressures (like 25psi & up) & hardly at all with the DA brush (greater atomisation making it more volatile I guess?) Seemed to do a reasonable job of catching paint droplets (black has made it look 2nd hand very quickly) APART from some going through the hinge gaps. If I hadn't put a dustsheet down I'd be having to explain a few black spray marks on the new kitchen worktops :whistle: With the hose on the back (otherwise, what's the point) it's very deep - more than the average worktop/bench, but on the plus side I didn't have to route it to a window or door, just set it up like a chimney & point it at the cooker extractor.

Glass jars - Even though I bought 10 of each (lids & siphons) I think I'm going to need more ... tops are interchangeable though the depths are inexplicablly different so sometimes the siphon drags out of position - not much use at the back of the jar :whistle: Having performed an impromptu drop test I can say they are very tough. Thread is the same as Tamiya jars/lids but I'm not sure that helps.


Overall I'm quite happy with the kit - & TBH I've spent less on all of it than I could have had on just one "proper" airbrush - which I wouldn't have done because I didn't know what I needed. Having had a bit more practical experience I think I can say the way to go (for me) would be a bigger compressor/tank, a better quality DA airbrush with a fractionally bigger nozzle, and a better quality SA 'brush - but all the stuff I have now will do until something breaks :)

Please Log in to join the conversation.

CC-01s: RV, Unimog, Bedford TM, Valp, Ford CMP, Series 3 Land Rover, SD Revopak 9 years 2 months ago #33860

Basic paint on the 1:32 diecast Unimog:


:)
Attachments:

Please Log in to join the conversation.

Moderators: caprinutstingray-63AndyAus
Time to create page: 0.237 seconds
Cookies are required to make this site work. If you continue to use this site you permit us to use cookies.