TOPIC:
My M chassis builds 1 year 7 months ago #72515
|
Attachments:
The following user(s) Liked this: stingray-63, Lemsko
|
|
Please Log in to join the conversation. |
My M chassis builds 1 year 5 months ago #72947
|
Attachments:
The following user(s) Liked this: stingray-63, Lemsko
|
|
Please Log in to join the conversation.
Last edit: by Jonny Retro.
|
My M chassis builds 1 year 5 months ago #72948
|
Attachments:
The following user(s) Liked this: stingray-63, Lemsko
|
|
Please Log in to join the conversation. |
My M chassis builds 1 year 5 months ago #72949
|
She looks like more to a cartoon car but she's funny. I like it.
The following user(s) Liked this: 1972 LeMansGT Jim, Lemsko
|
|
Please Log in to join the conversation. |
My M chassis builds 1 year 5 months ago #72973
|
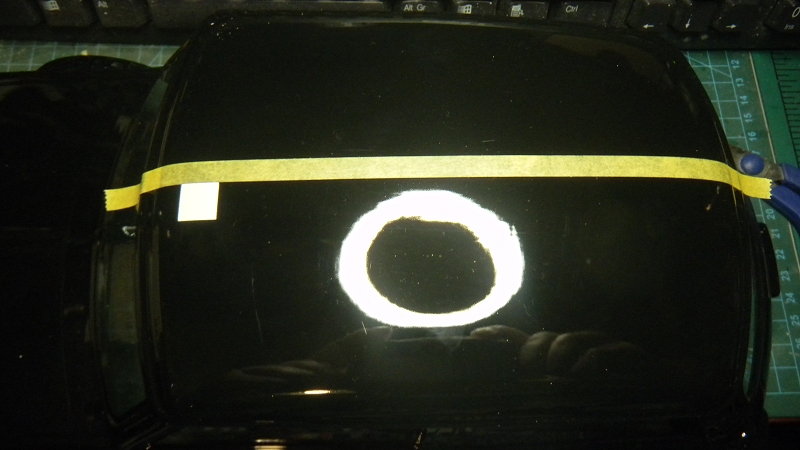
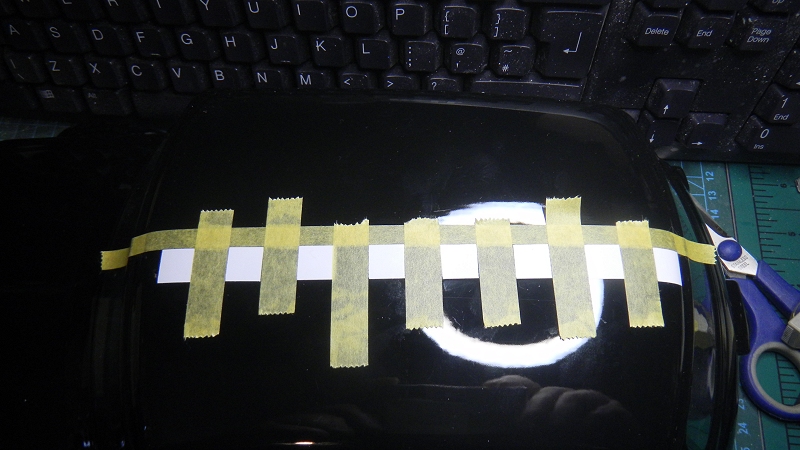
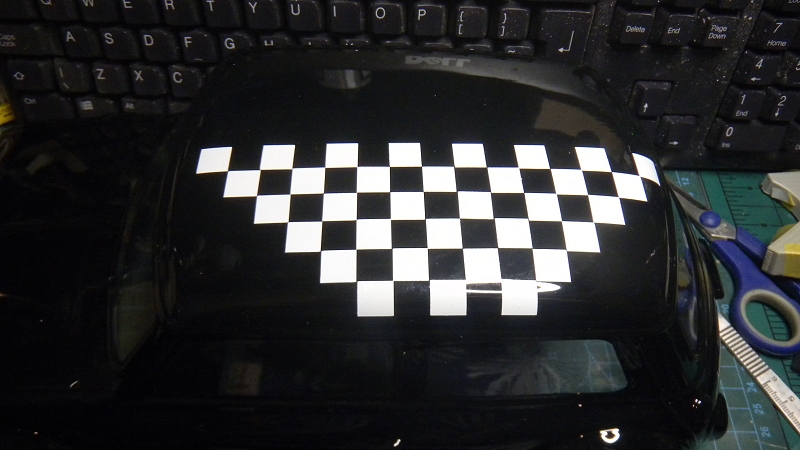
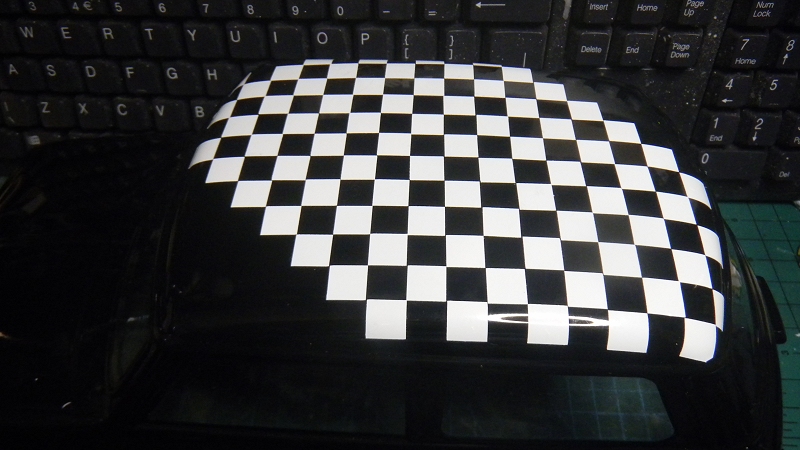
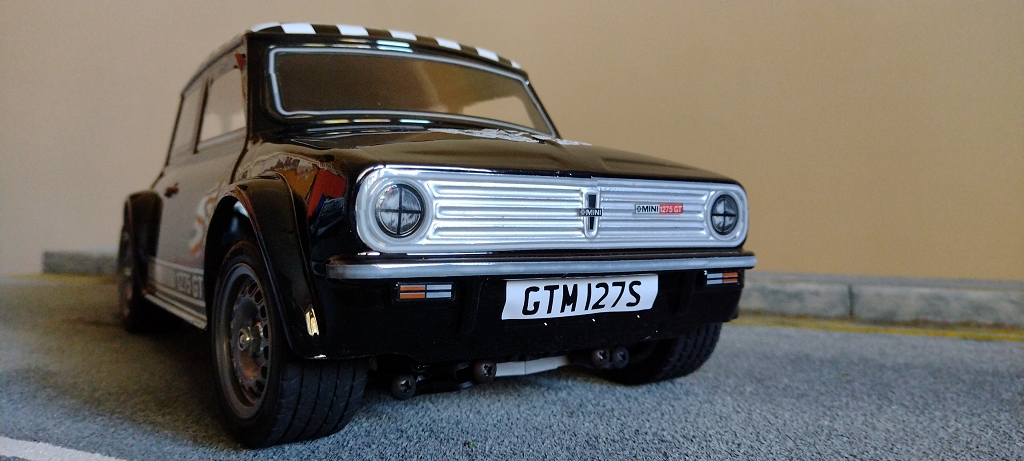
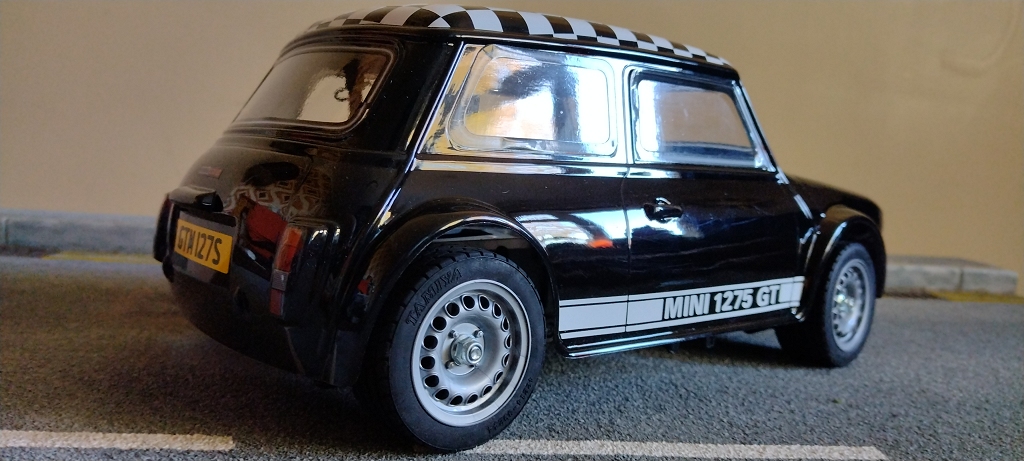
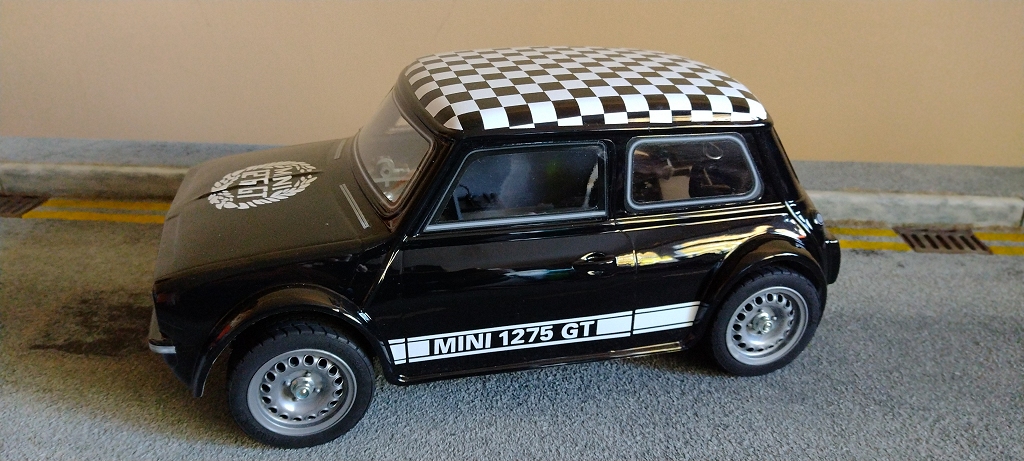
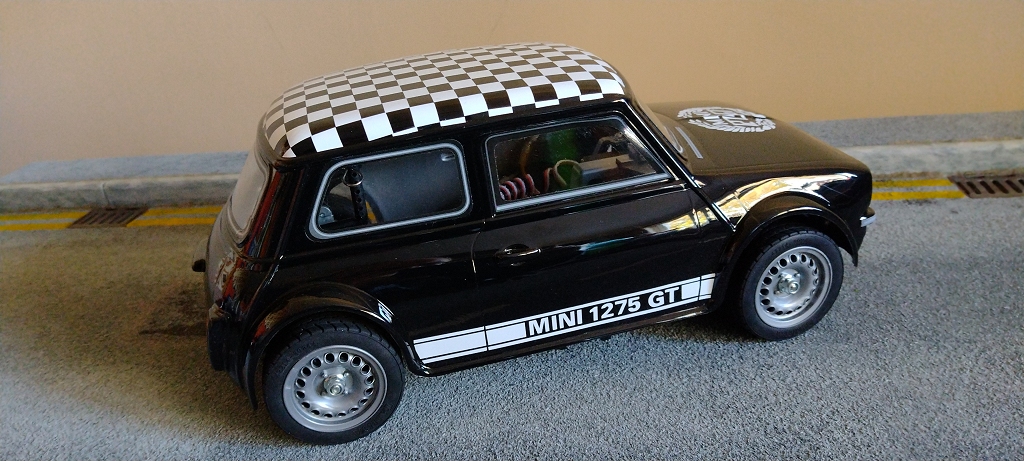
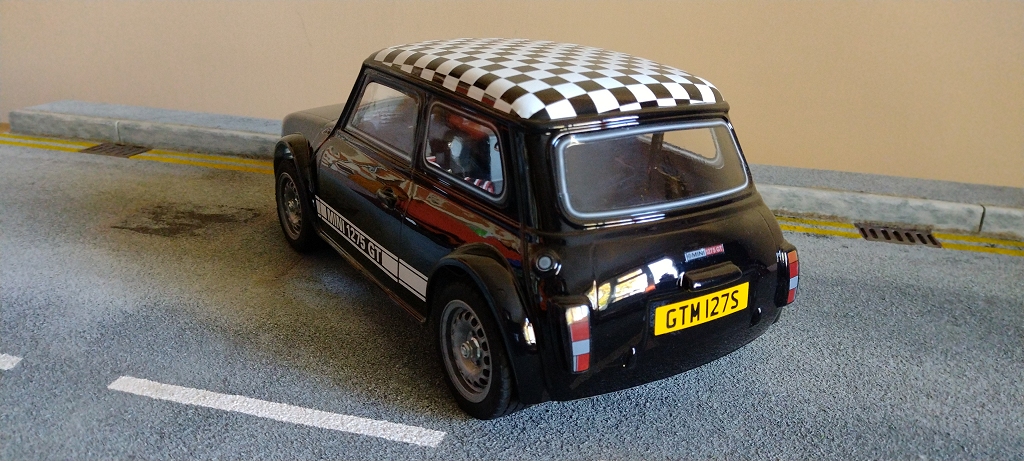
Peeled the Mini 1275 & started on the decals ... in hindsight I think I would have liked to paint the roof white, even if it wouldn't have been correct - there's just so much darkness.
A chequered roof isn't correct either, but as I'd already cut a load of 10mm squares and it fixes my imagined problem, I thought I'd go ahead with it First step - mark a line down the centre (lowermost edge of the 6mm tape in this example) & stick on the first square. Step two - strips of 10mm tape to get the spacing for the first line correct: Removing the tape - and accurately placing the squares meant I could do this much (plus a mirror image on the other side) without needing more 10mm tape as a guide ... But the corners needed more for guidance. 10mm tape was the reason I cut the squares to 10mm - but it probably would have been better to make them 12mm (two runs of 6mm tape) or even 18mm (and used 18mm tape). At this point I ran out of precut squares & had to make to some more Attachments:
The following user(s) Liked this: stingray-63
|
|
Please Log in to join the conversation. |
My M chassis builds 1 year 5 months ago #72974
|
Attachments: |
|
Please Log in to join the conversation. |
My M chassis builds 1 year 5 months ago #72976
|
Oooohhhhhhh! I LOVE IT!
|
|
Please Log in to join the conversation. |
My M chassis builds 1 year 5 months ago #72977
|
But minilite rims could be better. Or similar to alloy tamiya m rims.
|
|
Please Log in to join the conversation. |
My M chassis builds 1 year 3 months ago #73752
|
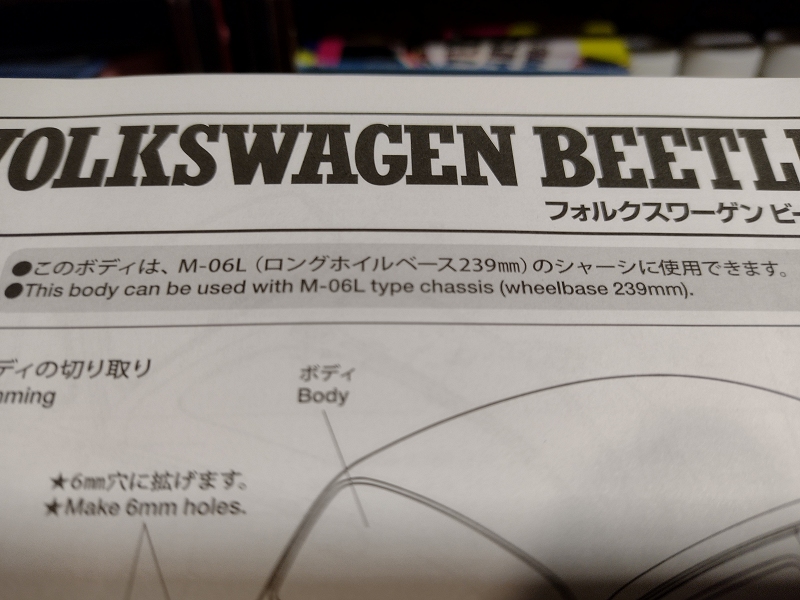
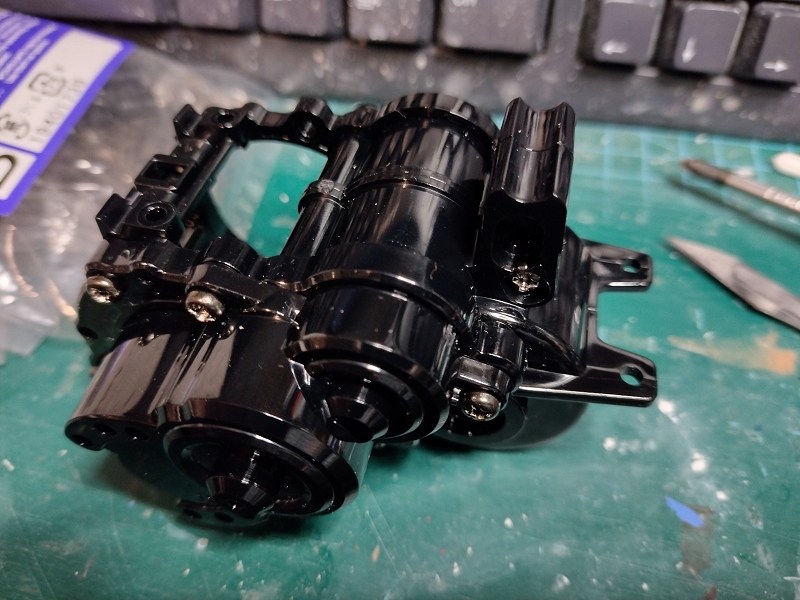
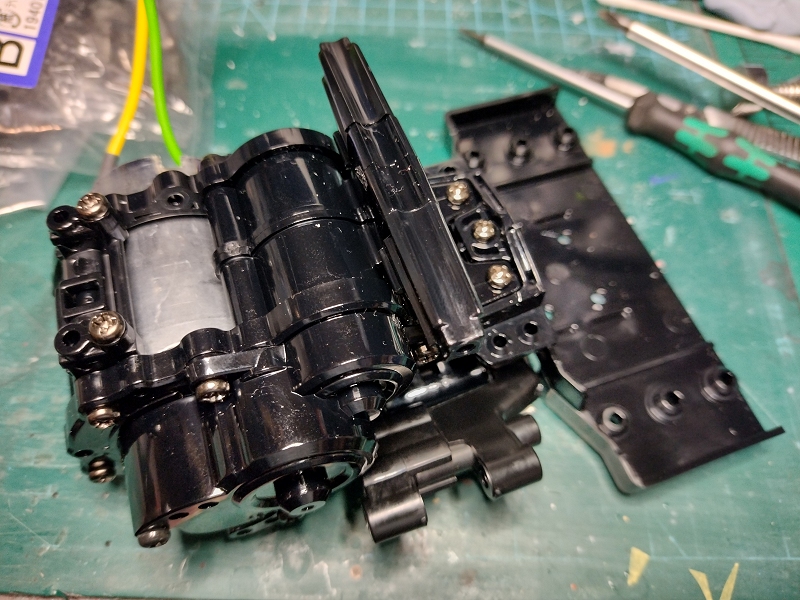
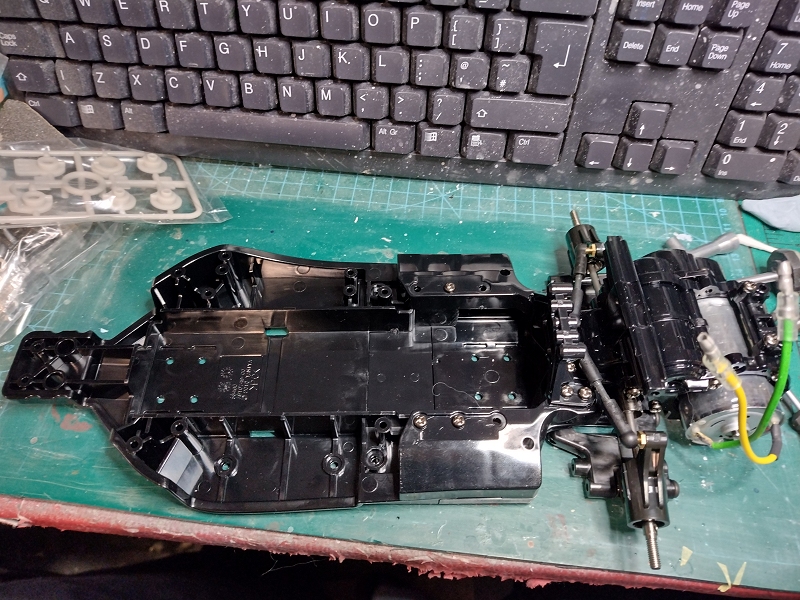
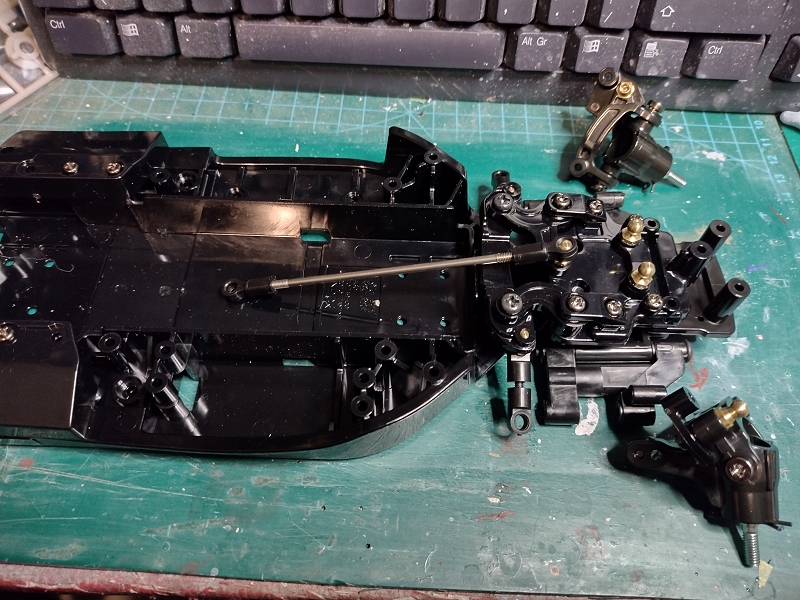
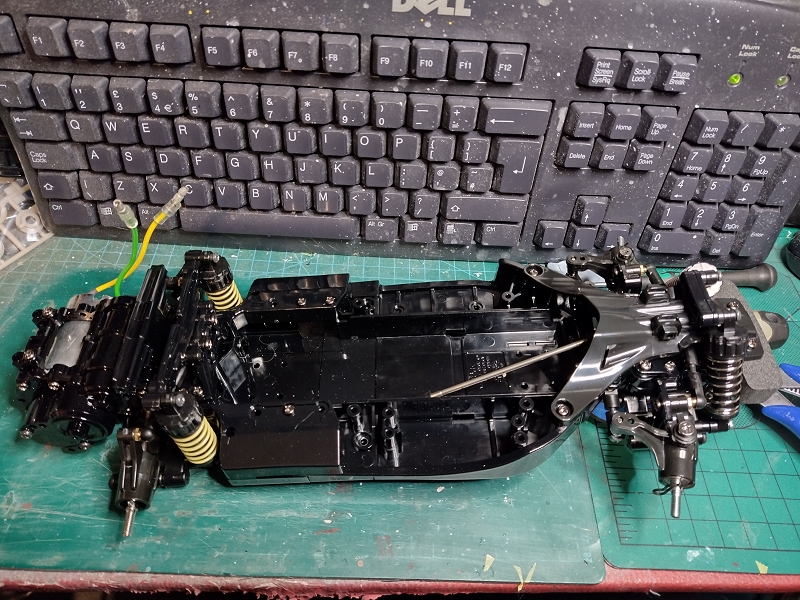
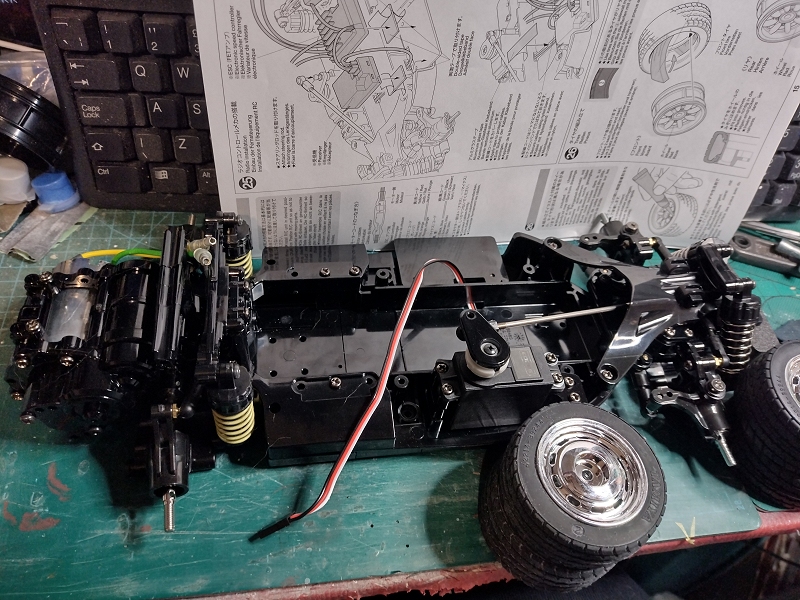
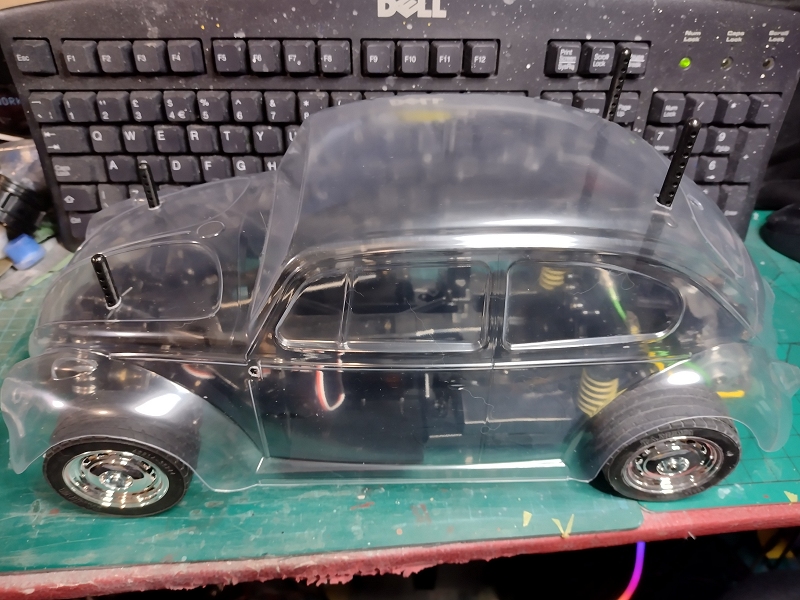
Finally started on my M-06 Xmas Beetle
Attachments:
The following user(s) Liked this: caprinut, stingray-63
|
|
Please Log in to join the conversation. |
My M chassis builds 1 year 3 months ago #73753
|
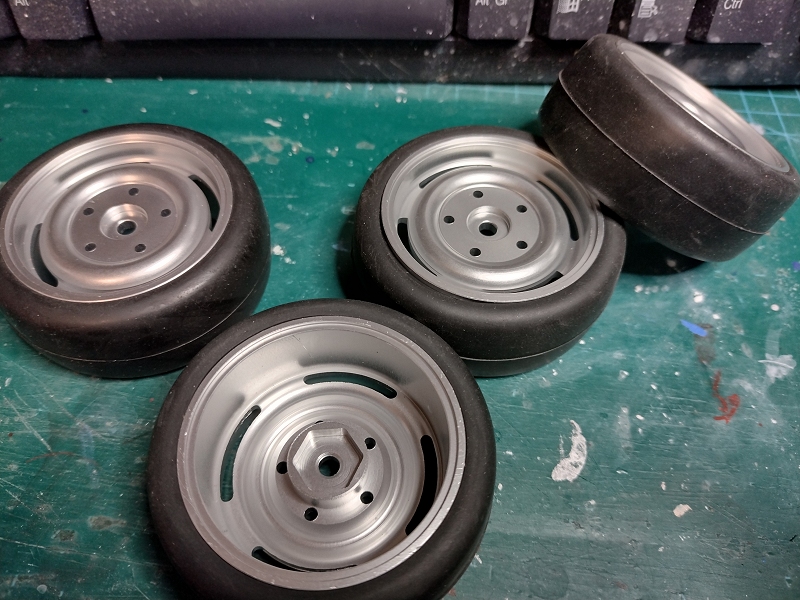
After thinking about what wheels/tyres to use – possibly the kit wheels with Scorcher front rubber for the nice big sidewall retro look (at the expense of an oversize rolling radius), possibly the 50mm aluminium wheels I’d recently bough on eBay because they looked like a bargain & might be useful at some point. The latter, with the very low profile modern tyres, would have worked if I went for a very slammed look, but I really wanted to keep all the kit chrome bumpers & didn’t think the mixing of styles would work, so kit wheels & tyres it is.
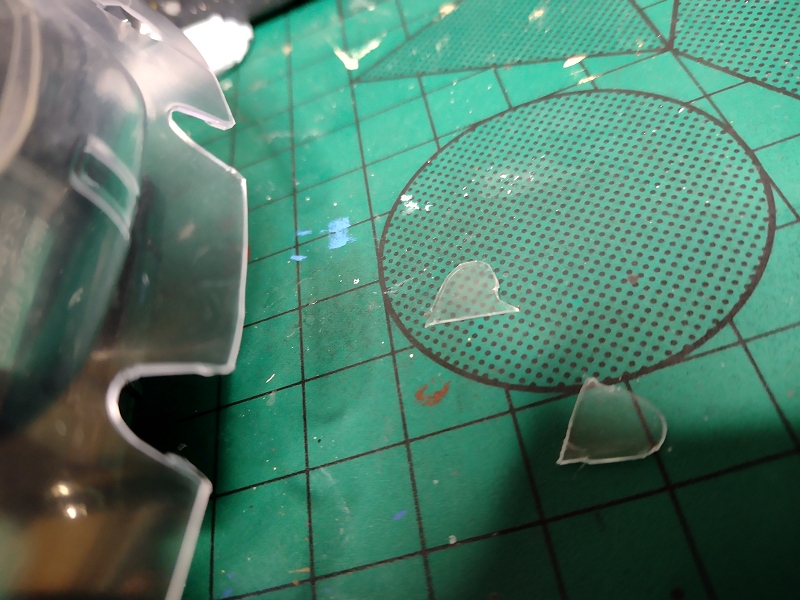
Body trimming was more score & tear than score & snap, and I didn’t get it in one – I wimped out on the rear bumper notches & did those separately. Attachments: |
|
Please Log in to join the conversation.
Last edit: by Jonny Retro.
|
Time to create page: 0.210 seconds

