Keyword

TOPIC:

58116 Dyna Storm restoration 5 years 8 months ago #51242

Step 11, attaching rear arms.

Four 3x12mm countersunk screws and four press nuts.


Signature now gets correct formatting if you edit it in your Profile. Use normal BBcode if you want.
www.tamiyabase.com was formatted automatically.
Attachments:

Please Log in to join the conversation.

58116 Dyna Storm restoration 5 years 8 months ago #51243

Now jumping to Step 18, gearbox installation.

Quite straight forward installation, just make sure to get that tab on the motor plate to fit the slot in the E1 motor protector.


Next time we'll continue on the rear damper mount.
Signature now gets correct formatting if you edit it in your Profile. Use normal BBcode if you want.
www.tamiyabase.com was formatted automatically.
Attachments:
The following user(s) Liked this: stingray-63

Please Log in to join the conversation.

58116 Dyna Storm restoration 5 years 8 months ago #51254

Step 19, rear damper mount assembly.

All new parts except the metal Mechanism Deck.


A total of 5 press nuts in use here. Two of them pre-attached by Tamiya to the Damper Stay.


Ready for attaching to the chassis.

Signature now gets correct formatting if you edit it in your Profile. Use normal BBcode if you want.
www.tamiyabase.com was formatted automatically.
Attachments:

Please Log in to join the conversation.

Last edit: by larbut.

58116 Dyna Storm restoration 5 years 8 months ago #51255

Step 20, attaching rear damper stay

Four screws and you're done.


Signature now gets correct formatting if you edit it in your Profile. Use normal BBcode if you want.
www.tamiyabase.com was formatted automatically.
Attachments:

Please Log in to join the conversation.

58116 Dyna Storm restoration 5 years 8 months ago #51256

Step 20, rear uprights

Starting with new D-Parts. They are identical to Super Astute.


Original Tamiya bearings, of course. :)


And ready for the chassis.


Step 22, rear upper arms.

Turnbucles ( with left- and right thread) and 6mm adjusters.


Signature now gets correct formatting if you edit it in your Profile. Use normal BBcode if you want.
www.tamiyabase.com was formatted automatically.

Please Log in to join the conversation.

58116 Dyna Storm restoration 5 years 8 months ago #51257

Step 23, attaching rear uprights.

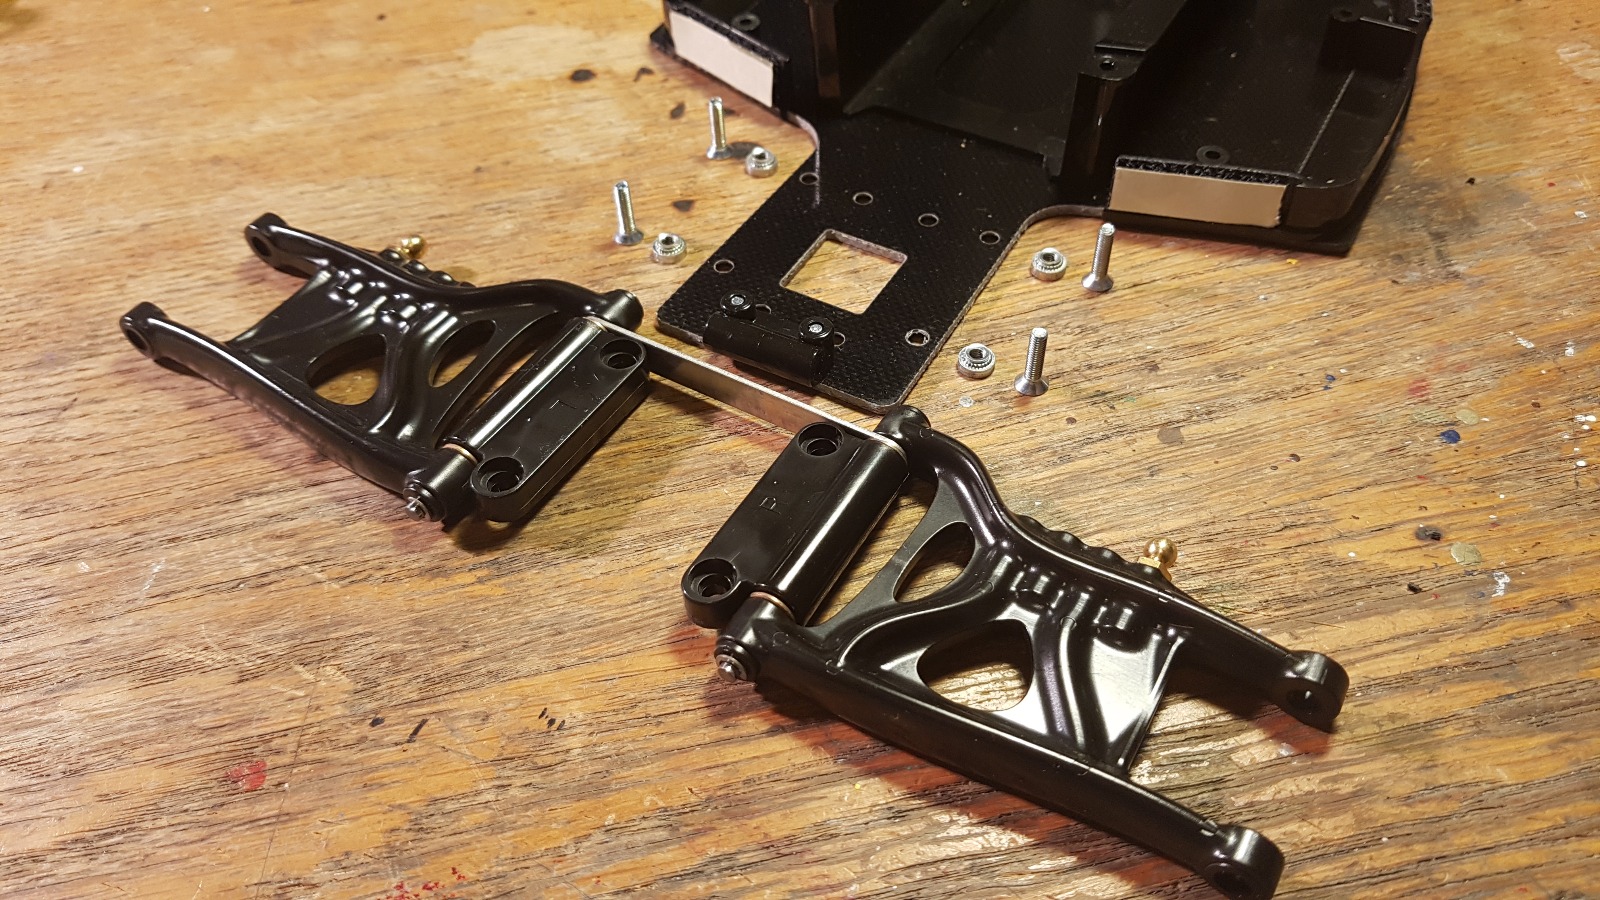
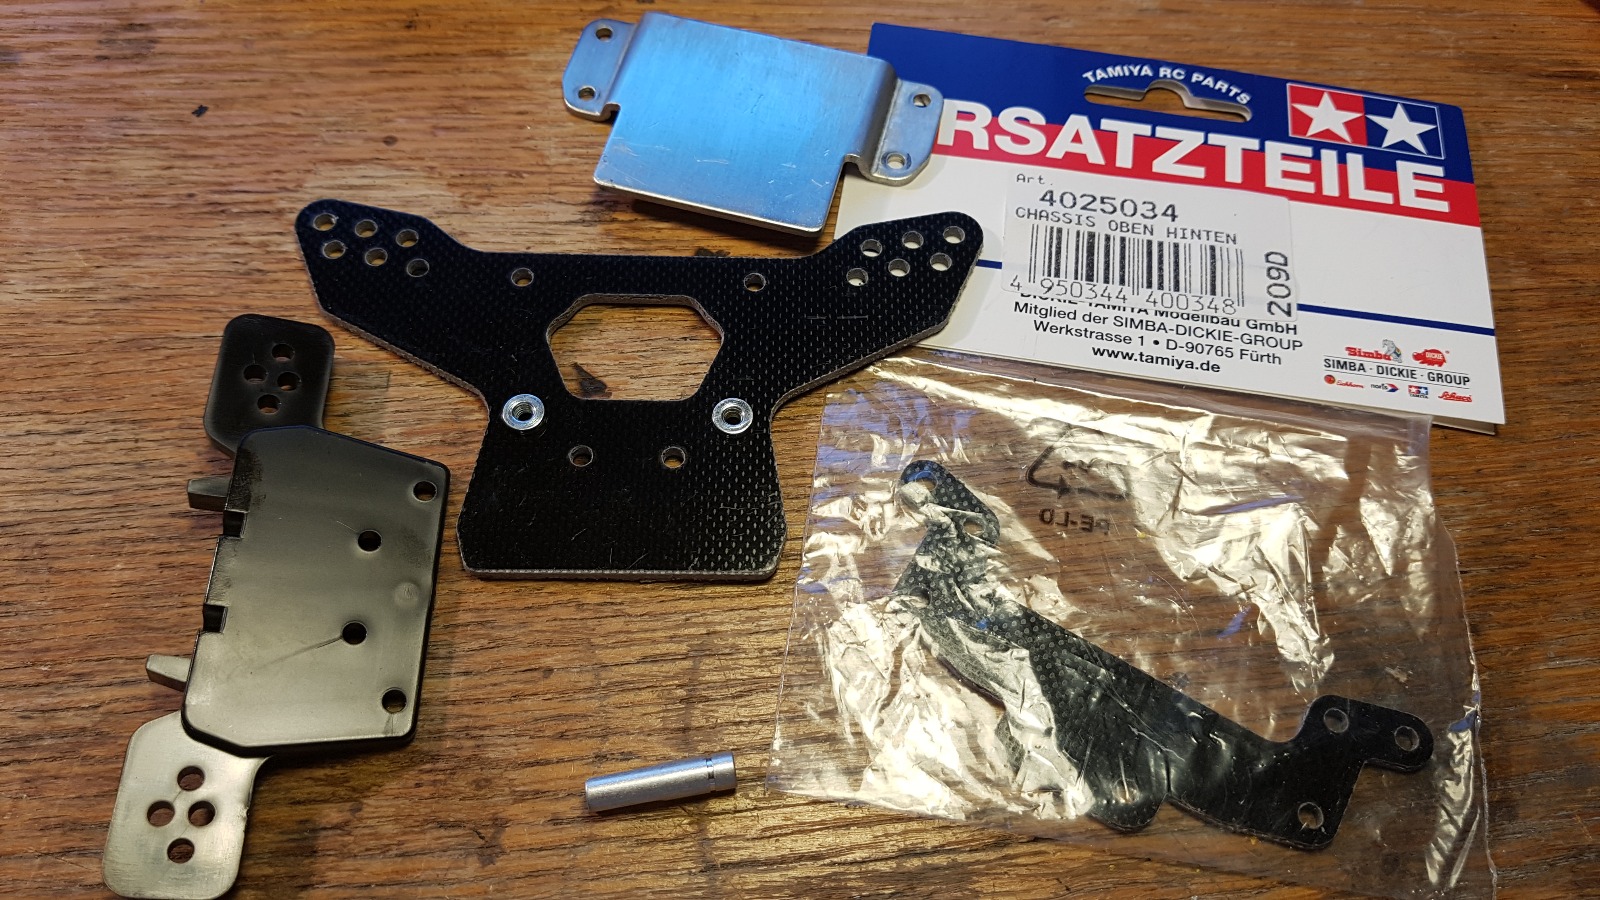
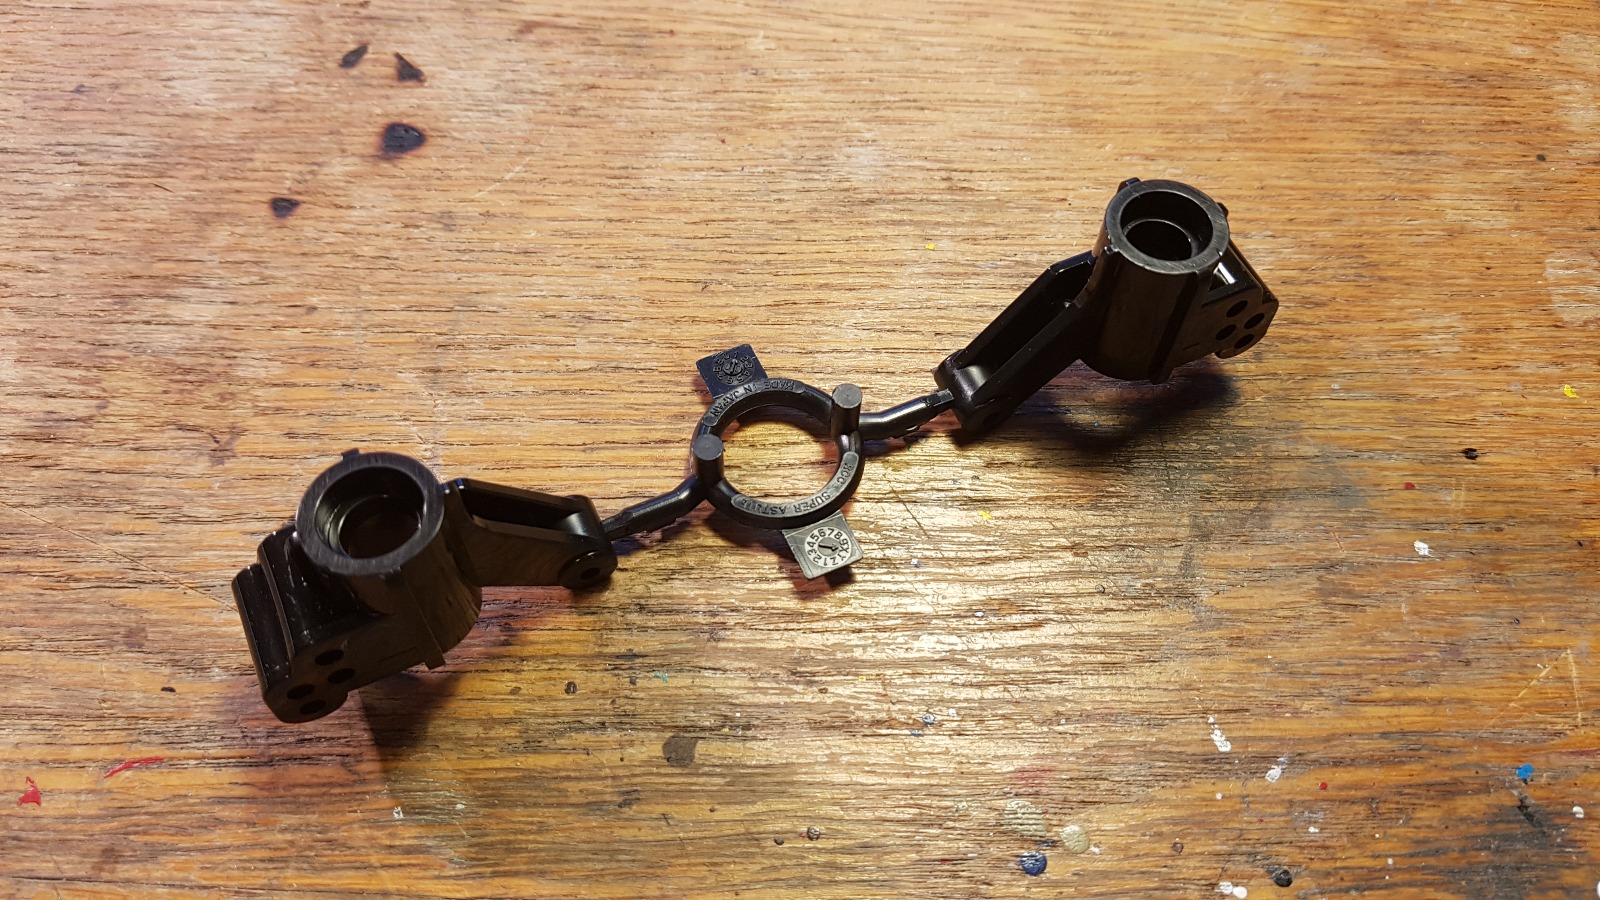
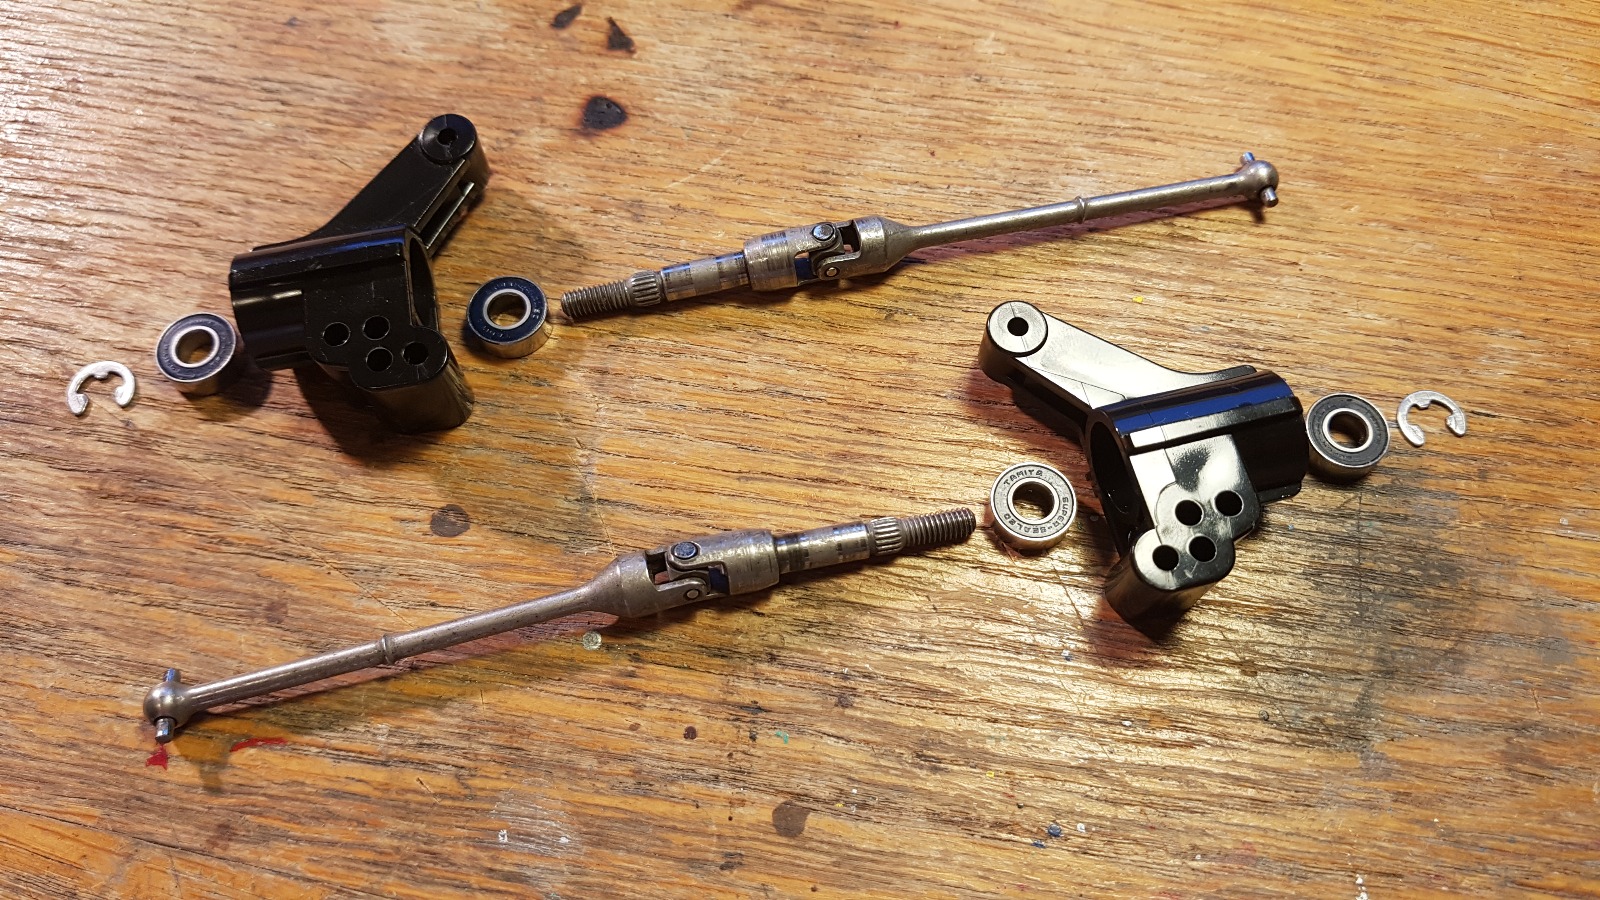
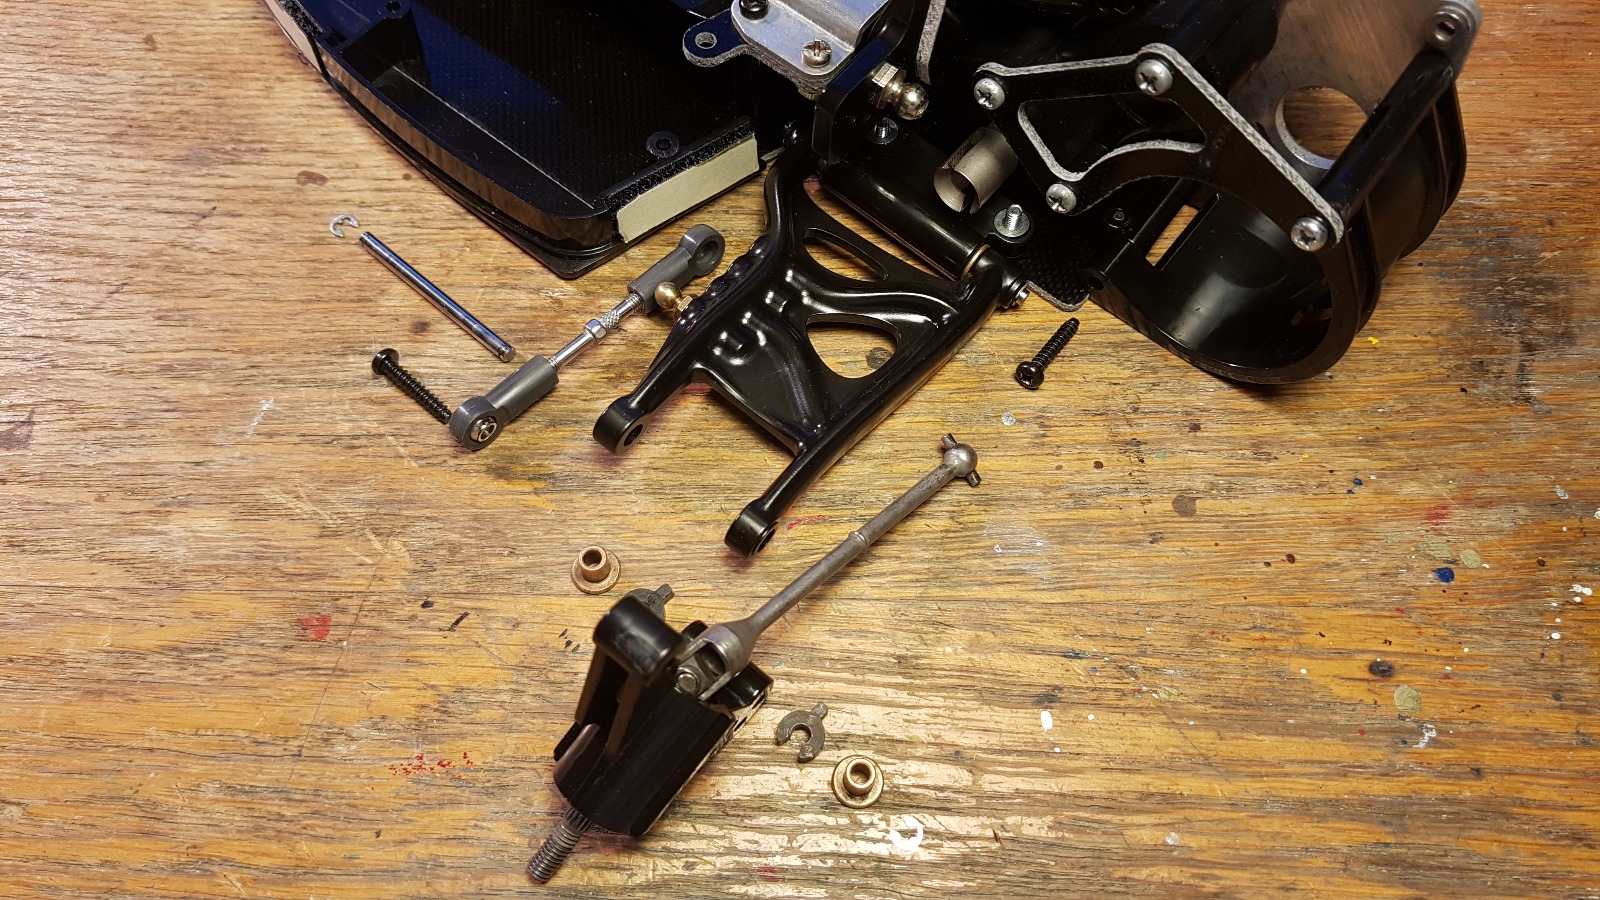
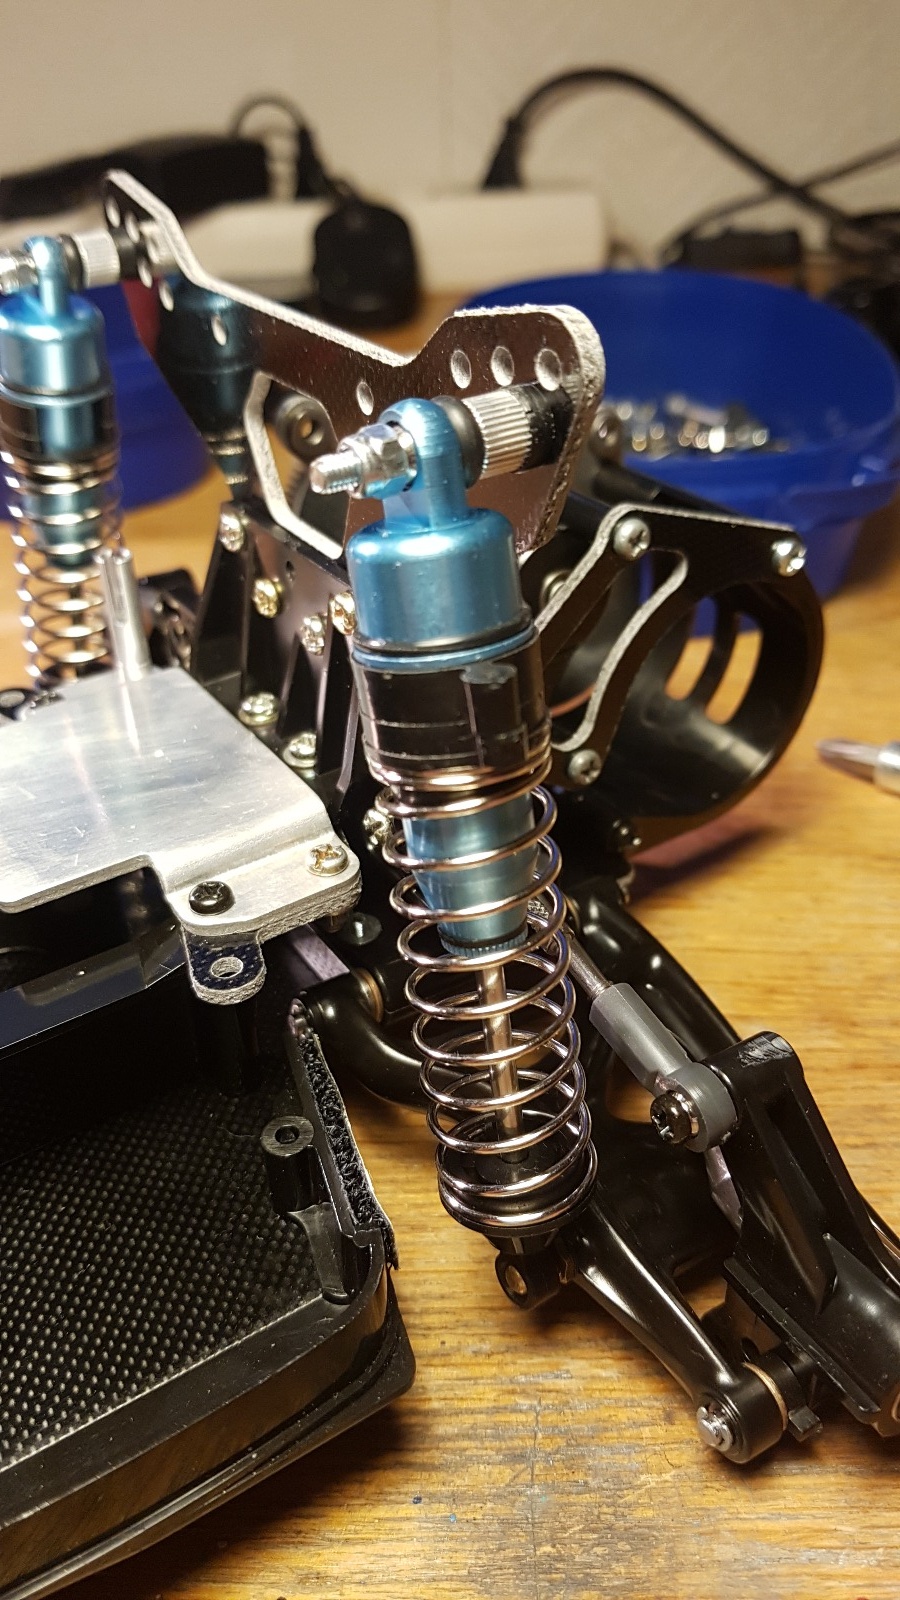
Lots of parts to keep track on, so only one side shown here in detail ;)


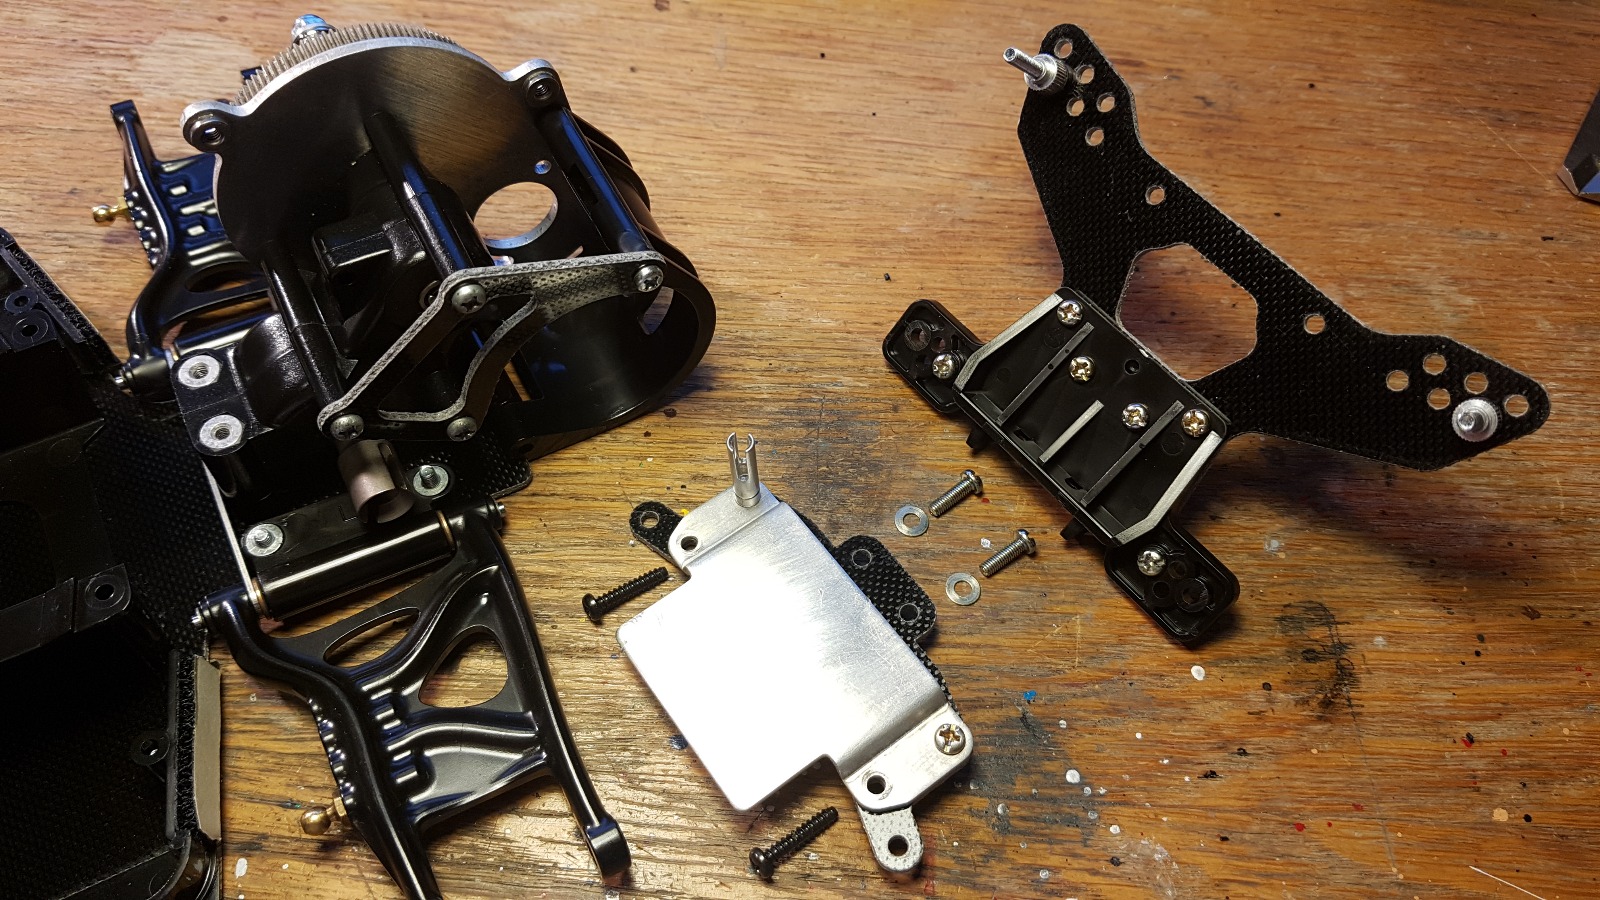
Easy to forget the 16mm screw attaching the motor protection to the chassis... I don't understand why Tamiya decided to not mount these two screws at step 18...
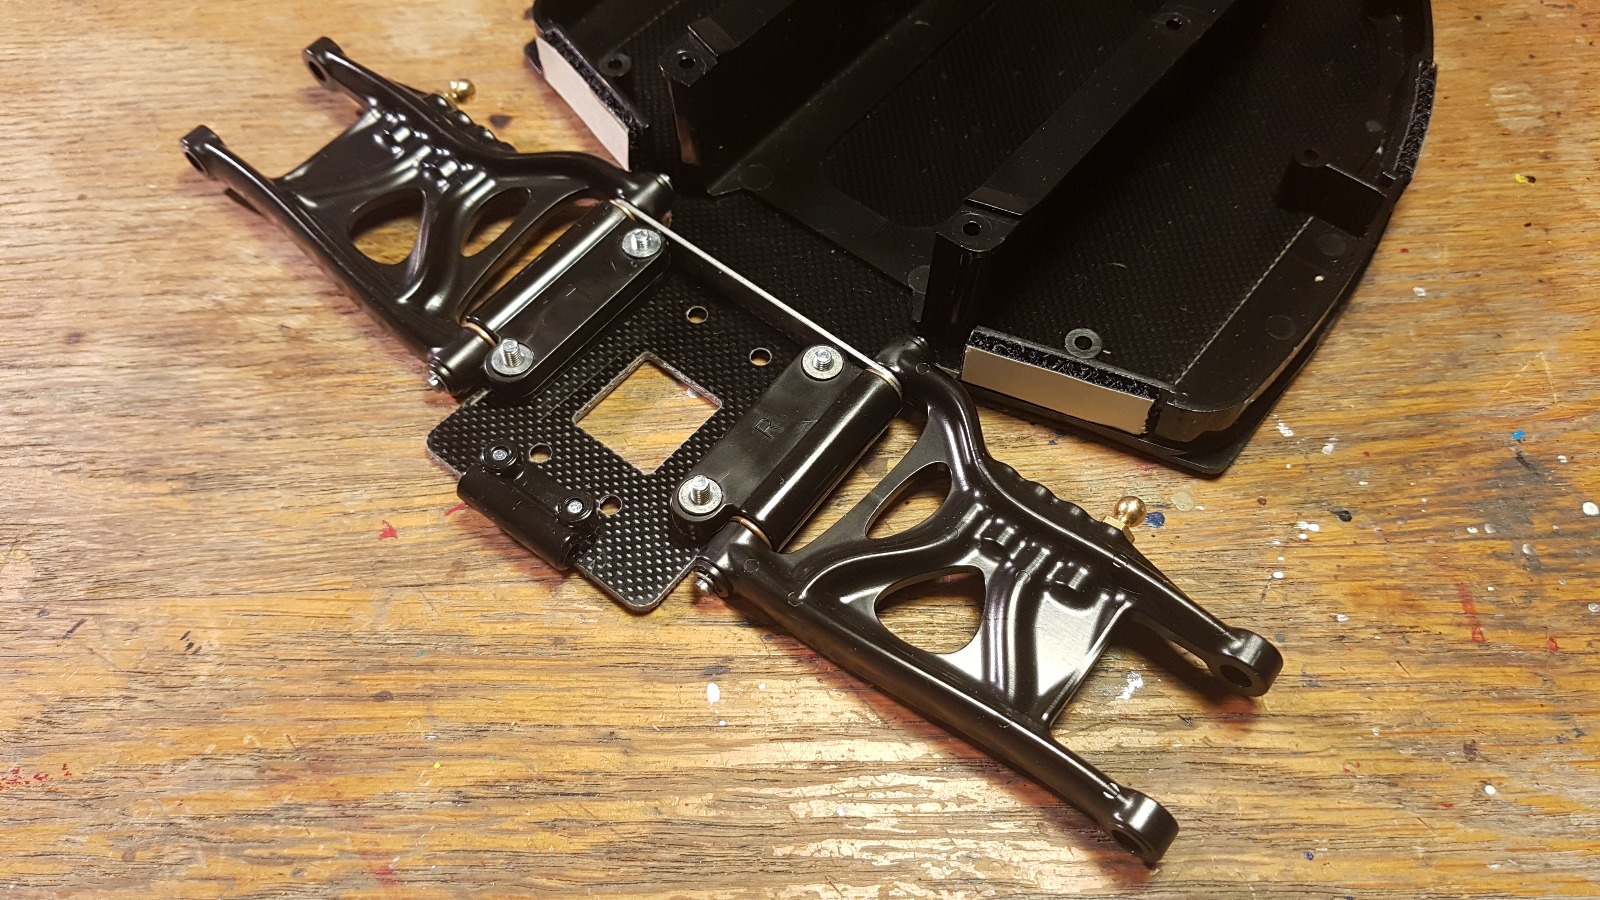
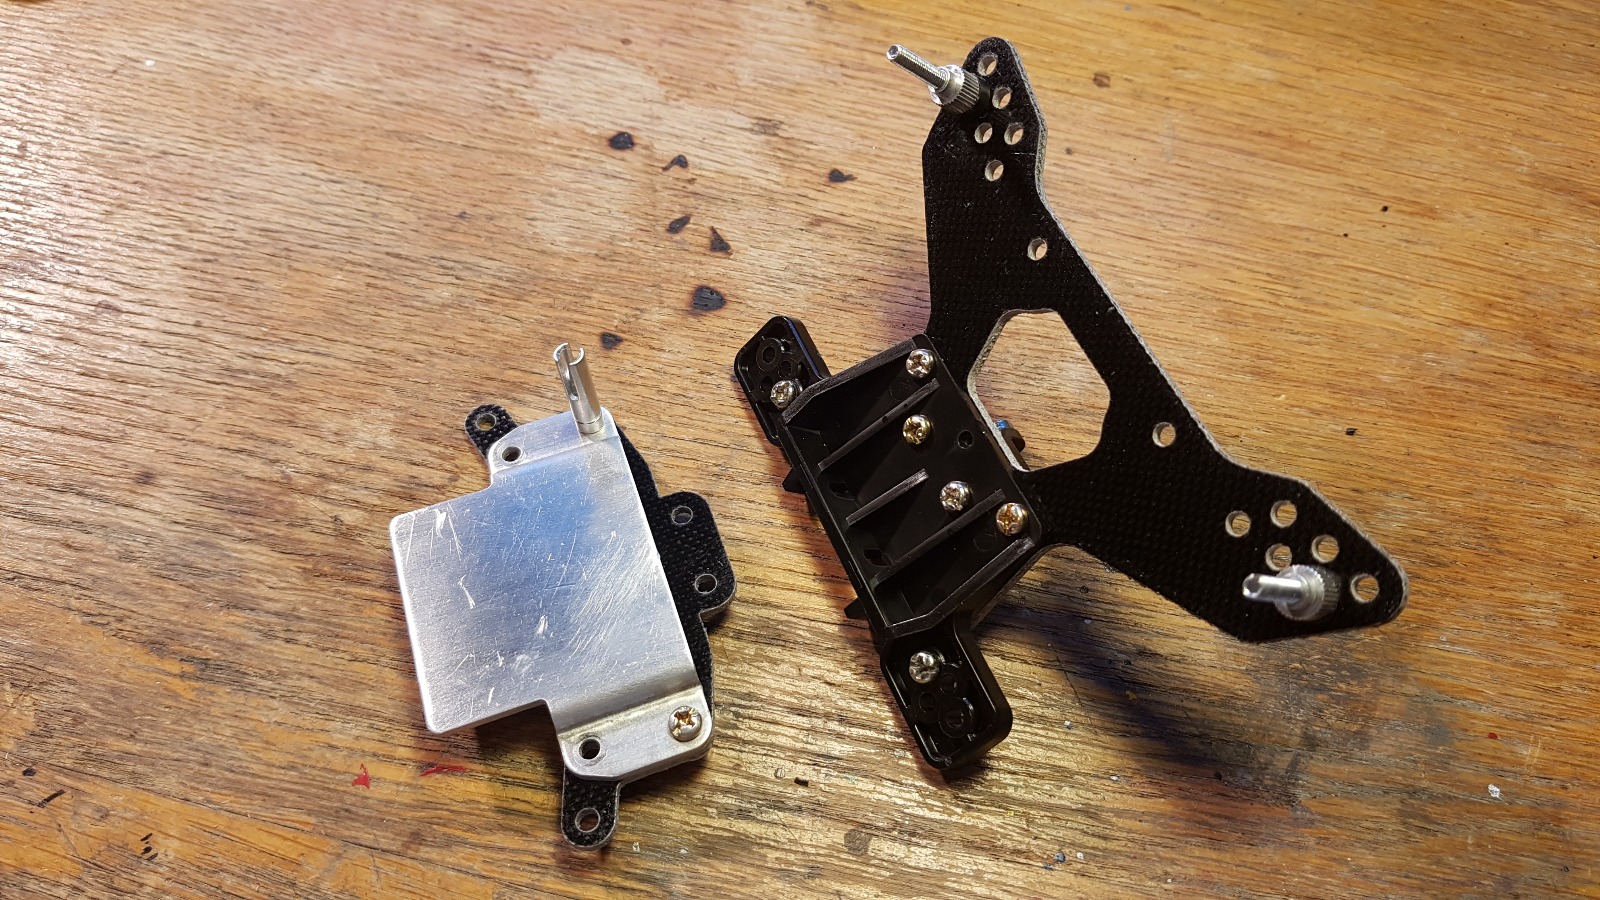
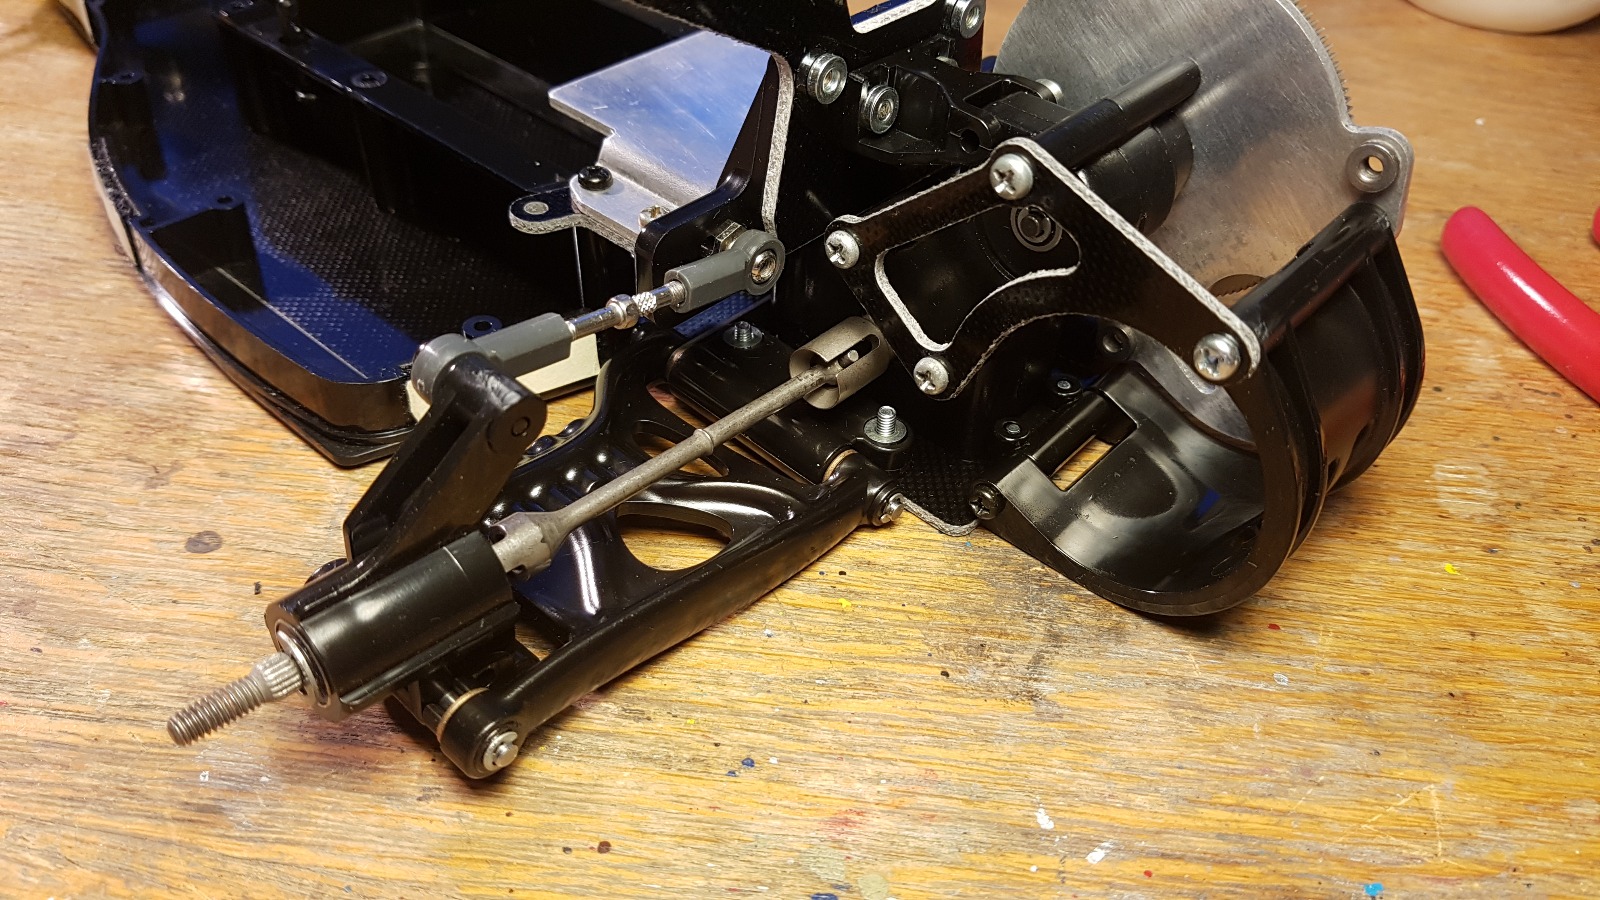
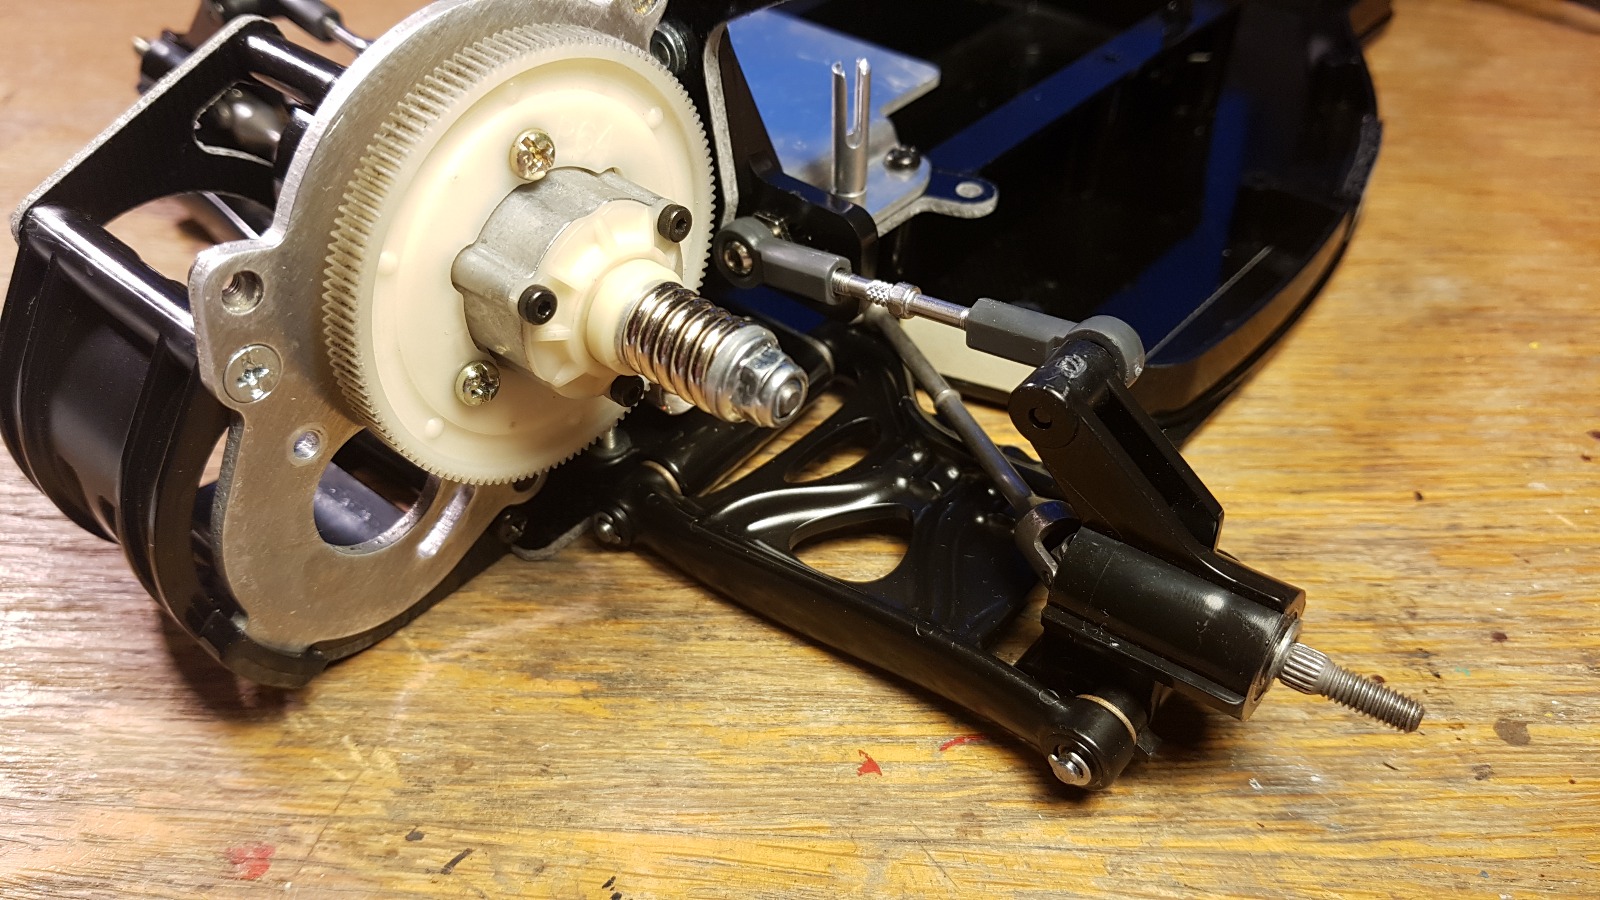


Spot the mistake?

Signature now gets correct formatting if you edit it in your Profile. Use normal BBcode if you want.
www.tamiyabase.com was formatted automatically.
Attachments:

Please Log in to join the conversation.

58116 Dyna Storm restoration 5 years 8 months ago #51258

And now we're ready for the damper install.

Step 28, Front dampers.


And without further ado, rear dampers in place.

Signature now gets correct formatting if you edit it in your Profile. Use normal BBcode if you want.
www.tamiyabase.com was formatted automatically.
Attachments:

Please Log in to join the conversation.

58116 Dyna Storm restoration 5 years 8 months ago #51259

Here is a shot of how the chassis stands after the dampers are mounted.
Looking promising :D

Signature now gets correct formatting if you edit it in your Profile. Use normal BBcode if you want.
www.tamiyabase.com was formatted automatically.
Attachments:
The following user(s) Liked this: caprinut, AndyAus

Please Log in to join the conversation.

58116 Dyna Storm restoration 5 years 8 months ago #51269

:woohoo: top top top

Please Log in to join the conversation.

58116 Dyna Storm restoration 5 years 8 months ago #51337

Love seeing your progress on this.

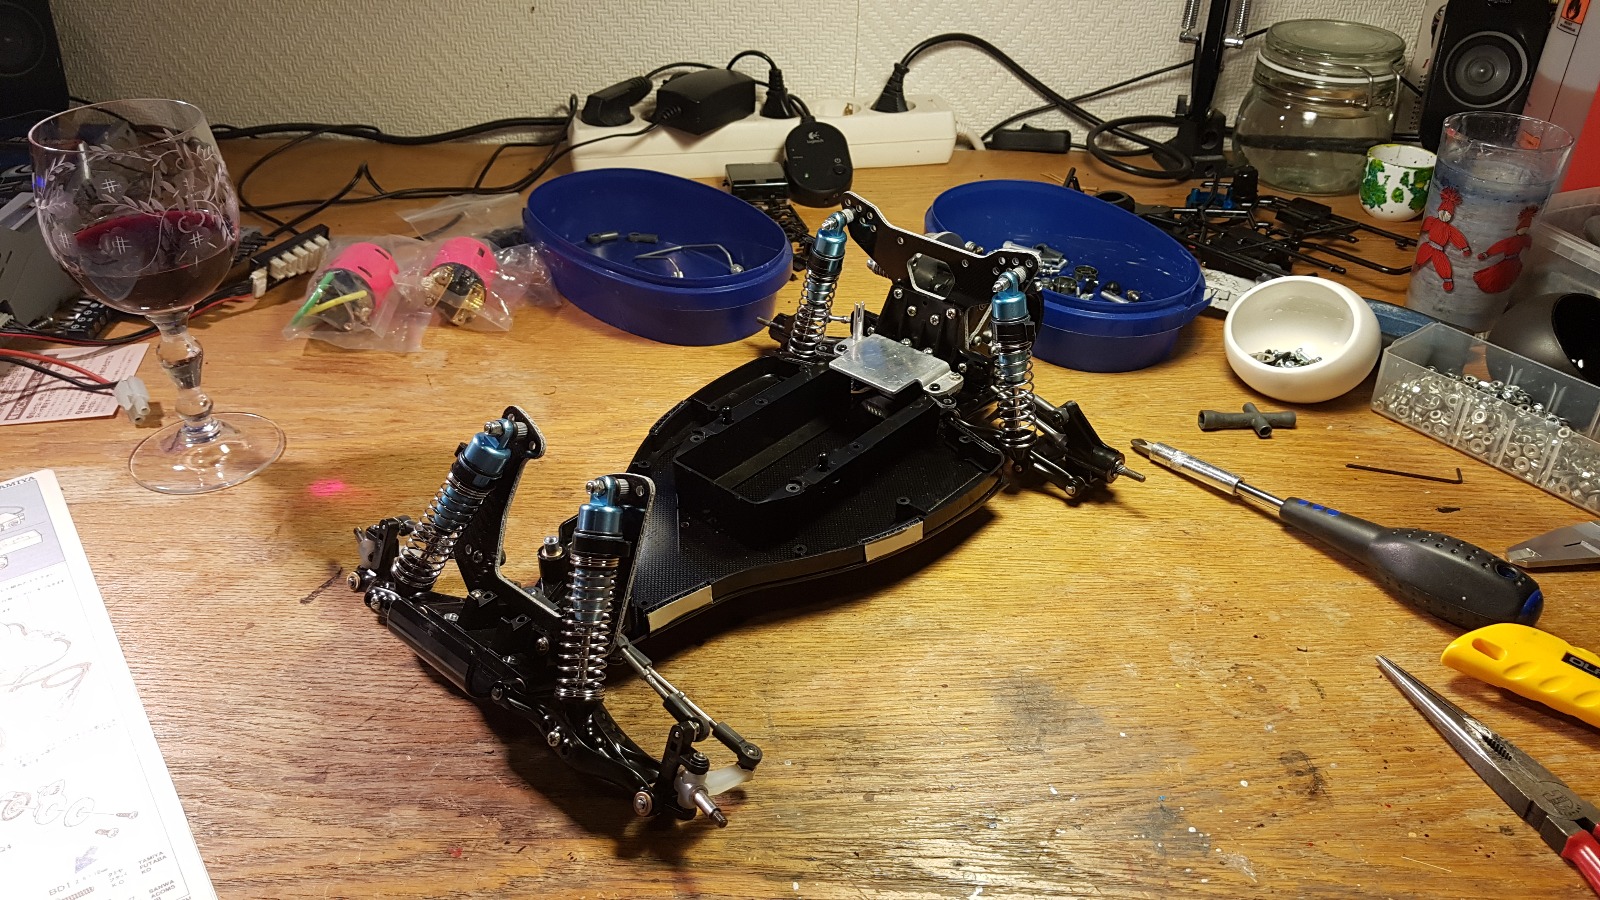
I finally got the correct screws to continue the build, and at the same time got a new 49190 kit motor :)

Six screws out of these six bags was all I needed, but still great to have all the rest as spares.


This brings up a good question. How did you know the screws you needed were in those screw bags? I've had a few occasions where I could not find a screw or other piece of hardware I needed and wondered what screw bag they might be in.

Please Log in to join the conversation.

Moderators: caprinutstingray-63AndyAus
Time to create page: 0.177 seconds
Cookies are required to make this site work. If you continue to use this site you permit us to use cookies.