Keyword

TOPIC:

58116 Dyna Storm restoration 5 years 8 months ago #51550

I did!
PM sent.
Lars

Hey buddy, Did you end up with a spare one of these you would be willing to part with? :)

Signature now gets correct formatting if you edit it in your Profile. Use normal BBcode if you want.
www.tamiyabase.com was formatted automatically.

Please Log in to join the conversation.

Last edit: by larbut.

58116 Dyna Storm restoration 5 years 8 months ago #51650

Almost a week, and no progress on this build, all because of my poor planning.
I ended up missing one piece of the servo saver, and had to wait some days for an parcel from UK to arrive...

Anyway... Step 32 Prepping the steering servo.

Time to get sore fingers arfter wrestling that second metal ring outside the first one. Anyone with a good trick to do that easly?


Step 33 Servo mount and linkage


Step 34, installing the servo.


Signature now gets correct formatting if you edit it in your Profile. Use normal BBcode if you want.
www.tamiyabase.com was formatted automatically.

Please Log in to join the conversation.

58116 Dyna Storm restoration 5 years 8 months ago #51651

Step 35, Attaching front plate

The (most?) important piece of the Dyna chassis that gives it it's rigidity. The front end is practically flapping about until this piece is in place.


And in place:


Next step will involve new wheels and tyres...

Signature now gets correct formatting if you edit it in your Profile. Use normal BBcode if you want.
www.tamiyabase.com was formatted automatically.
Attachments:

Please Log in to join the conversation.

58116 Dyna Storm restoration 5 years 8 months ago #51653

Skipping step 36 as I will not be installing radio gear in this leads us to step 37: Wheels

New set for this one, but I must say it hurts my Vintage Tamiya heart not to able to find the correct rear ones, the 53093 Spire Spikes. They seem to be comletely gone from the market...
Instead I had to opt for the 53084Square Spike tyres, which is a decent replacement (even recommended by Tamiya)

Some more sore thumbs and you have a set ready: (although it's not that hard if you follow Tamiya's suggestions on how to mount the tyres.)


Fronts ready for mounting. Note that I obey by the 58116 manual where the front bearings are supposed to be normal metal ones.


The rears ready:


I will not show a picture of them mounted, not yet. I bet the suspense is killing you!! (or i forgot to take those pictures...)
Signature now gets correct formatting if you edit it in your Profile. Use normal BBcode if you want.
www.tamiyabase.com was formatted automatically.
Attachments:

Please Log in to join the conversation.

Last edit: by larbut.

58116 Dyna Storm restoration 5 years 8 months ago #51654

the 53093 Spire Spikes. They seem to be comletely gone from the market...


So hard to part with, if one has some :unsure: :dry:
The following user(s) Liked this: larbut

Please Log in to join the conversation.

Last edit: by waterbok.

58116 Dyna Storm restoration 5 years 8 months ago #51655

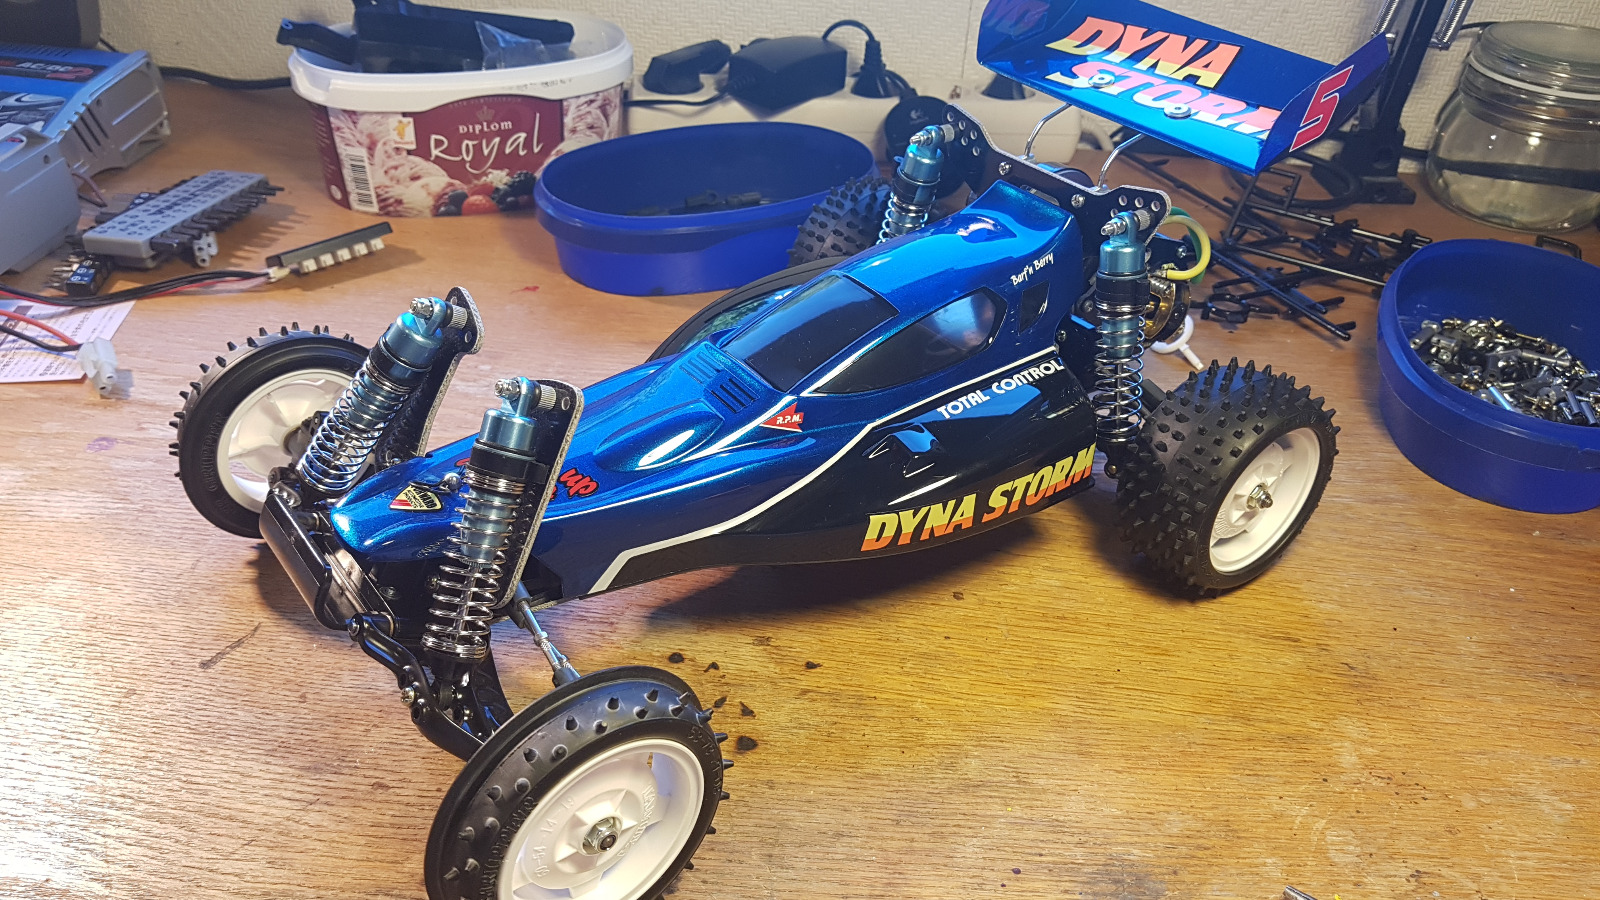
I have been cheating a bit, by painting the shell and wing a week ago, so here goes Step 40:

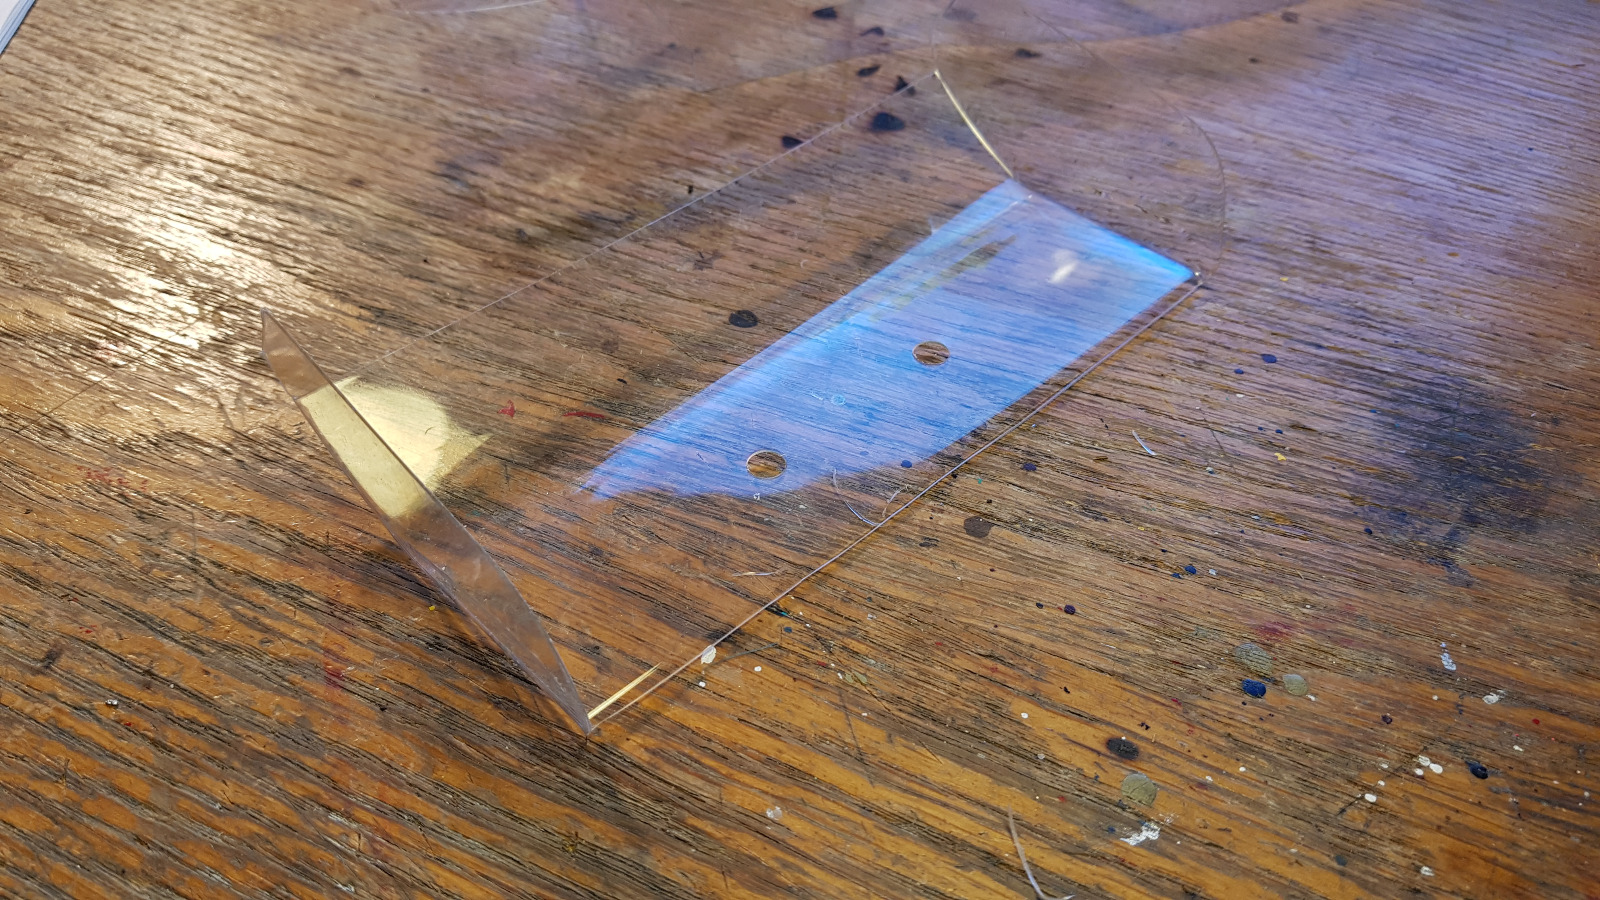
I always start by trimming the body/wing. I know some paint first and then trim, but I would not survive the fiddly job of cutting the shell with the paint exposed to damage.


Also, I no longer use scissors to do the final cut, just to get rid of the outer edges before I score with a sharp knife and bend/tear along the score line. It works just great as long as you keep the score line continous. You don't have to cut deep, the tearing/breaking will still find the weakest point (the score) and follow that.


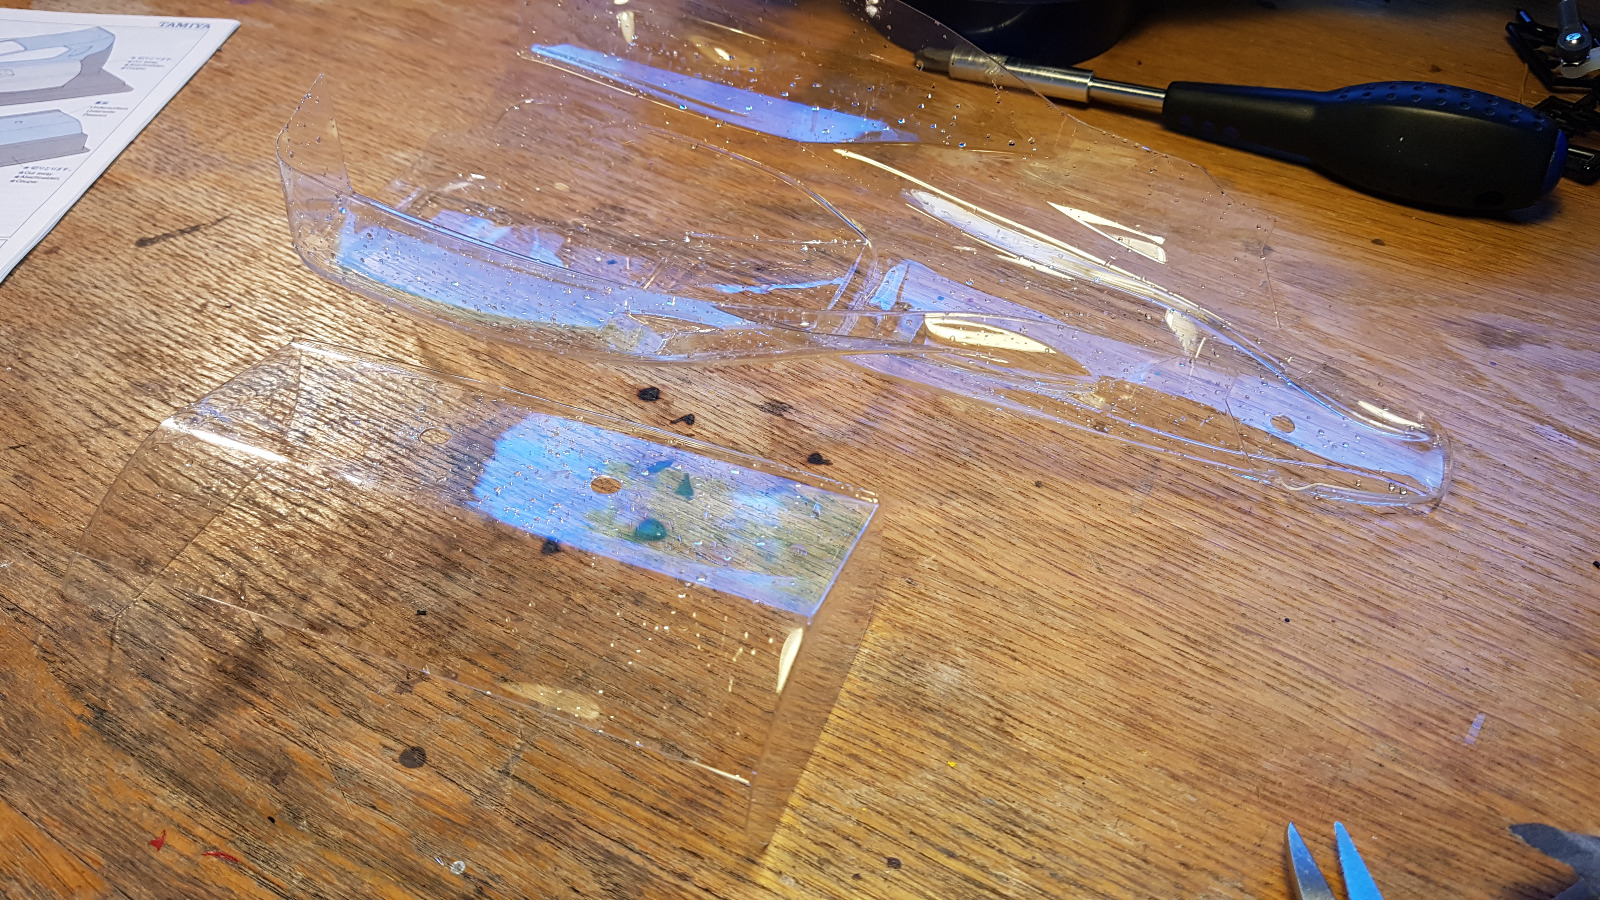
And, after the scoring/tearing/breaking, the shell and wing is sent off to thorough cleaning with "a drop" of liquid dishwasher soap. I leave them to dry at least a day.


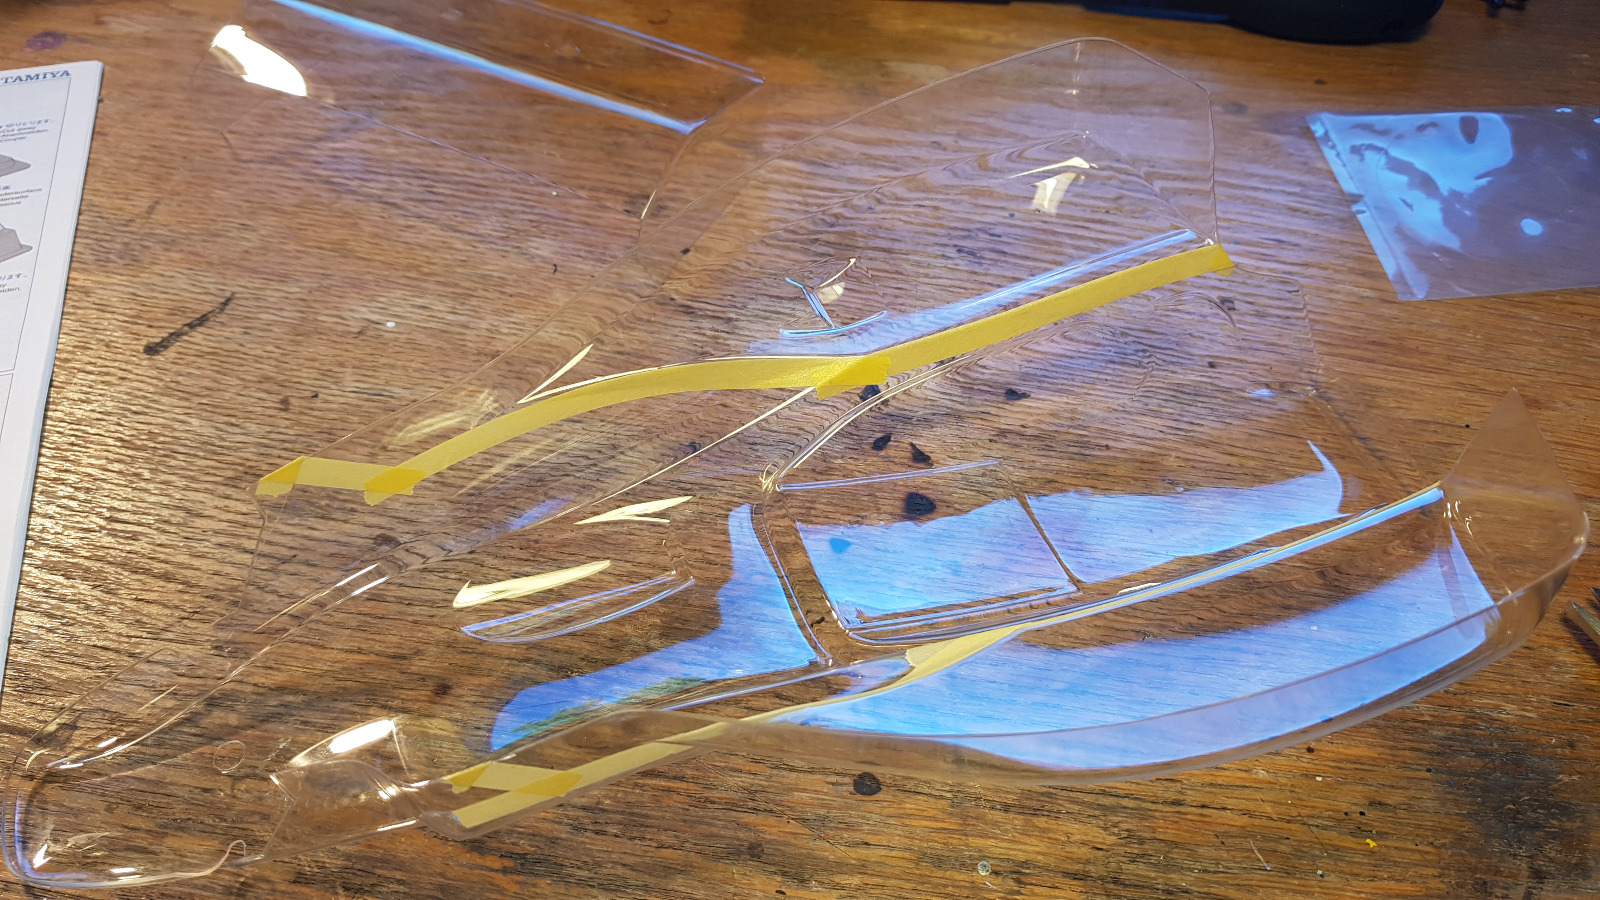
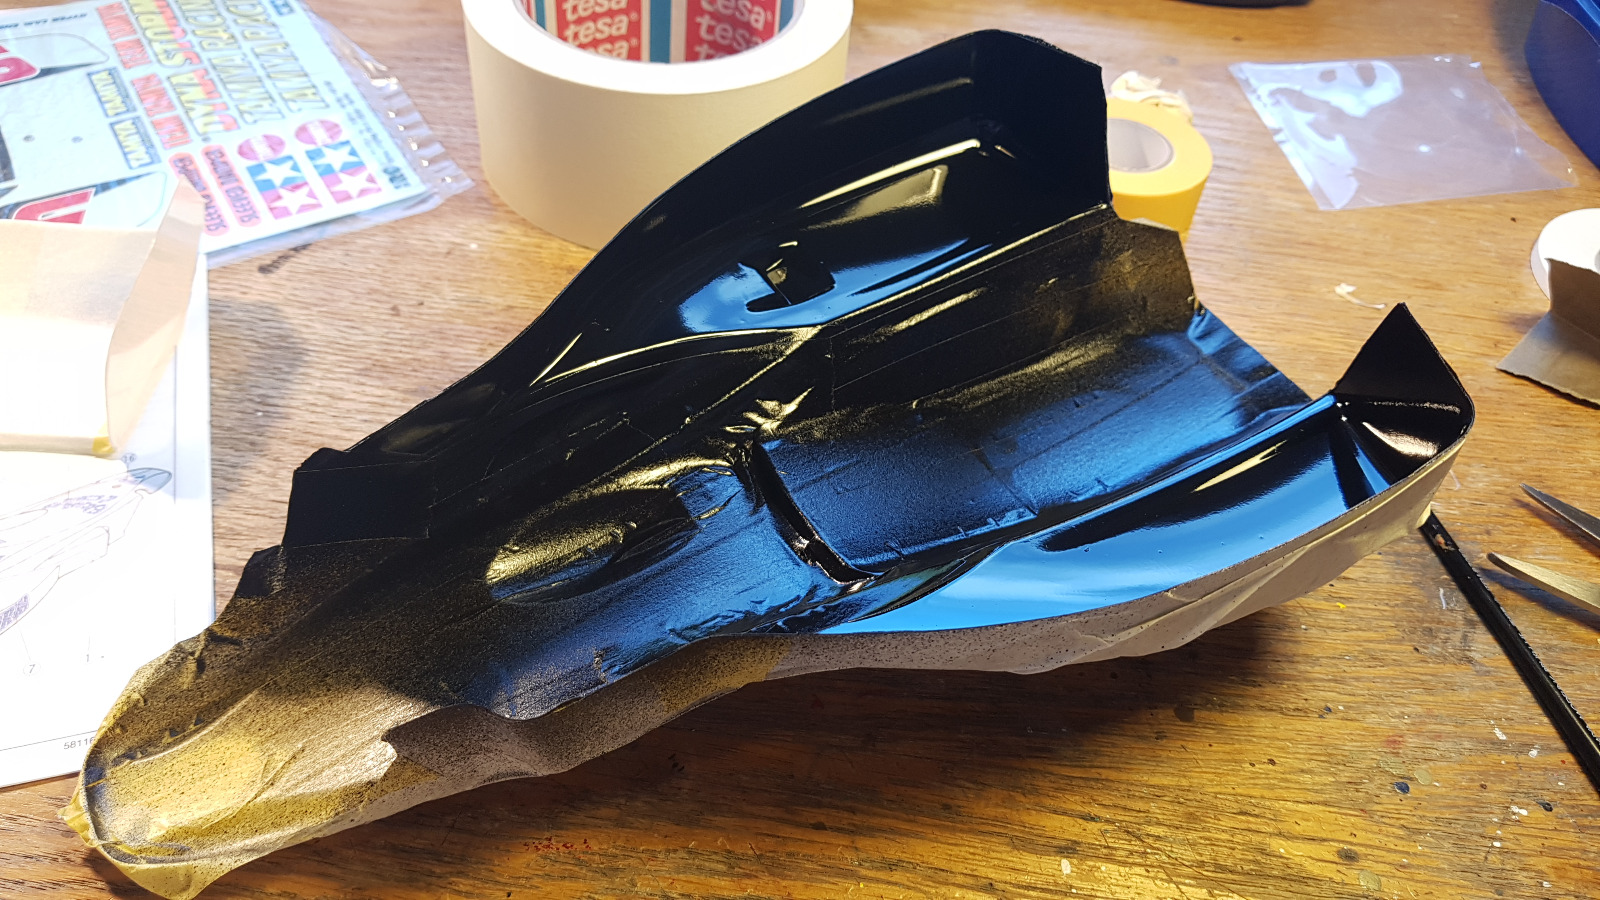
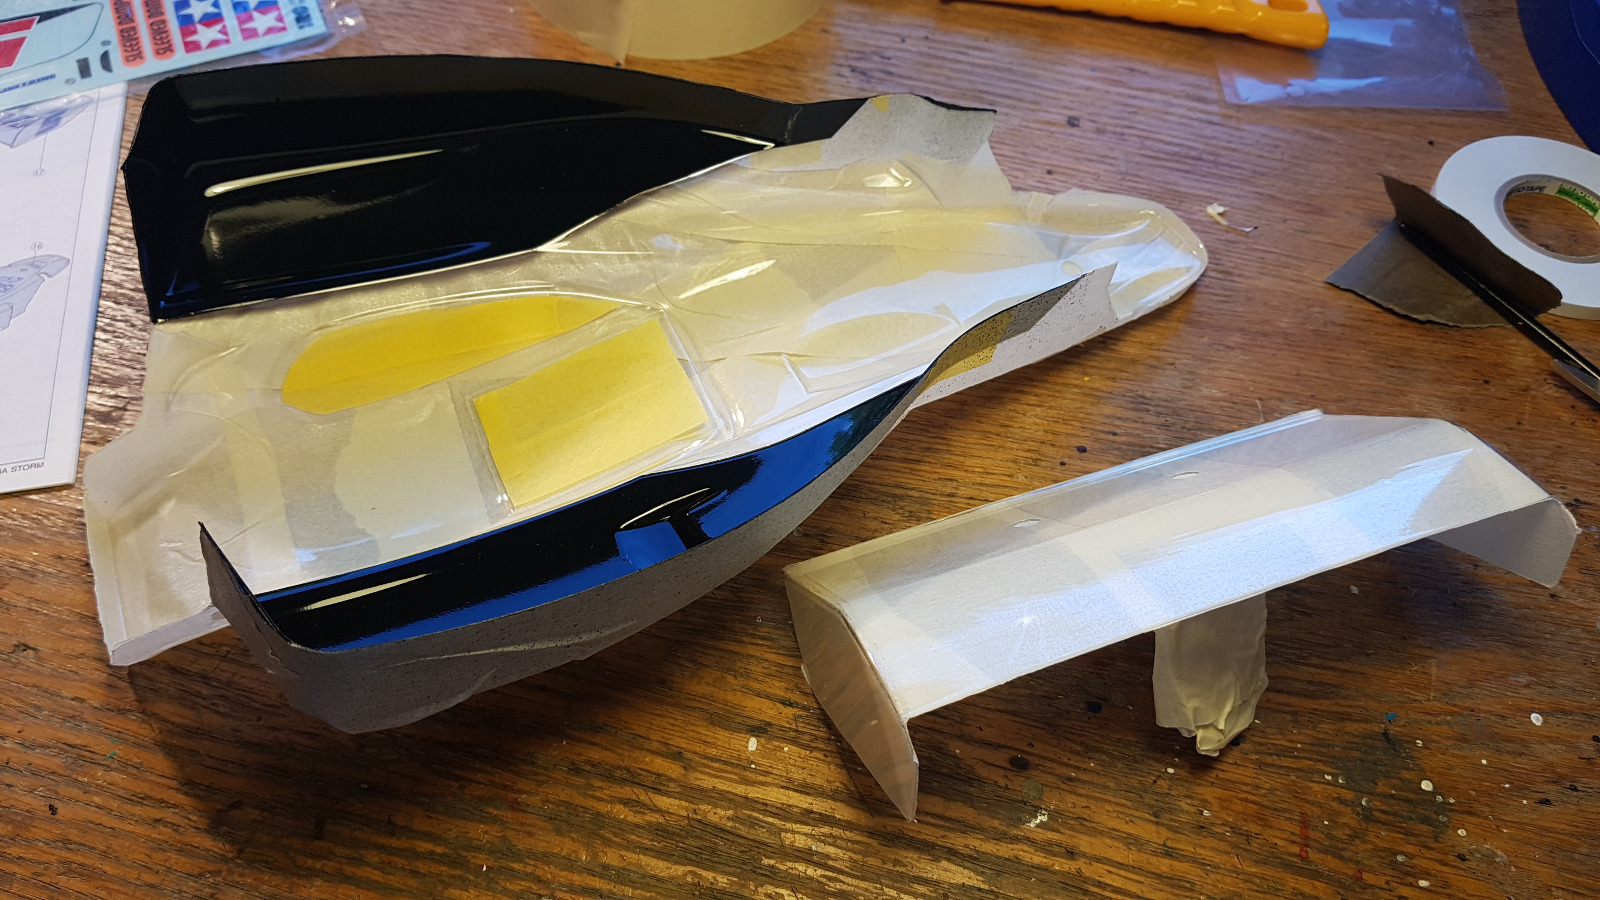
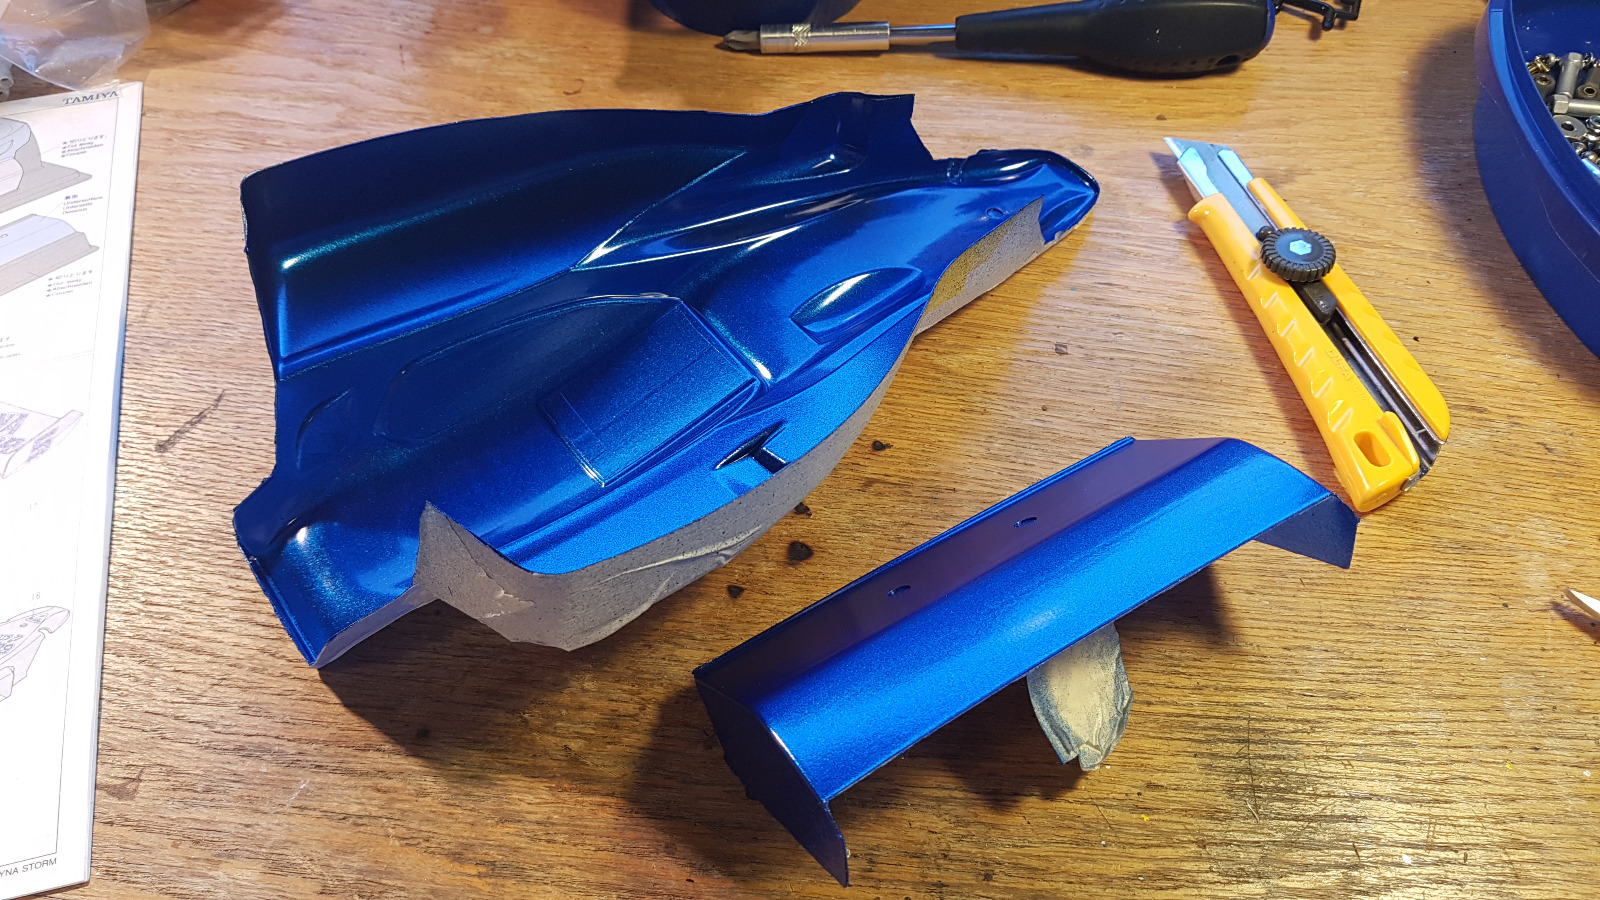
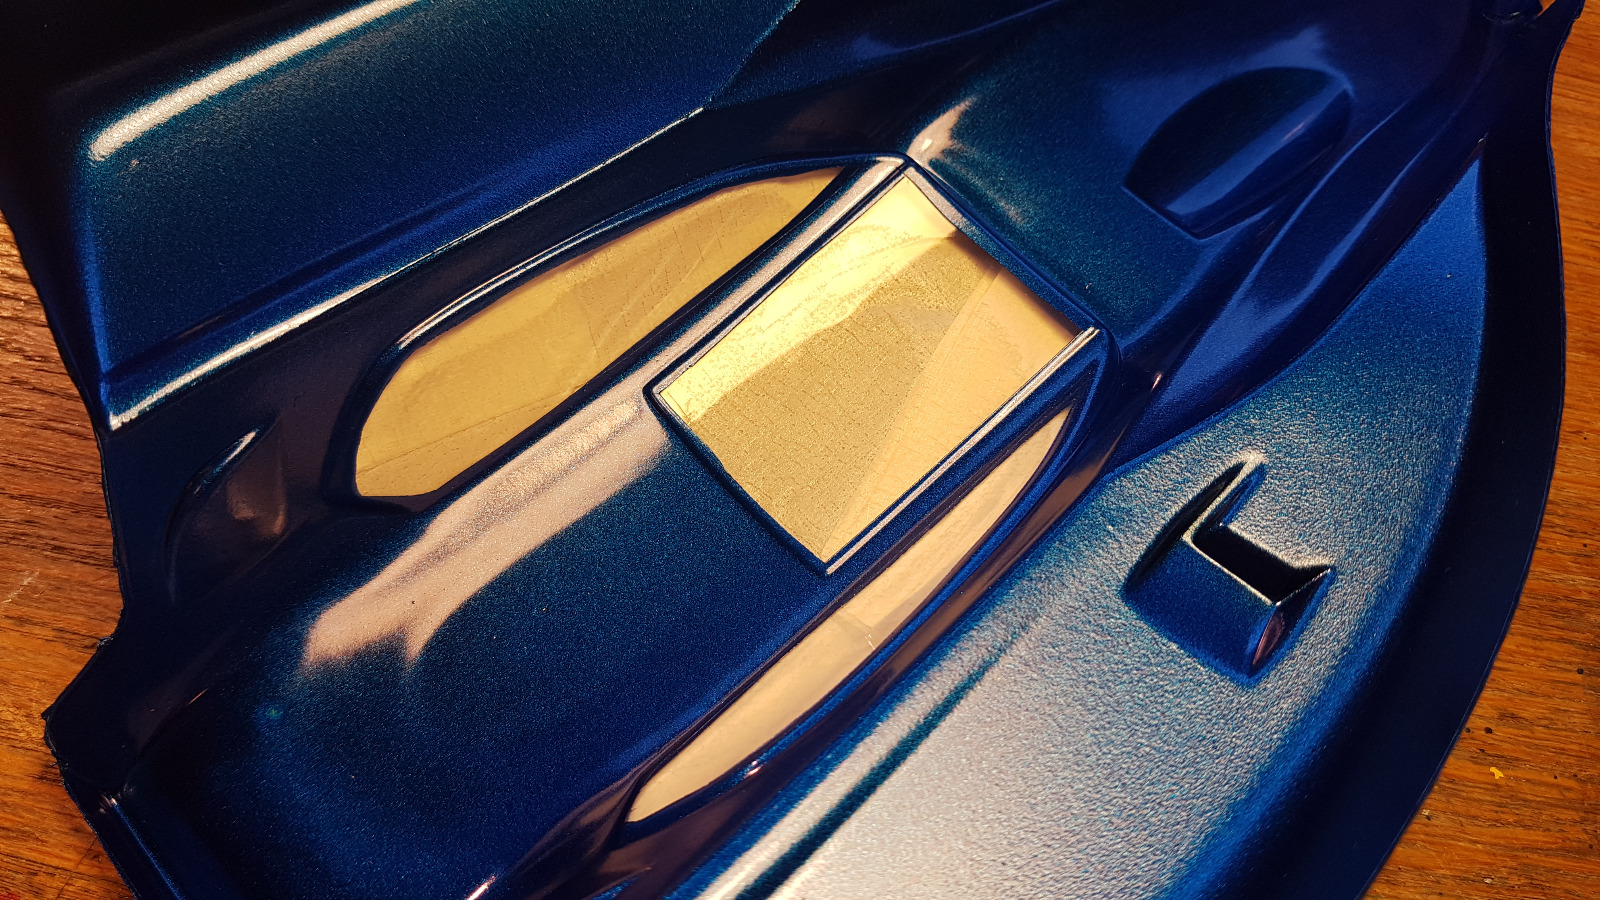
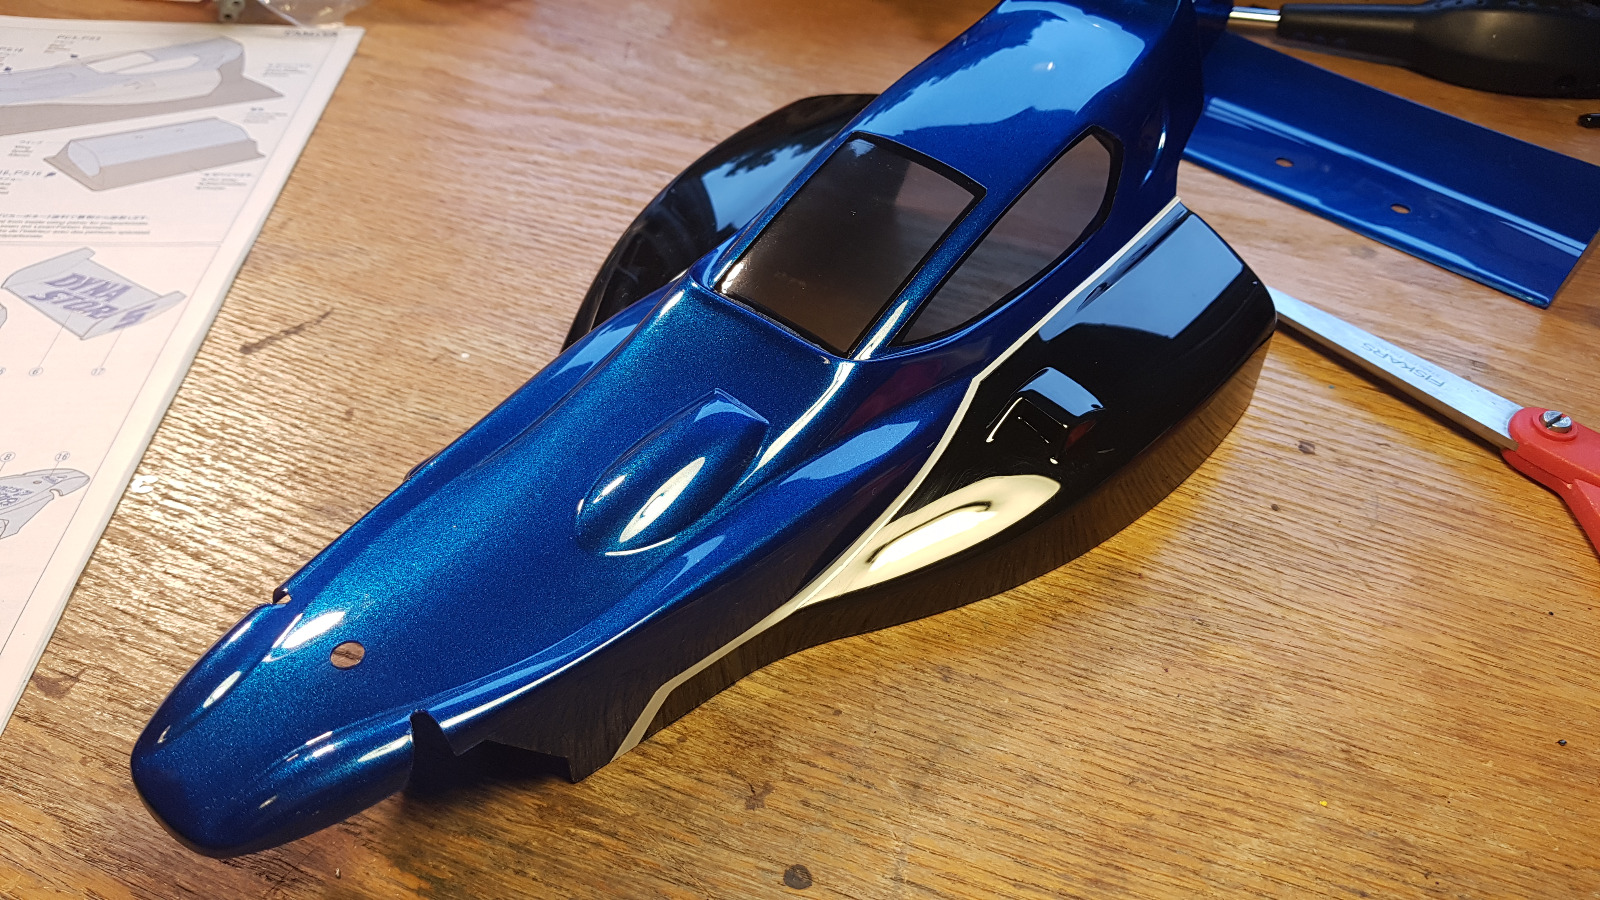
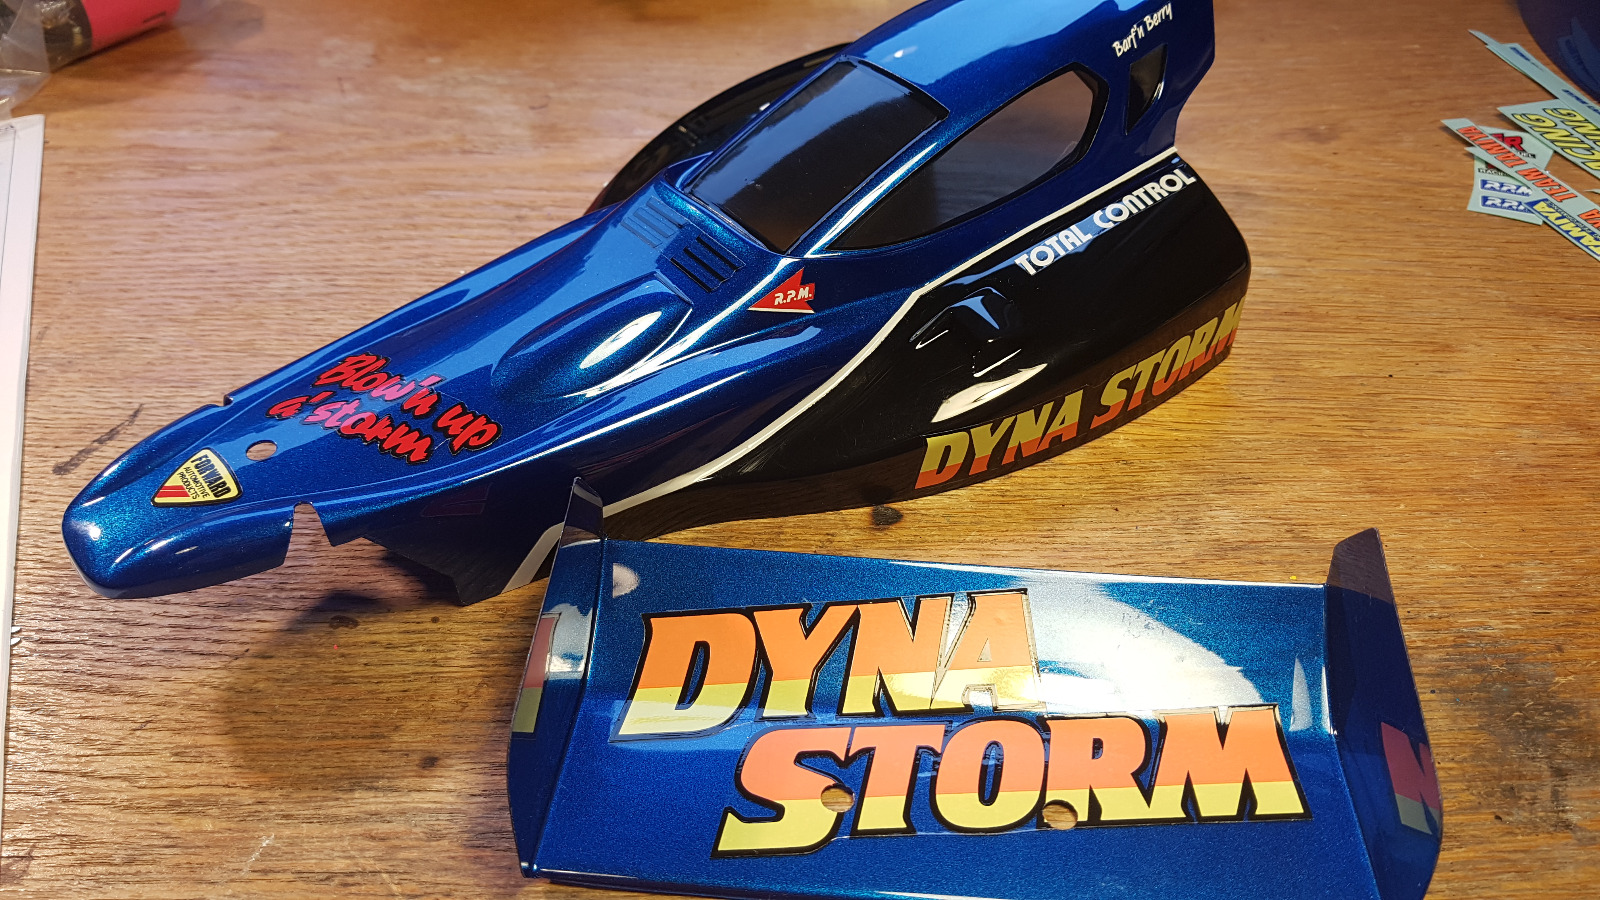
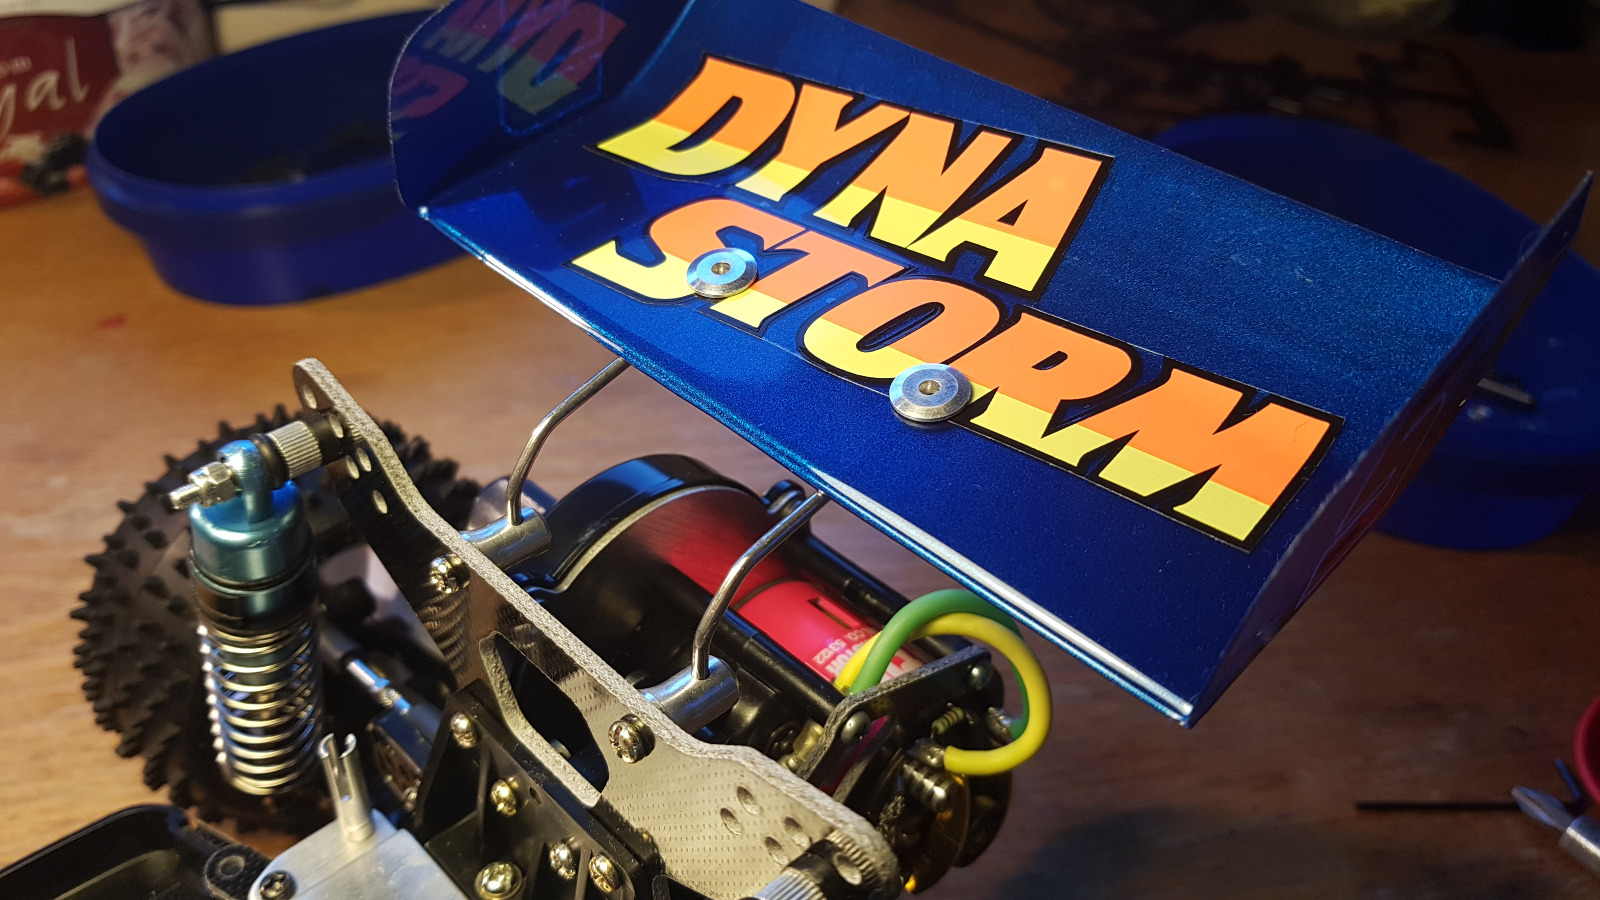
Then it's masking. The Dyna Storm is two-tone with black on the side pods and metallick blue on the rest. The body has indication on where the dividing line should be, and a white decal-line will at the end cover the masking line. Remember to paint the darkest colour first on Lexan/Polycarbonate bodies.


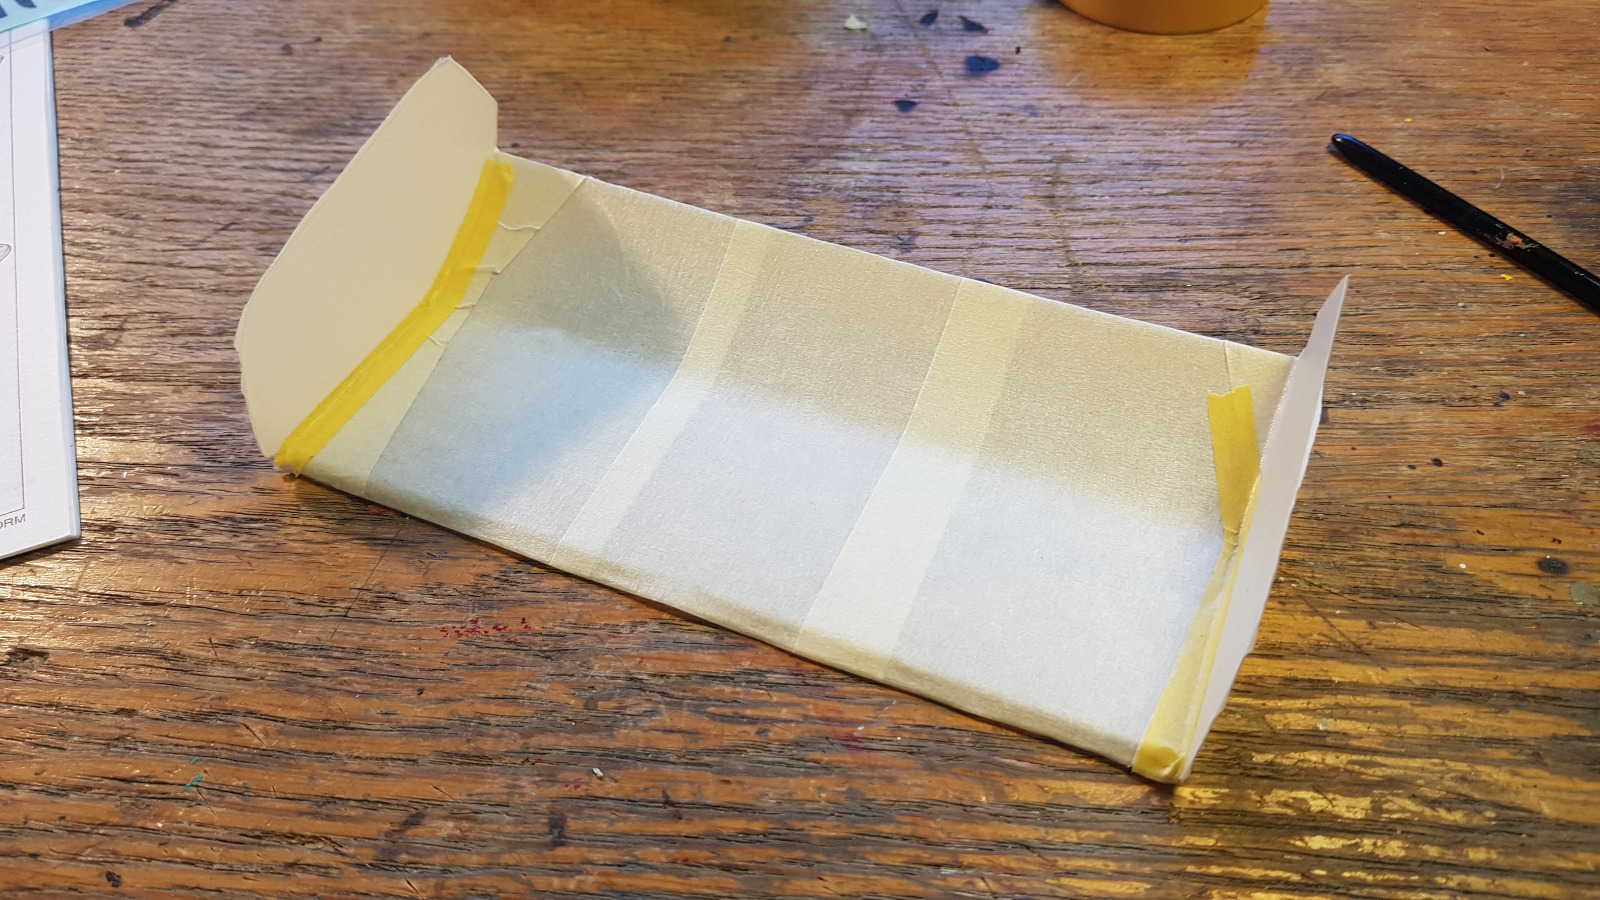
Being an old shell (1992) there is no protective outer sheet, so I use wide masking tape to cover both body and wing completely.


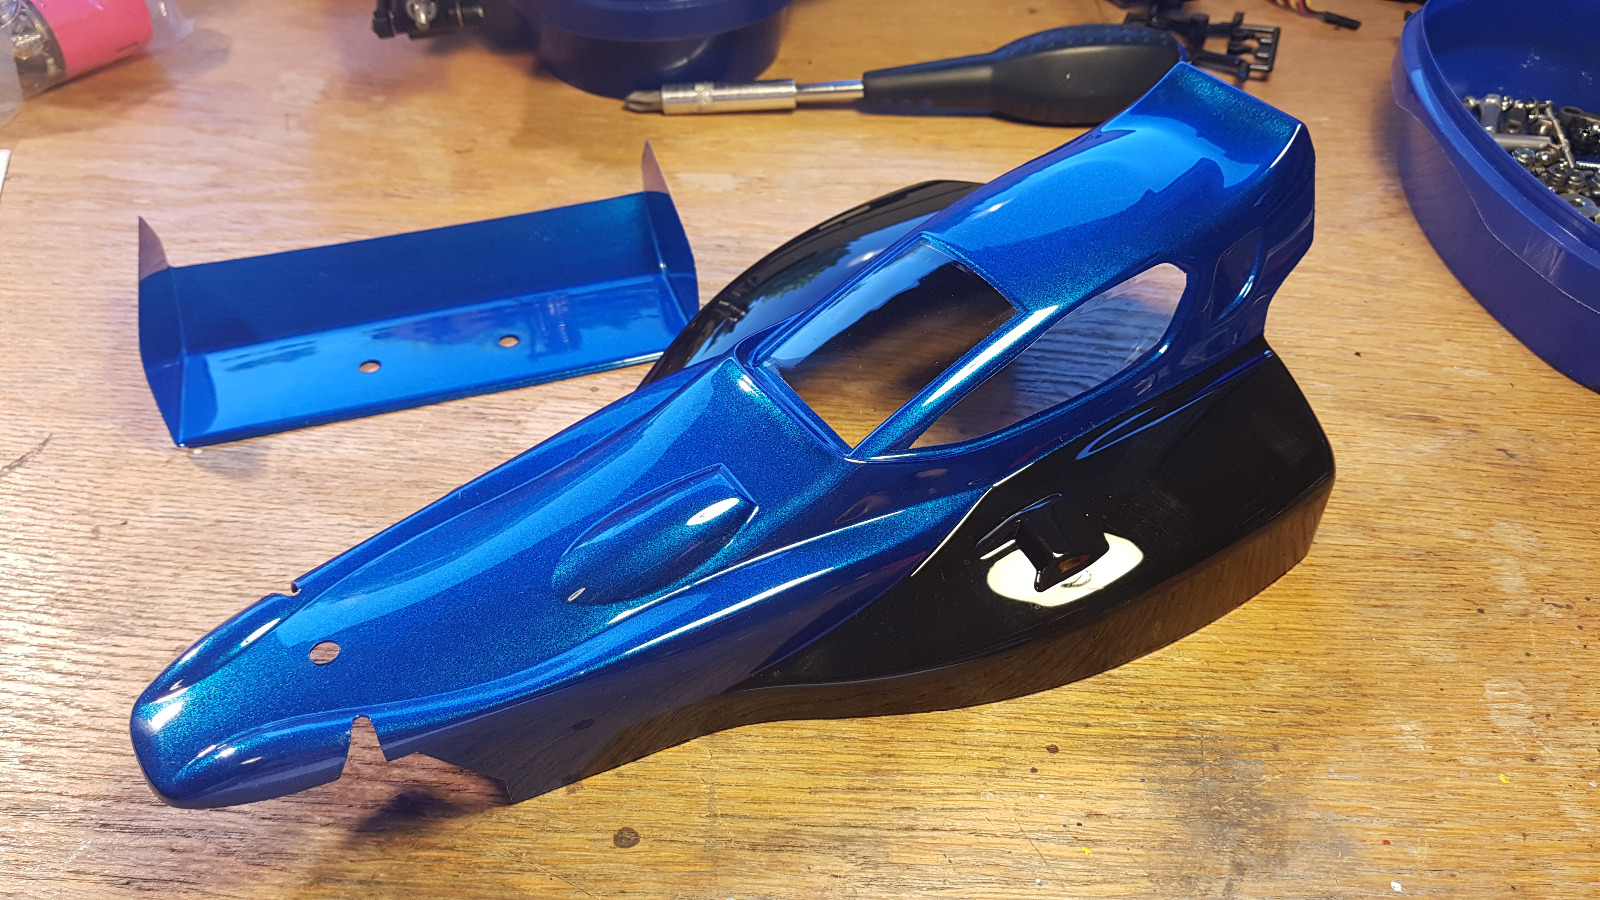
I hesitated for a minute before I masked the wing....
Which side to mask?

Painting on the underside means that the outside vertical wings will be painted on the outside, becoming more flat than the rest. But, Tamiya has, of course, thought of that and supplies decals that fully covers the vertical part, with clear areas giving the wing it's proper shine.
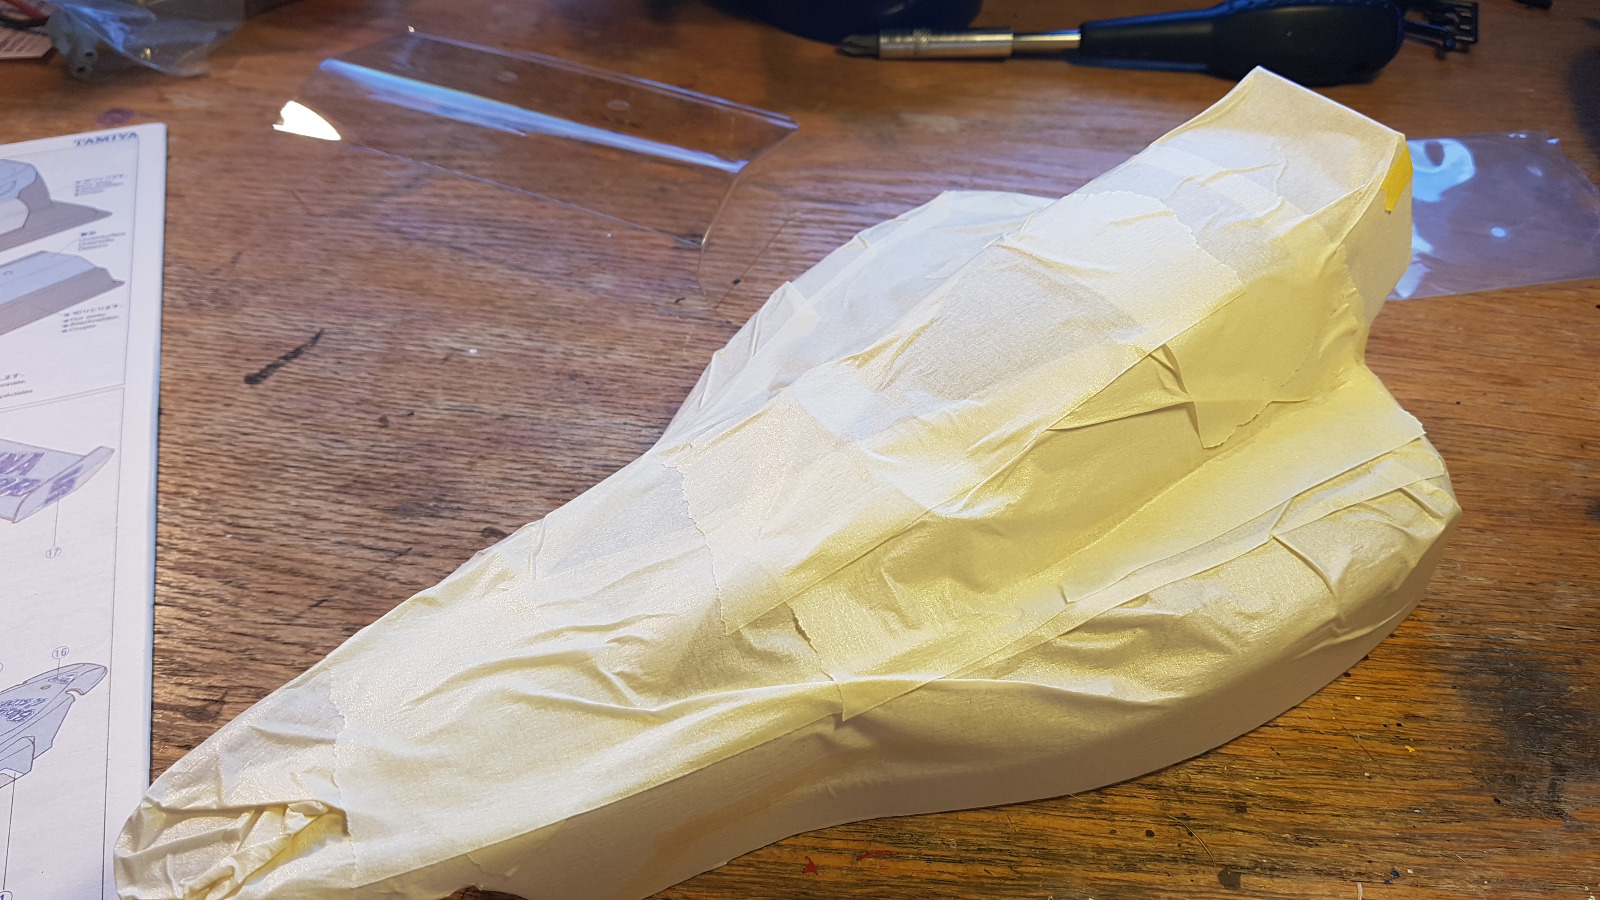
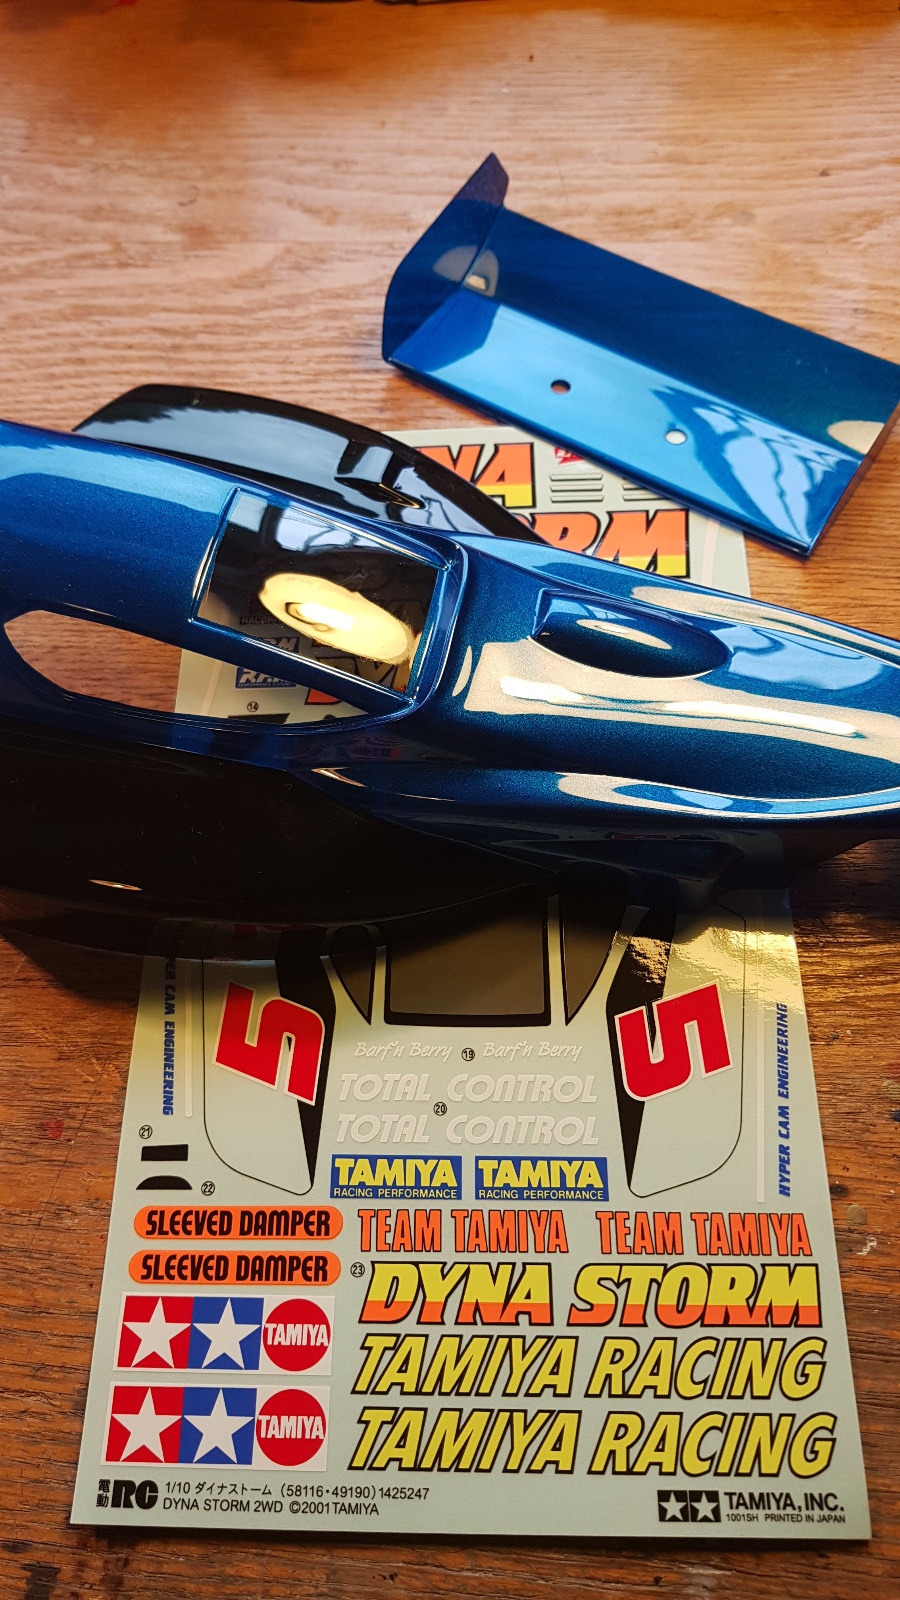


Next is painting.
Signature now gets correct formatting if you edit it in your Profile. Use normal BBcode if you want.
www.tamiyabase.com was formatted automatically.
The following user(s) Liked this: stingray-63

Please Log in to join the conversation.

Last edit: by larbut.

58116 Dyna Storm restoration 5 years 8 months ago #51656

Patience patience.
The following user(s) Liked this: larbut

Please Log in to join the conversation.

58116 Dyna Storm restoration 5 years 8 months ago #51657

Moving on to painting:

Here I have masked the areas to become blue, and given the black areas several coats of black (PS-5)
I don't overdo the number of coats, 2-3 is sufficient if you put on enough, avoiding runs.


Then the inner masking was removed. I usually do that quite quickly after the paint has set, maybe 20-30 minutes after painting. The paint is still fleexible and will tear along the masking lines, not lifting with the tape.


Now the hardest part for this paint job, making the window masks. No, Tamiya did not see any reason to supply such, so you have to make them yourself.
I mask well beyond any window area, and after studying the outer window decals, I carefully cut the tape according to the window's shape..


Then the Metallic Blue PS-16 was applied. Same way as with black; 2-3 coats withing like 5-10 minutes, making sure not to overdo it, creating runs.

Notice the "handle" i added to the wing. Just some centimeters of wide masking tape crumbeled and attached to the outside masking. It made it very easy to hold while spraying.


Again, soon after painting the window masks were removed.


And, result! Ready for decaling!

Signature now gets correct formatting if you edit it in your Profile. Use normal BBcode if you want.
www.tamiyabase.com was formatted automatically.

Please Log in to join the conversation.

58116 Dyna Storm restoration 5 years 8 months ago #51658

Step 41, Markings

One of the more rewarding steps for me, applying decals. I won't bore you with many details, so here we go:


Ready to go, with original decals, from the 49190 reissue. (which are exactly the same as the 58116 version)


Starting with the white dividing line between black and blue:


"Cut stickers along the colored edge", Tamiya nonchalantly mentions in the manual. Yeah, right, I gave it a go...


The finished body and wing, ready for the final steps of this build.

Signature now gets correct formatting if you edit it in your Profile. Use normal BBcode if you want.
www.tamiyabase.com was formatted automatically.
Attachments:

Please Log in to join the conversation.

58116 Dyna Storm restoration 5 years 8 months ago #51659

On the home straight, steps 42, 43 and 44, body and wing onto chassis.

Mounting the wing stay to the wing:


Mounting wing to chassis:


And finally, with the body mounted, the build is done :) B)


I'm currently writing an article on the Dyna Storm, so I will hold the posing pictures for that article. You'll just have to do with these :laugh:
Signature now gets correct formatting if you edit it in your Profile. Use normal BBcode if you want.
www.tamiyabase.com was formatted automatically.
Attachments:
The following user(s) Liked this: AndyAus

Please Log in to join the conversation.

Moderators: caprinutstingray-63AndyAus
Time to create page: 0.301 seconds
Cookies are required to make this site work. If you continue to use this site you permit us to use cookies.