... i wondered if some of your exellent prints are for sale, some of the Tamiya related posters would be usefull....
The short answer is "no" ... the long answer is, um, longer

The long answer is also "no" - but for good reasons. The first thing I want to say is I'm very happy to share what I've learned in the way of methods & techniques - I think this thread & the various articles prove that, and my view (which I'm not sure I've stated here) is that anyone that refuses to discuss techniques, making them out to be some big secret that makes them special has some issues they really, really out to work out.
That said, I'm not happy with sharing the _results_ of those techniques, my feeling is that if I spend the time to produce the bits I wanted, and someone else wants those bits too, then they really ought to put in the time as well - I've already given them a head start by sharing techniques.
The other issue is that for most of the printed stuff, someone, somewhere regards it as their intellectual property, sometimes quite jealously and aggressively. While my personal definition of "fair use" may not be the same as some manufacturers see it, I am 100% ok with not for profit, personal use of certain images/artwork/trade marks & names.
One can make an argument about making a small profit from IP where the rights holder is not making use of it (I'm thinking of repro decals specifically), but that's a different issue.
Circling back to my first reason, I value my time, and hope others will too. There can be some discussion about what my time is worth - UK minimum wage? the "living" wage? the rates my last employer used to charge for my services (anywhere from 50 GBP ph for "monkey" work to 75 for "skilled" work - and let's not mention the fact I only ever saw a small fraction of that, or the time I actually looked in to hiring a monkey & found their hourly rate was way in excess of mine), or the 120 GBP ph the Audi main dealer near me charges (it's skilled work the customer is unwilling or unable to do themselves - so it's comparable, right?).
It seems people are very happy to ask for something - but rarely are prepared to cover the full cost of materials or postage, and almost never to make any contribution for my time.
I'm not saying you'd act like that, but having had a few distasteful experiences my default position now is I won't do squat _physically_ for anyone anymore - and am happier for it
")
However, as I said, there are no secrets here, anything I've done is in this thread, and to summarise everything to with the printed aspects of my scale garage:
Tools:
Cheap (Epson XP-312 scanner/printer)
Paint Shop Pro 5
Cheap A4 laminator
scissors, sharp craft knife, steel rules & cutting mat, blunt knife
Materials:
A4 160gsm thick paper/ thin card
A4 lamination pouches
inkjet Photo paper
inkjet transfer paper (clear, and white)
inkjet self adhesive vinyl (clear + white)
PVA glue
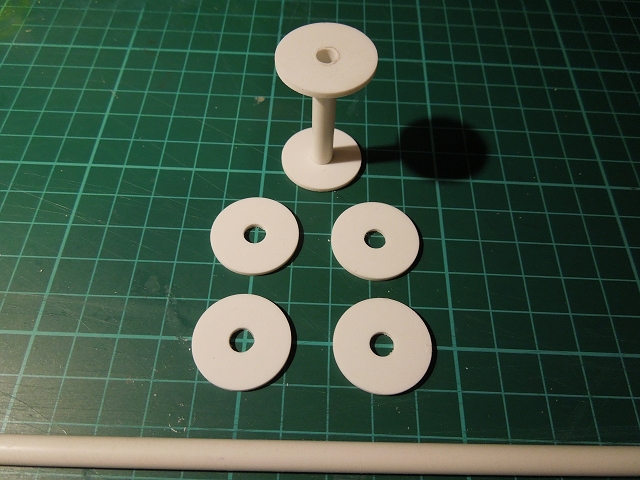
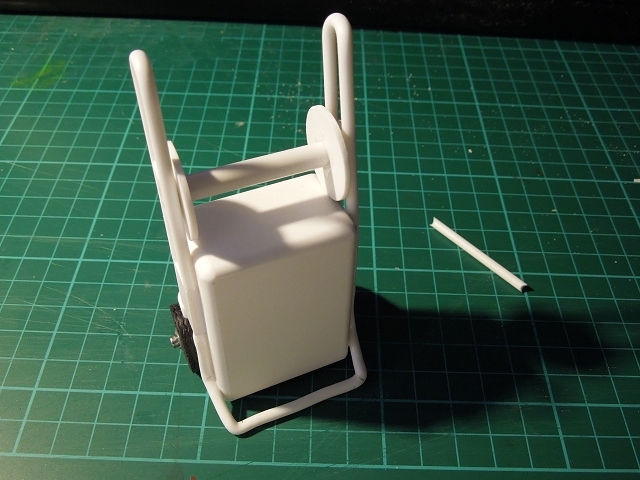
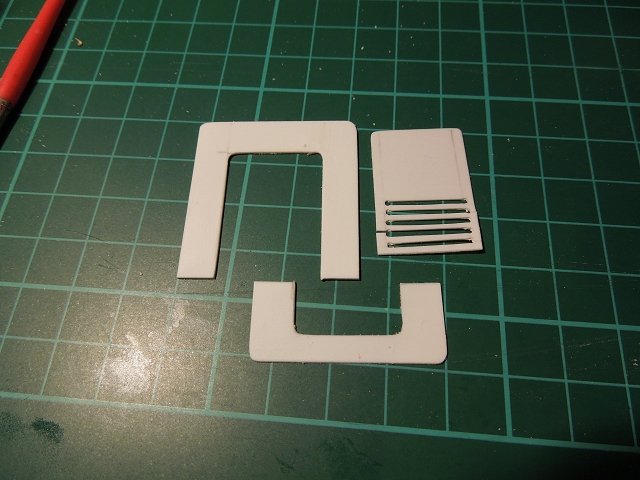
3mm styrene sheet
Reference:
physical pile of Haynes manuals & other car books
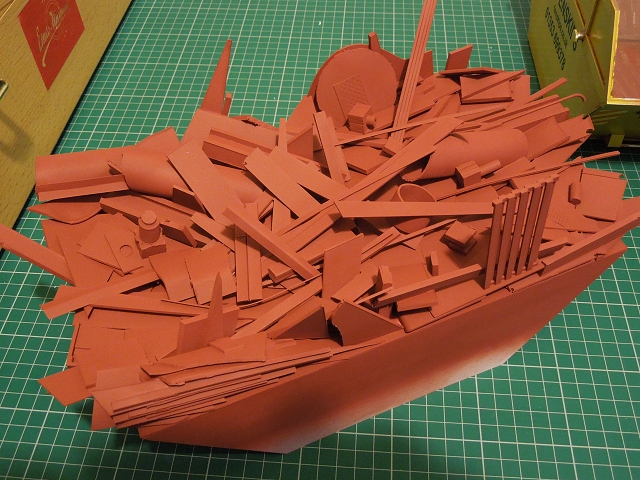
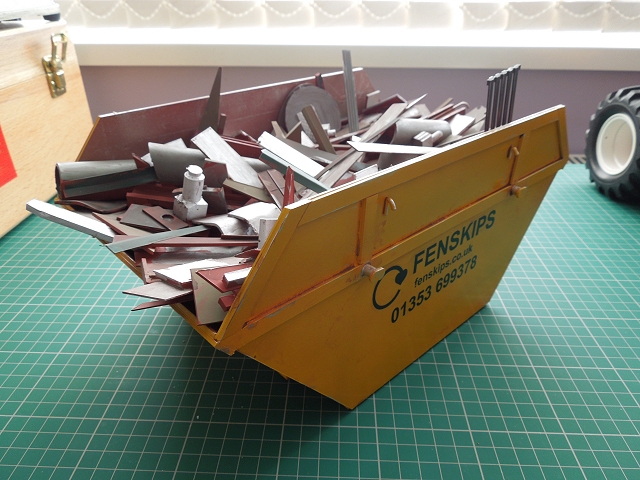
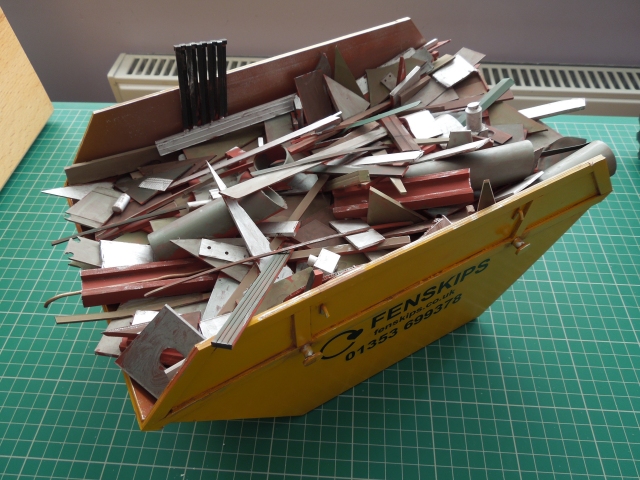
internet for material patterns/grains, 1930s/40s posters & adverts, tamiya box art etc etc
Techniques:
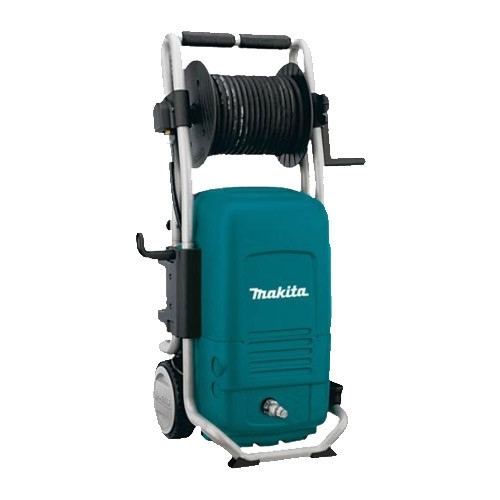
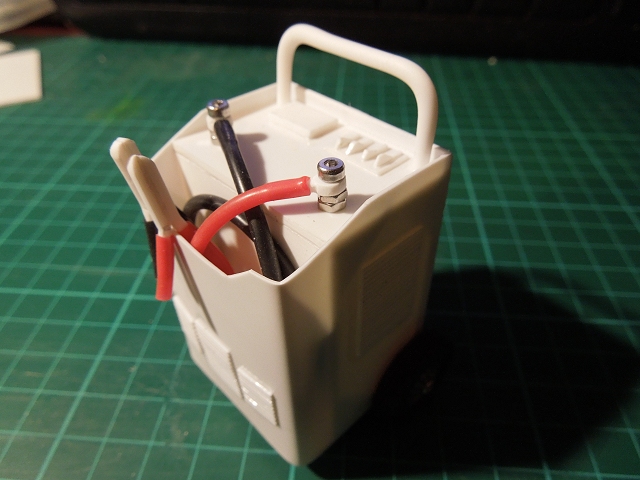
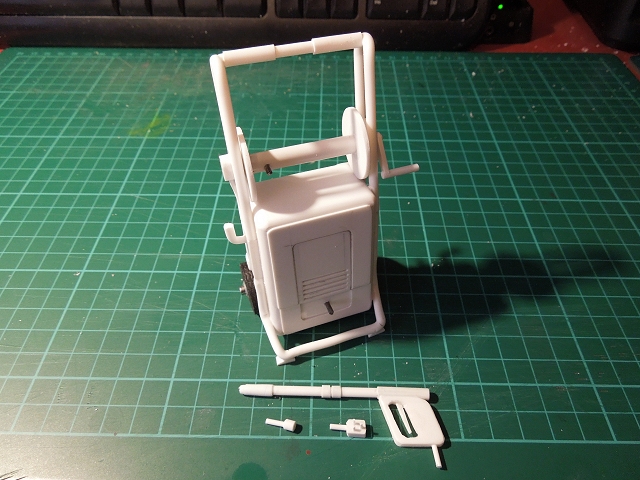
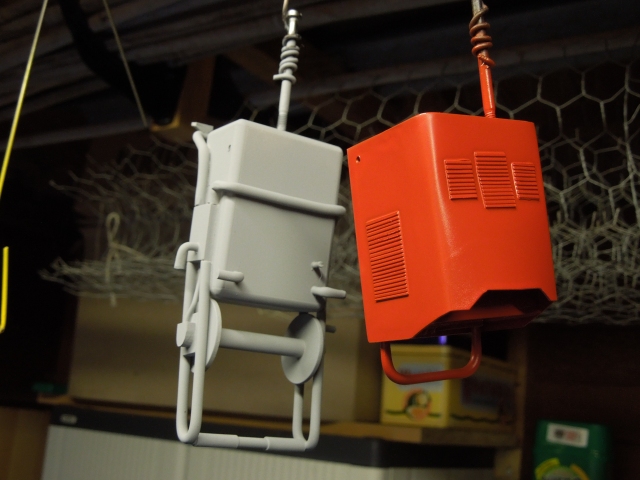
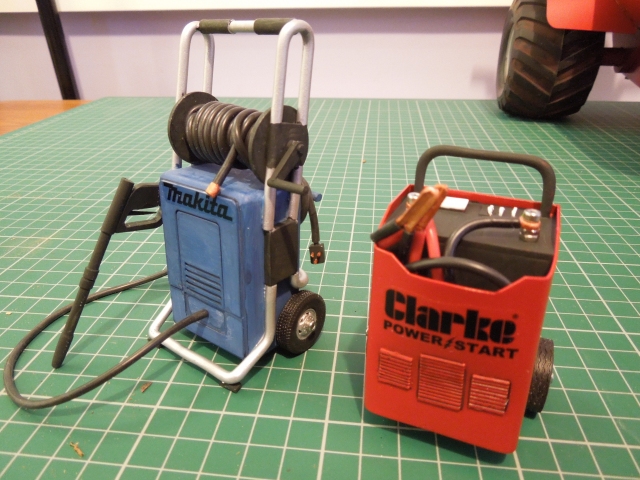
Machine labels (pressure washer, compressor etc) - find on internet, cleanup/resize/remake in Paint Shop Pro, print on clear transfer paper, dry, lacquer, dry, cut out & apply with water.
Exceptions: the ones on the lathe & bench grinder were entirely drawn up is red & black on clear over metal colour painted panels; Decals on "Henry" hoover are on white; Mig welder front panel is hand drawn in PSP & printed on white vinyl.
Bench peg board, drawn in PSP (including finding image of spanner & resizing), again printed on white vinyl.
Clock & radio: found images, white vinyl.
Books: scanned in, resized in PSP, printed on white vinyl & wrapped around pieces of styrene sheet.
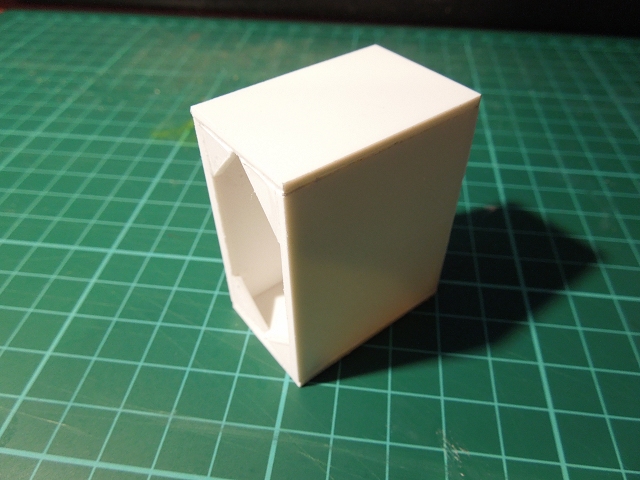
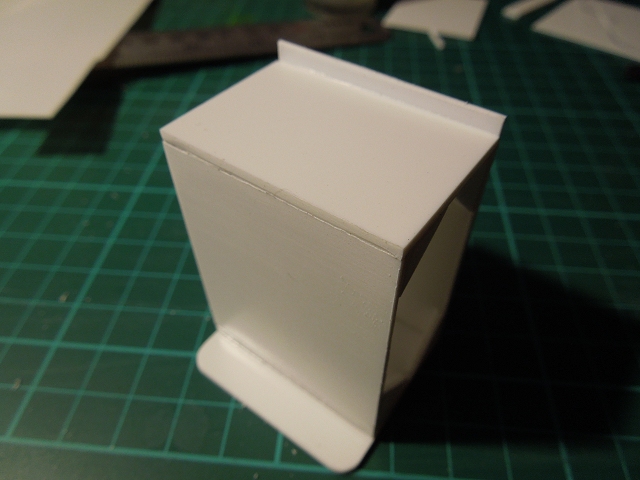
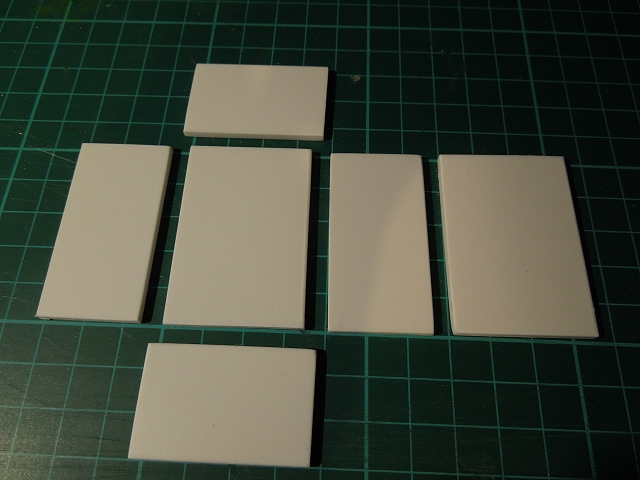
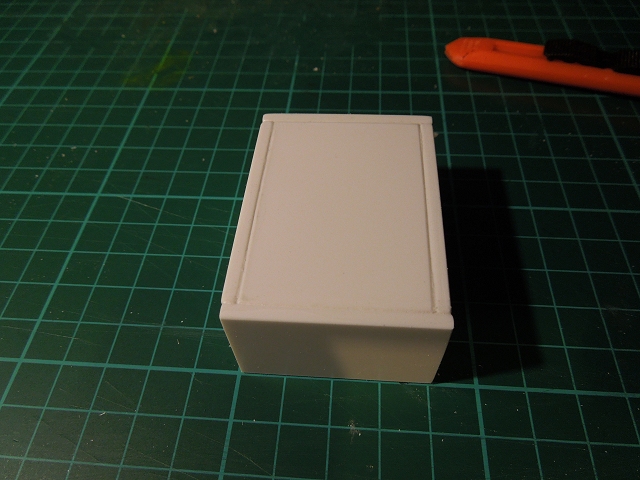
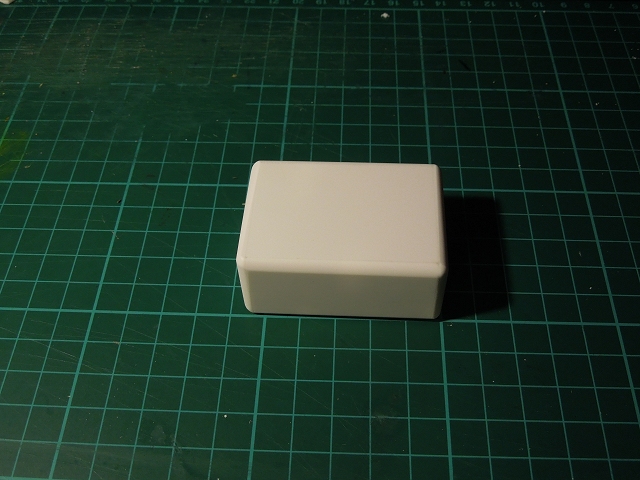
Tamiya boxes: Images found online (fronts at Tamiya101.com, backs a "card" grain). Drawn up in PSP: if front has dimensions A wide x B wide, then image is that front AxB with long sides A x C (height) attached along long sides, short sides are B x C, and back is A x B again, attached to one of the long sides. Gluing tabs drawn on edges; print on photo paper, score fold lines with blunt knife, cut rest out & glue up. ("art" on sides reworked from front).
Card boxes: pretty much same technique but "card" pattern only on thin card, make 2 & build one inside out, fit inside orther.
Air & oil filter boxes, disposable glove boxes: Similar technique again, this time drawn up from scratch in style of real brands.
Wall "art": thumbnails of various adverts/posters found online, resized, printed on thin card, laminated.

")


 FELICITATIONS Jonny. Your are better equipped than all my service in RENAULT

