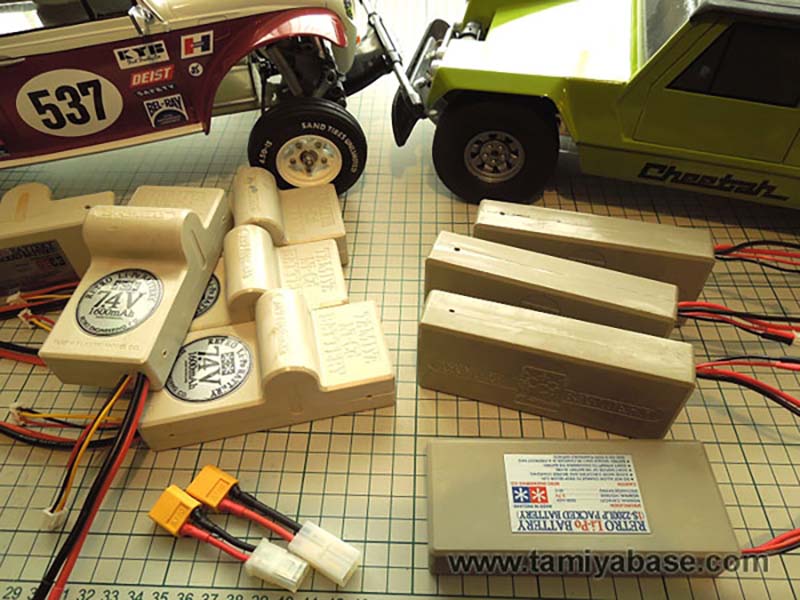
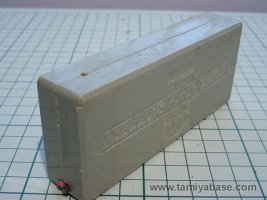
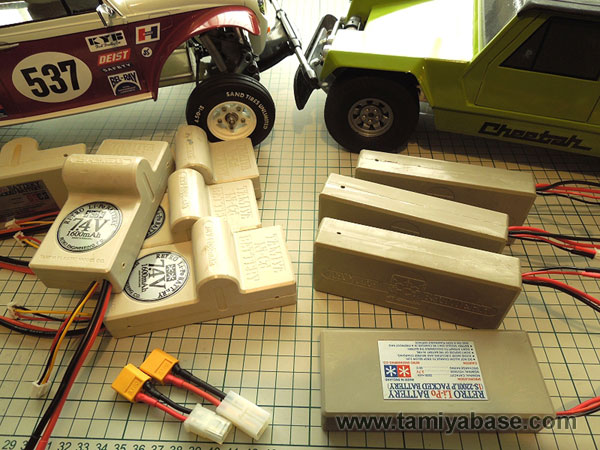
Many older Tamiya cars were designed solely for hard plastic cased (or “packed”) 6 or 7.2v cell Nicad batteries, but chances are the 5 or 6 cells inside will have died long ago. This is a bit of a shame, as part of the nostalgia of the vey late 1970’s/early 1980’s cars for me is the heavy, plastic brick-like 6v Tamiya battery pack, and the 7.2v “hump” packs.
Modern Nimh cells are available in the correct formats, but tend to be garish individual cells wrapped in clear heatshrink. They’re also physically larger, meaning that although they’ll fit in the cars, they won’t fit that well – or at all - inside the old cases.
Smaller Lipo cells on the other hand will fit much easier, which means you can upgrade your “packed” batteries from ornament to usefulness.
Before we move on to the method, there are a few things to think about ...
Lipo cells each deliver a nominal 3.7 volts, so a single cell (1S) will be 3.7v, a 2S battery 7.4v and so on.
The space available inside a Tamiya case (without removing supporting ribs) is 112mm long by 39 mm wide, and 18mm high. Length seems to be the limiting factor, so do check carefully.
Older Tamiya cars (notably the SRB) are not great on cooling – a capacity greater than the 1200mAh they were designed with means longer running times, which mean greater chances of overheating. I went for 1600 and 2200mAh Lipos as being a decent compromise.
Discharge Rate – the “C” rating - seems to be a big deal n Lipo batteries - 20C, 30C, 40C and so on. A Lipo pack will deliver a maximum current of of the C rating multiplied by the capacity in amps (or mAh divided by 1000) – e.g. a 1600mAh pack rated at 40C maximum can theoretically deliver 64 amps if required. Detailed specifications however suggest that the “maximum” rating is what the battery could deliver for a very, very short time without immediate catastrophic swelling and failure, and the “continuous” rating is what they can deliver with an “acceptable” degree of swelling (5 to 15%). Apparently a discharge rate of half the “continuous” rating is considered ideal – e.g. a battery rated at 40C maximum will likely have a 30C continuous rating – and should be used in applications where no more that 20C is required. Using 1600mAh as an example, 20C is still 32A – way more than what a 380 or 540 silvercan equipped cars is going to need.
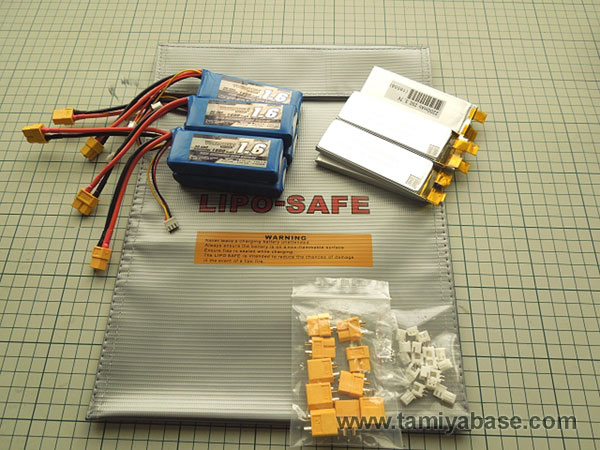
Bearing all that in mind, I bought Turnigy 30-40C 2S 1600mAh packs to replace the guts of my 7.2v hump packs; these were 105 x 35 x 14mm, weighed 102g, and cost 5.81 GBP each (+ postage) from Hobbyking.
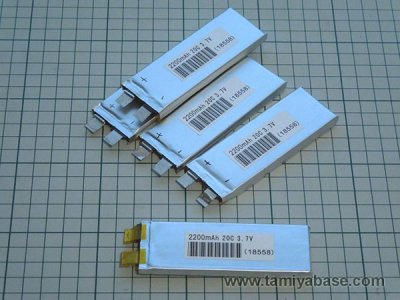
For the “6v” flat packs, I went for Turnigy 20C (continous) 1S 2200mAh cells, again from Hobbyking. These were 97 x 34 x 8mm, weigh 55g without leads & plugs, and cost 2.66 GBP each (+ postage). Being bare cells they needed a bit of soldering. I picked these as although 3.7v is a big compromise in terms of voltage, I reasoned that if you’re going to use a 6v pack in a car, then you’re expecting to go slowly – and this option had to be a better match than a 2S pack, especially in more fragile cars like the Cheetah & XR311.
In practice though, 1S cells turned out to be a poor idea - my test car (a vintage Holiday Buggy with a 540 motor & the original, heavily worn wire-wound mechanical speed control) achieved a speed of 5 to 7mph on carpet and concrete, but quickly ground to a halt on the lawn. I'm not saying you shouldn't use 1S cells - but you do need to be aware that they have very limited usability. Personally, I don't have a need to drive old Tamiya cars very slowly on a smooth surface - but it might be a way of letting younger kids drive vintage stuff in relative safety.
Moving on, Lipo-capable ESCs cut off before the battery voltage falls below the point at which they can’t be recharged; clearly, the mechanical speed controls in old Tamiya cars don’t have this (and neither do their ESCs). The obvious workaround is to fit a low voltage alarm to the balance lead on the 2S batteries while in use, and fit a suitable 2-way plug lead on the 1S units for 1S capable alarms too.
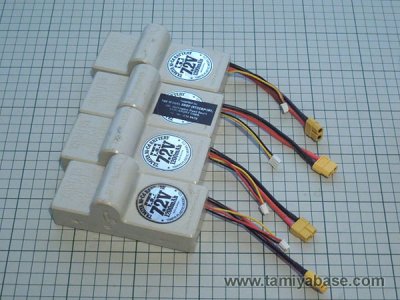
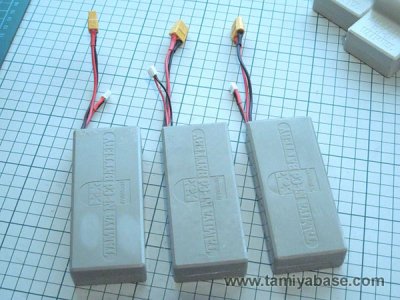
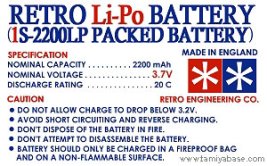
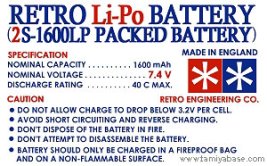
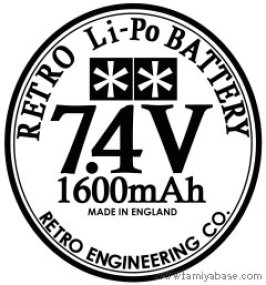
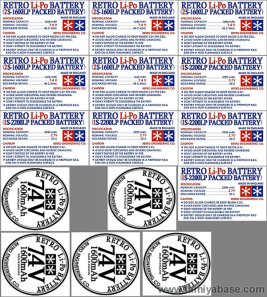
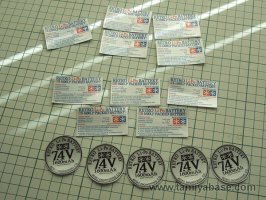
I stuck with the XT60 connectors: that and the balance leads ought to indicate to anyone that these are no longer Ni-Cd packs – but I also made some custom decals in the style of the originals to remind me the capacities & so on.
Weight is not something there’s much of a choice about, an average suitable Lipo pack is going to be around the 100g mark - whereas a 6v cased flat pack is around 300g, and 350g for a hump pack. An empty hump pack weighs 37g, the flat pack a little less. A hump pack refilled with a Lipo battery then, even with free space packed out is going to weigh half as much as it “should”. This means better acceleration and slightly longer running times, but on the other hand, the suspension on most old Tamiya RC cars simply isn’t adjustable. This means that cars are likely to bounce around more, or wheelie less (where appropriate, Wild Willy M38, Pajero wheelie, Willy’s Wheeler). I’ll be adding 60g in weights as a nod towards a compromise between taking advantage of the lower weight Lipo offers & even worse car handling.
Discharging, & Opening the Casing
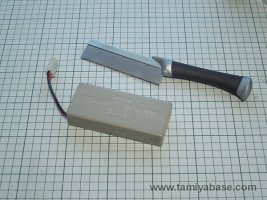
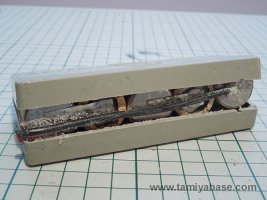
Tamiya plastic cases are usually very well joined together, so attempting to lever the halves apart will probably end in their total destruction. Using a scalpel will take far too long & is not especially safe, so I used a razor saw instead. Obviously, one of these is just as capable of slicing flesh as the plastic case – but my logic was that it’s faster, so the time exposed to danger is much less. It produces a much finer cut than a regular hacksaw – but use one at your own risk. A vice to hold it (rather than your other hand) is a must.
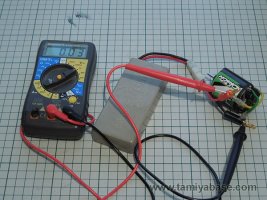
Bear in mind that using any metal tool could cause short circuits – and therefore sparks, heat & fire – so it’s essential to discharge the battery fully. I used the discharge function on my charger, followed up with connecting them to a motor to use up the last dregs of charge.
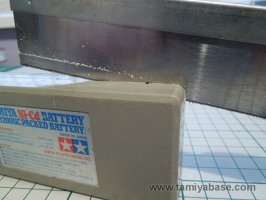
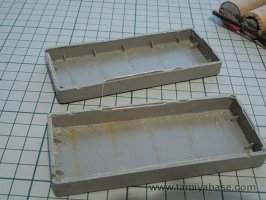
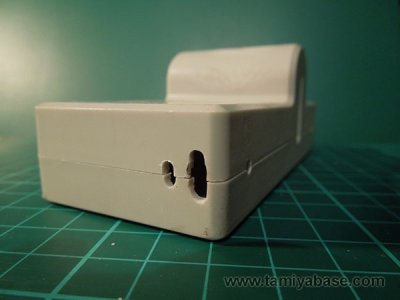
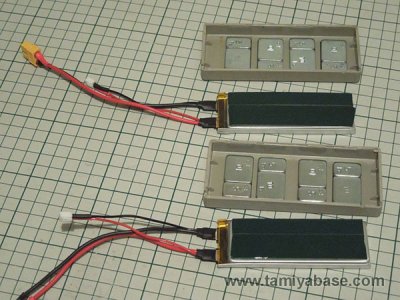
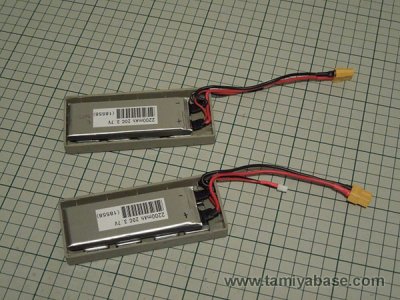
Lecture over, I started by carefully sawing away at the corners, then joining the cuts up on the sides, going in as deep as need to get through the plastic. Even then a bit of gentle persuasion with the tip of a screwdriver was needed to separate the halves. Note how thin the cut is when using a razor saw (4th pic, below).
Sanding & Filing
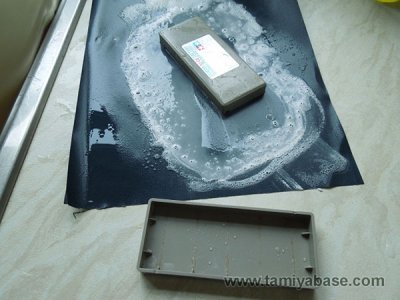
The cut edges of the cases were a little too wobbly to guarantee successful re-gluing, so I gave them a wet sand with 400 grit paper – which caused a whole lot of unnerving screeching...
Where the vent holes in the side weren’t quite round any more, I gave them a quick tickle with a round needle file. I also opened up the wire exit oval hole in each of the hump packs, and added another small slot for the balance leads.
Obviously, a bit of height - typically 1mm or so - is being lost on the packs, but I can't think of any Tamiya cars that can only use packed batteries (XR311/Cheetah, Pajero wheelie, Wild Willy M38, vintage Sand Rover/Holiday Buggy, SRBs, etc, etc) where this would be an issue - they're usually held down by elastic bands or luck anyway.
Where cars are capable of taking packed batteries or stick packs (Frog/Brat, vintage Grasshopper/Hornet, Fox, etc, etc) the height is important to stop them rattling about, so a small bit of foam tape would be a good idea.
Soldering
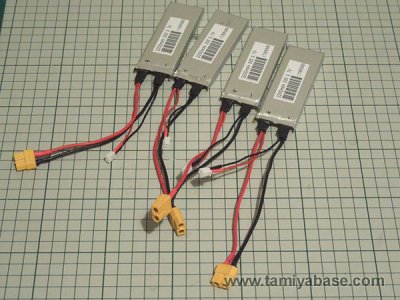
The 1S cells came “bare”, so needed leads & plugs soldering on. After checking & marking the polarity on each cell, and with a bit of thought about the order it needed doing in, where heatshrink needed putting on first, and tinning wire ends & battery tabs first it was uneventful. The extra lead isn’t necessary for balancing – it’s there to fit a low voltage warning buzzer. The plug is 2-pin version of the JST-XH connectors used for balance leads on multi-cell Lipo batteries.
Weights, Fitting Cells & Gluing
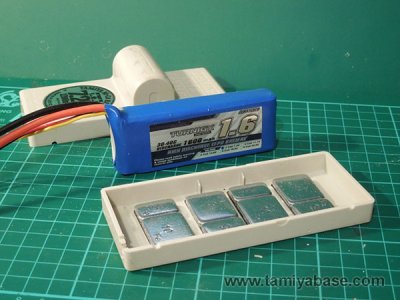
I used “lead free” wheel balancing weights, these are BZP steel stuck down on the double sided foam tape they arrived with. Providing the inside of the case is clean & flat there’s no reason why they won’t stick long term.
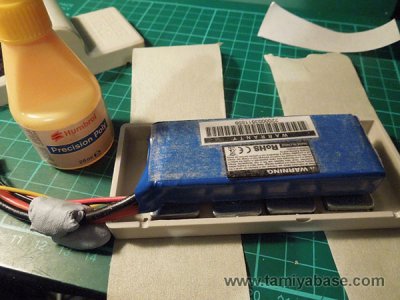
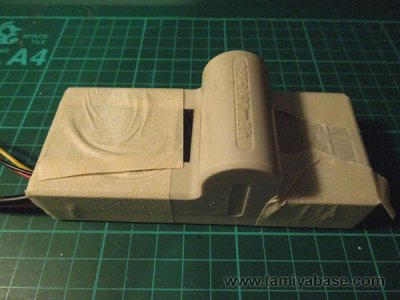
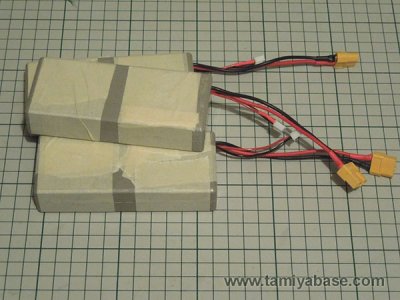
Space was a bit tight with the 2S packs in the hump cases, so I used double sided tape on each side of the battery; I don’t expect this to move or fail in use. The flat cases had a bit more room thanks to the 1S cells, so I just used servo tape. Due to the lack of headroom in the hump cases I put a thin bead of poly glue on the edge before fitting the top half, then used masking tape to hold things together overnight. The flat cases were done the same way, just without the need for such initial accuracy.
Labels
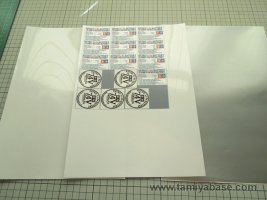
A couple of hours work in Paint Shop Pro resulted in some labels in the style of the Tamiya originals, I printed them on clear, stuck them on silver self adhesive vinyl, and put a layer of clear on top for weather & wear resistance before cutting them out.
In Use
The 2S hump packs are much livelier than the 0.2V nominal increase over a 7.2V Ni-Cd or NiMH pack would suggest, I can only put that down to Lipo being a "faster" chemistry.
The 1S flat packs, as I mentioned earlier are way slower than 6v Ni-Cd/NiMH batteries. They're not too bad on a very smooth surface, but are hopeless off road, grinding to a halt even on a well cared for lawn.
I can't comment on how long the packs last, but I hadn't hit the warning buzzer on 1S or 2S packs after 10 minutes: blame the cold for not doing more thorough testing. Obviously, the capacity (and therefore run times) are less than modern NiMH packs or larger Lipo packs, but still offer an useful increase over the 1200mAh Ni-Cd packs of old. Despite the comparative failure of the 1S cells, I think that overall this has been quite successful :)
________________________
Written by TB member Jonny Retro


