


This is the last in my series on painting RC car bodies, focusing on polycarbonate shells. The main differences, compared to ABS shells, are that the body is painted from the inside, and the order you should paint the various shades in a multicolour scheme is reversed, i.e. paint the dark colours first, then move on to the light colours.
The other difference is that you can’t use conventional automotive type paints – they just won’t stick.
Lexan vs Polycarbonate
Polycarbonate is the generic term; Lexan, although generally thought to be the best, is just one of many trades names for it – I tend to use the terms interchangeably ;)
Paint Types
Tamiya “PC” paints. The old fashioned way of doing things. Adhesion is indifferent in my experience, and they need several coats at angles to each other. Even then the coverage will be uneven, and the weight begins to mount up.
Humbrol “Hobby Spray” acrylics. I’ve used these on both ABS and lexan bodies, and found that some colours stick to polycarbonate better than others: white has very good adhesion, black is so-so, blue is indifferent, orange is less good... The key thing seems to be allowing lots of time for curing before you use the car.
Parma “Faskolor”. My experience is that they seem to have very little pigment so are pretty hopeless when brushed on. Supposedly they’re also suitable for applying with an airbrush, that might give a better result.
Tamiya “PS” aerosols. Absolutely the best I’ve tried in terms of adhesion and coverage. The small cans seem poor value, but seem to go a long way – there’s usually enough to spray two average cars.
Cutting Out
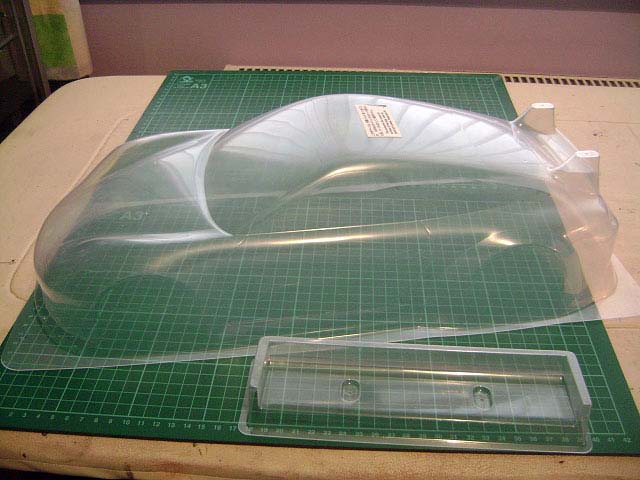
Check the body for “extras” – sometimes wings/splitters will be on the same forming, wing end plates are often “hidden” in the wheelarch “void”.
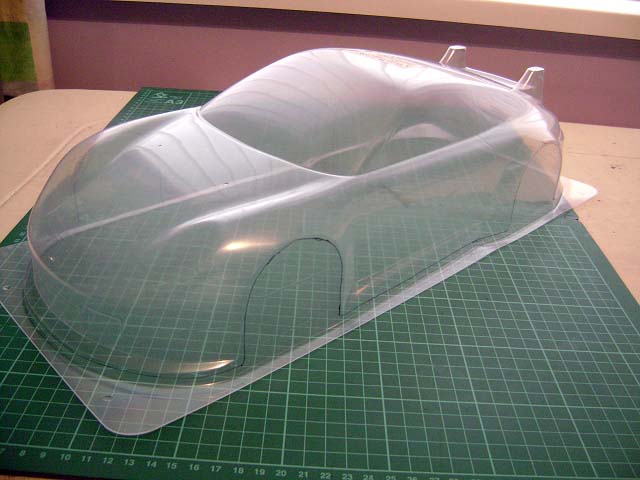
Most polycarbonate bodies now come with a protective film on the outside. Because this is removed after painting, you can mark edges to be cut, using a superfine permanent marker, without fear of damaging the surface.
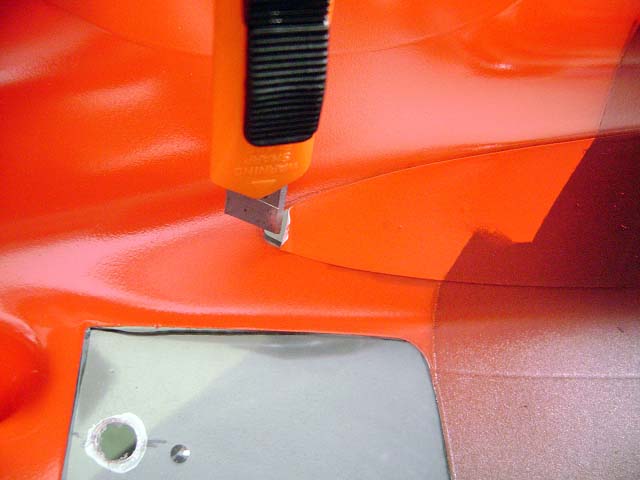
Trim the flat bit off the bottom of the vacform with a craft knife – it just gets in the way.
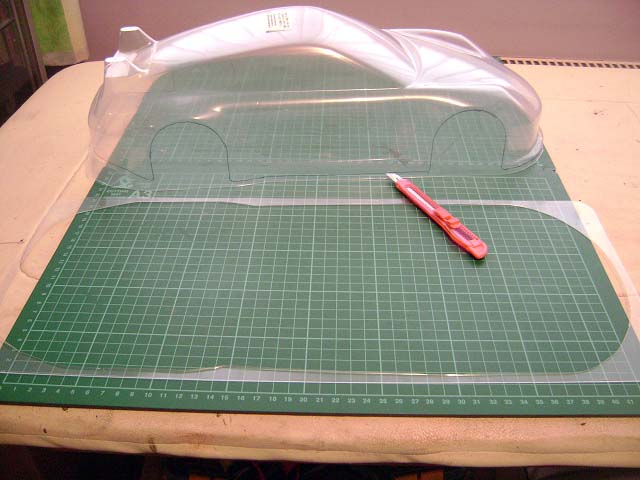
Cut off unwanted parts... I prefer small curved scissors (Lexan scissors) & nail scissors, others advocate lightly scoring with a craft knife & folding/snapping off
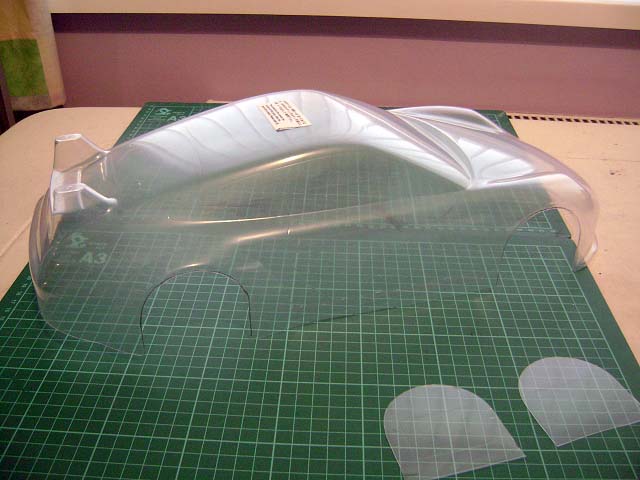
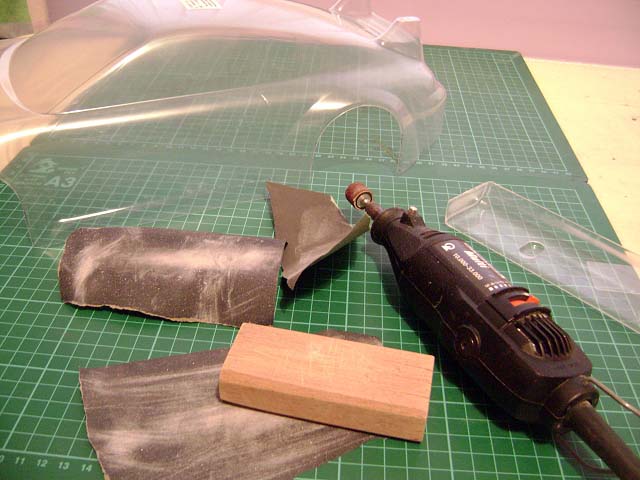
Shape the wheelarches – you can sand them by hand, but a dremel with a sanding drum is faster – be gentle though, and be sure to finish with wet & dry paper, making sure any burrs of melted plastic are removed.
Finish flat edges with wet & dry on a block – I use 240 grit for any major aberrations, 400 grit, then 600 to finish. Round the cut edges very slightly, the edges should not feel sharp.
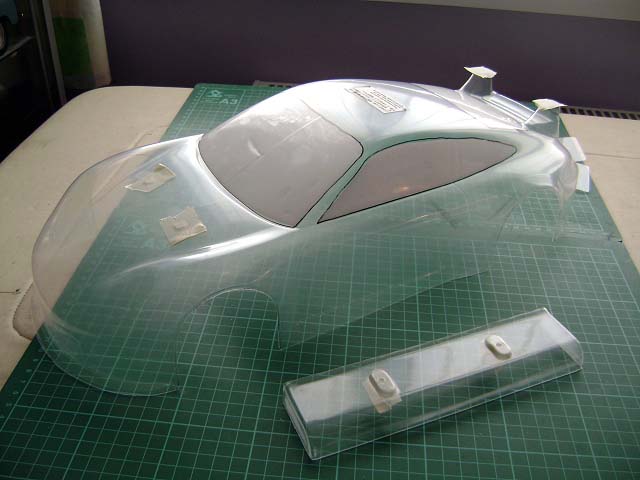
Holes
If the shell needs any holes drilling (for mirrors, wings, antenna tube, etc), carefully drill those now, using a block of wood to support the body. Use a larger drill bit to take off any burrs.
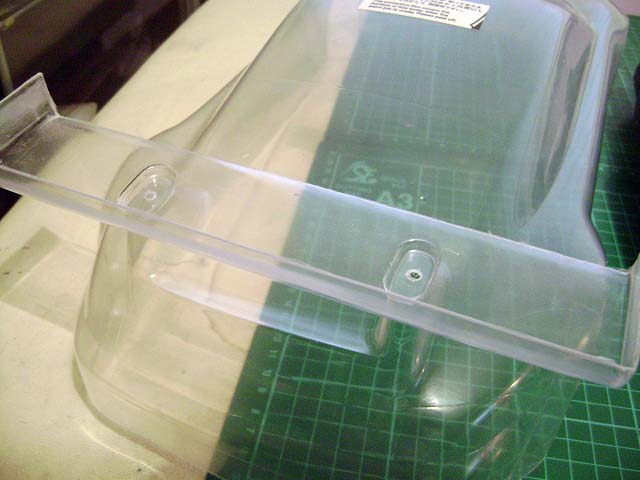
Body post holes I’d tackle slightly differently – for a start you need to be VERY careful about where the holes are. Shells are marked (with a dimple) for their intended chassis – but when you are fitting a shell to a different chassis, like here, a Kyosho shell to a Tamiya chassis – they will probably be in the wrong place. Remember the adage “measure twice, cut once” – you need to take this to extremes and measure many, many times, making sure the body is sitting correctly side to side, and front to back, before you commit to making the holes. Remember that where you are making body post holes on a slope or curve – as you almost certainly will be on a car shell – that the hole location indicated when balancing the shell on the top of the bodyposts may not be correct when the shell is fitted lower; it may well be worth cutting down the body posts gradually to the right level before marking the shell. Do something else for a while or leave it overnight, or get a second opinion. You can make holes slightly elongated for a better fit, but otherwise there’s very little you can do if you get it wrong – so take time to get it right.
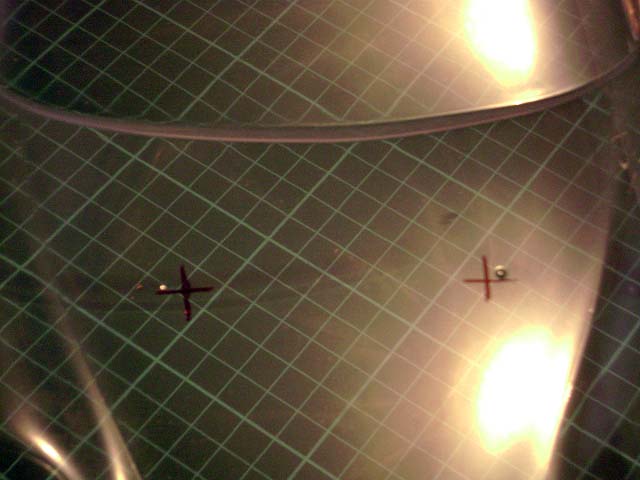
Once you’ve marked the locations, it’s time to start making the holes.
You can sand the inside of the shell if necessary – but definitely NOT the outside, and definitely NOT if the holes fall within a window area –as they often do on the rear window.


To Sand or Not?
In the past, sanding (or rather, keying) the inside of the shell to promote adhesion of the paint was recommended... the thing is, I don’t think it really helped, so I wouldn’t bother.
Washing
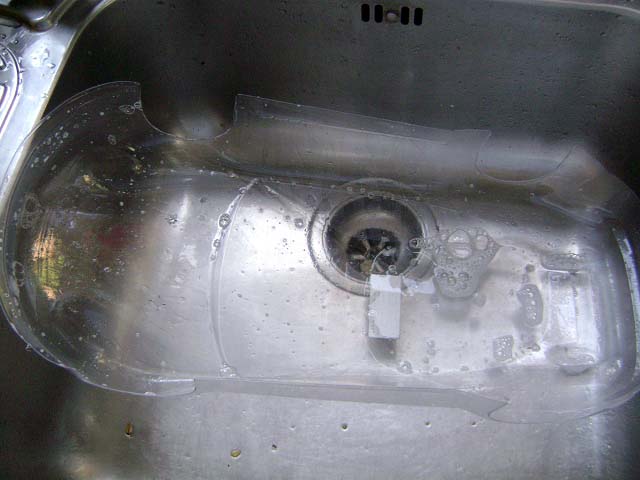
Something I would recommend, on the other hand, is washing the inside of the shell, to remove any particles left from cutting & sanding the edges of the body, any fingerprints you might have out on, and any mould release agent used in manufacture. I’d suggest using regular washing up liquid & lots of warm water, and using a lint free cloth to speed drying.
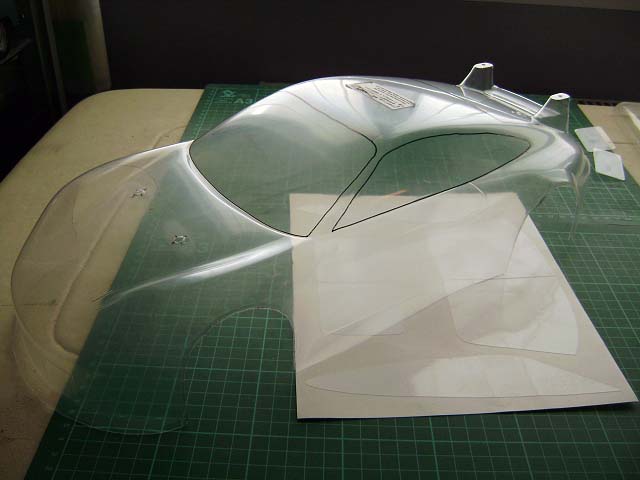
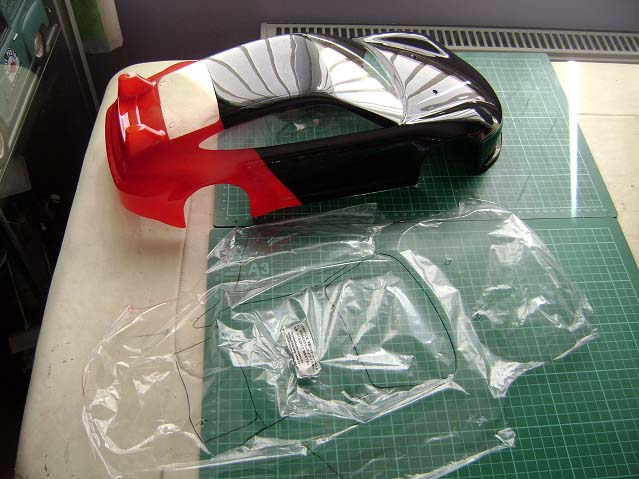
Window Masks
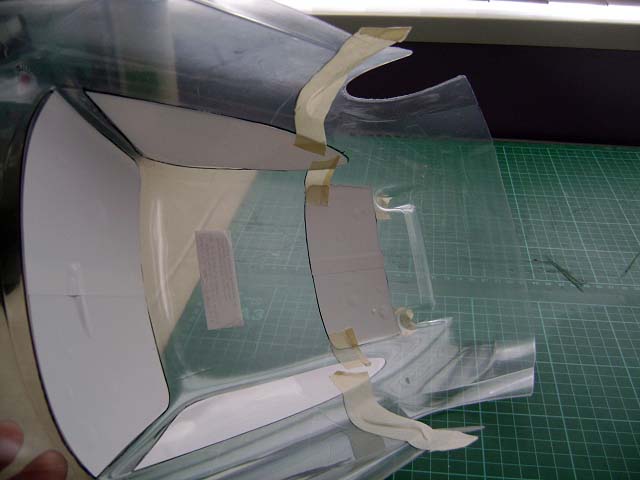
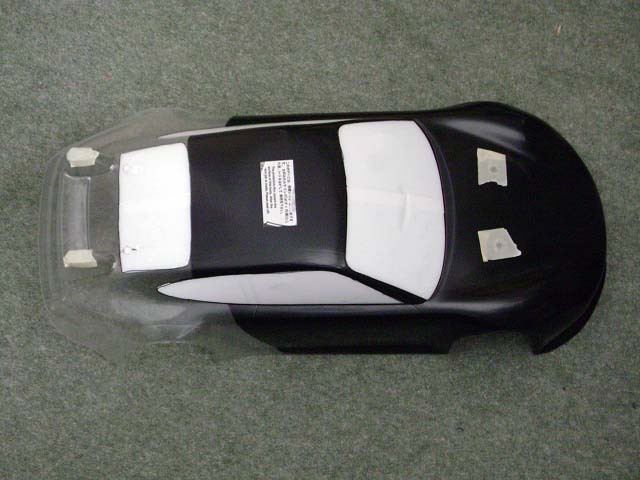
A lot of shells come with precut masking for the inside of the windows, if yours does, then mark the outline of the windows on the outside to help you position the masks correctly on the inside. If you apply the masks wet, then you will need to allow a couple of days before painting for them to dry off completely – otherwise paint (especially water based ones) will get sucked in.
If your shell didn’t come with masks, consider making your own from self-adhesive vinyl (rather than using masking tape) - the method should be something like I described in my previous article – just don’t create a mirror image of the templates before printing out.
Masking
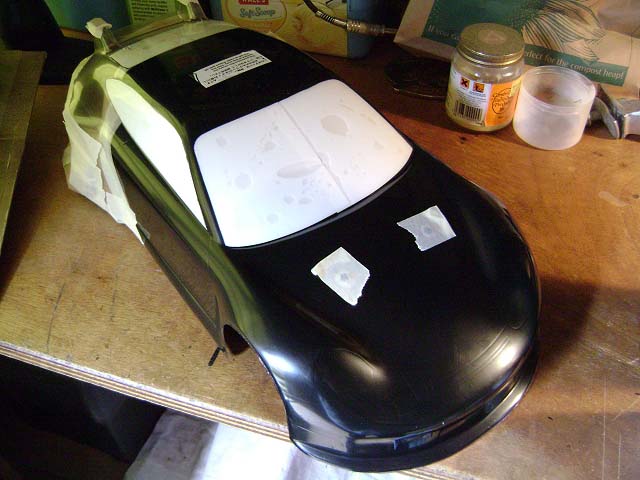
I’d suggest you put small bits of masking tape on the outside of any holes previously drilled in the shell (see above) – even if there is a protective film on the outside.
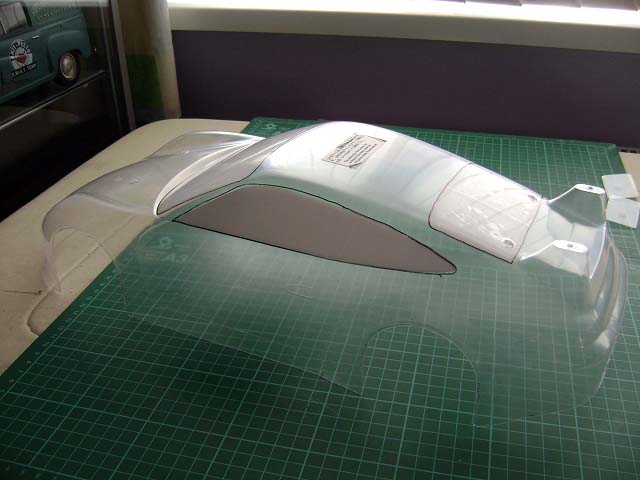
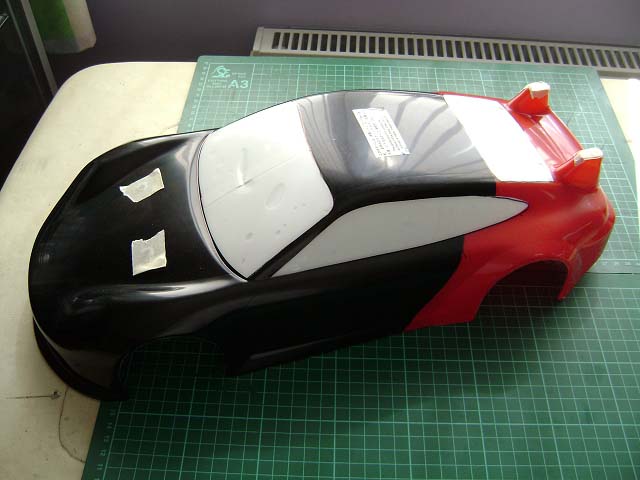
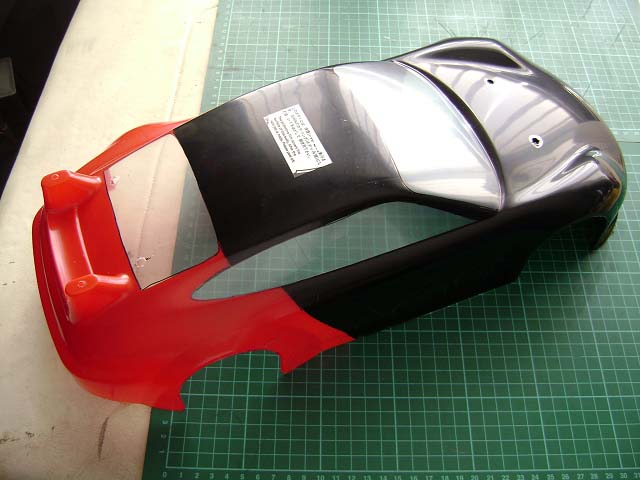
If you’ll be painting your shell in a single colour then that’s all you need to do before painting – however the example here needs painting in red on the rear and black on the rest, with a hard line between the two – this therefore requires masking.
Work out where the line(s) between the colours needs to go – I used masking tape to get the line right, then marked on the outside with a fine permanent marker.
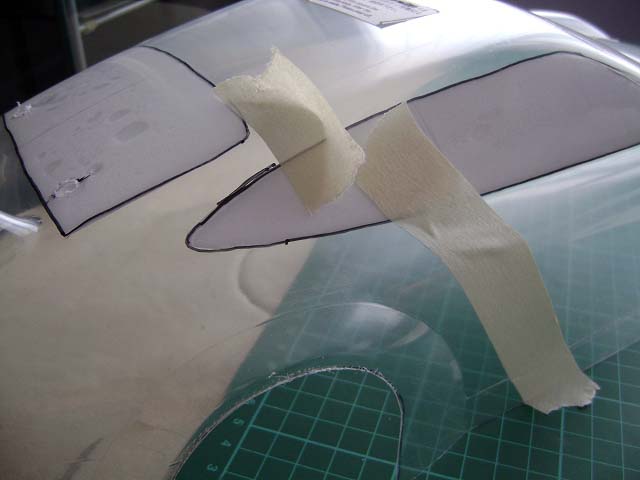
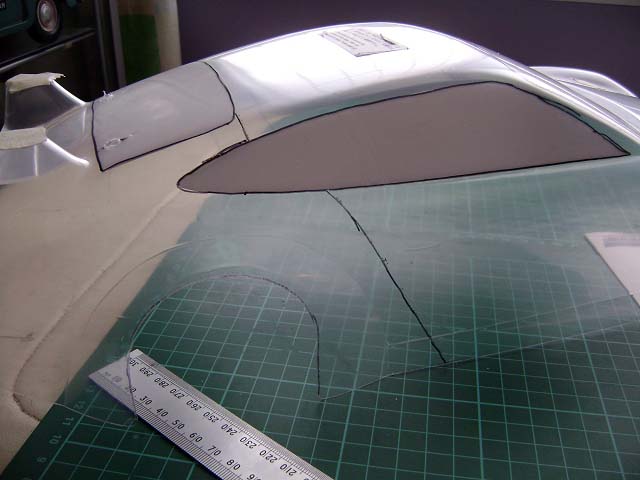
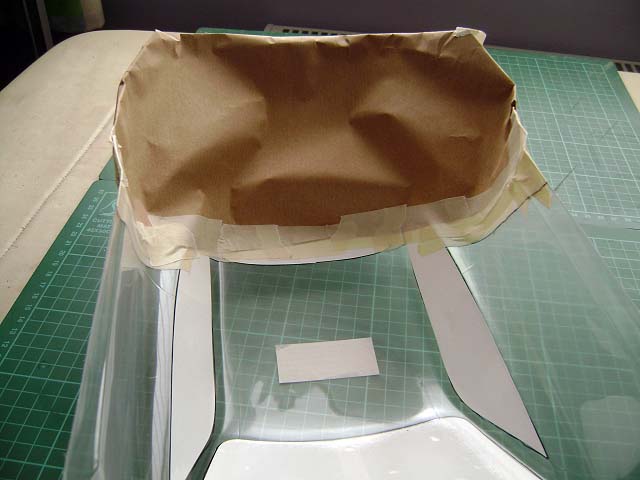
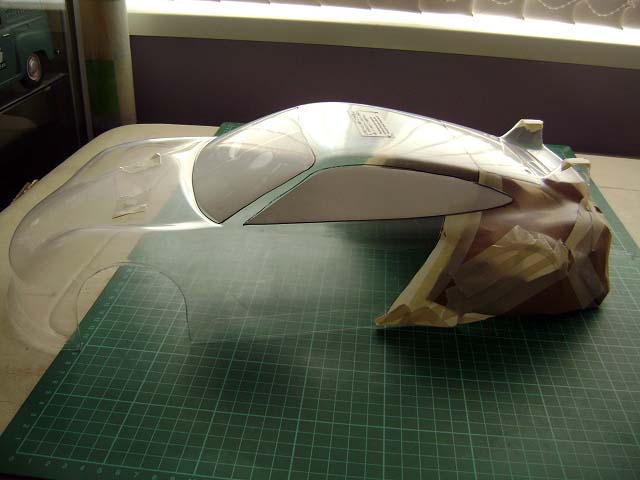
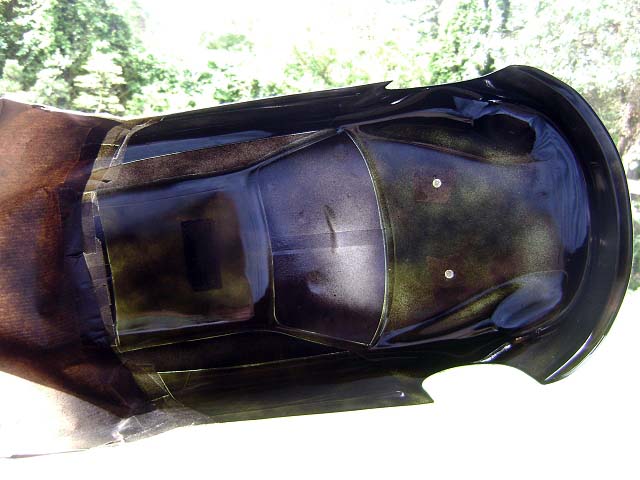
Remember that dark colours need to be painted first, so on this example that means painting the black first. I needed to mask off the area to be painted red later – first using masking tape for the edge, and paper for the rest of the area. I used brown Kraft paper as it’s a lot more reliable than newsprint. I also taped over the wheelarches on the outside – sealing the areas to be painted later avoids having to clean off any spray drift later.
Spraying
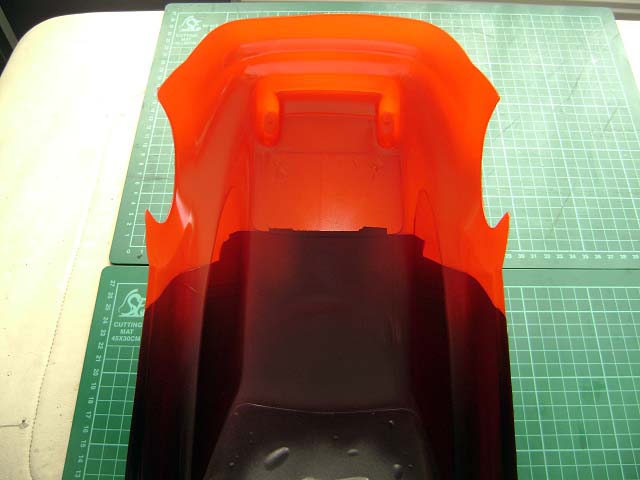
I wouldn’t say there’s any great knack to spraying the inside of polycarbonate shells. With decent paint you should be able to do it in two coats - firstly a light one – which doesn’t need to be perfect (see the example photo), and, after appropriate curing time, a heavier second coat.

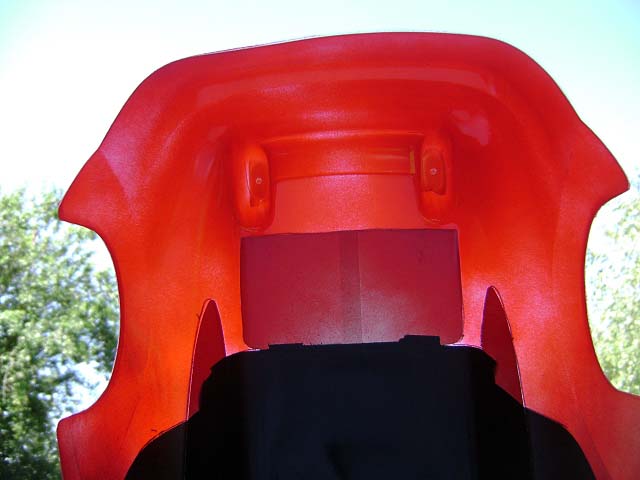
As long as the colour looks dense enough when you’re looking down on the shell (i.e. not holding it up to the light), then it’s good enough.
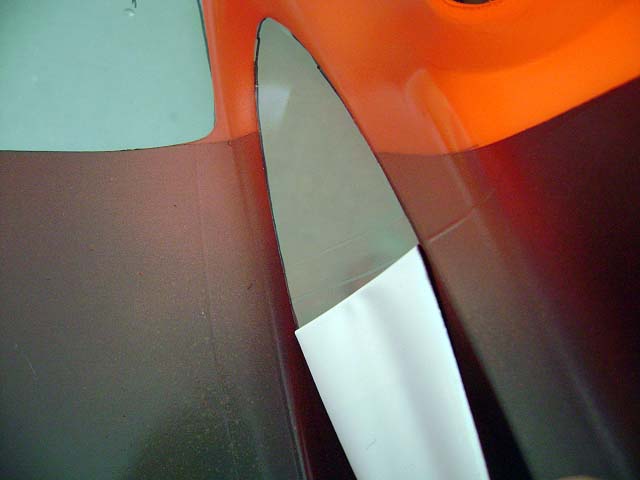
Once you’re happy with the paint & have allowed enough time for it to cure, you can carefully remove the masking – but NOT the window or hole masks.
Spray the second colour in the same way as the first: light coat, drying time, heavy coat, drying time.
Brush Painting
If you’ve chosen to use brush paints instead of spraying, then you need to bear in mind that the thicker coats of paint will need longer to cure – or that you need to leave a whole bunch of curing time between finishing the painting & using the shell, as otherwise areas of paints may debond from the body.
Another point to note it that coats of paint should be applied in different direction to even out any colour differences caused by the different thicknesses of the paint caused by brush marks – i.e. paint the first coat “along” the body, and the second and 90 degrees to it – “across” the body. For darker colours that may be enough, but for lighter colours (especially white), a third coat may be required.
Use a good quality masking tape (e.g. 3M), paint may well bleed under cheap “Pound Shop” type tape.
If the paint has thickened due to the solvent evaporating, you can thin it a little – but don’t go to far as doing so will also cause the paint to bleed under any masking. In the absence of any definitive recipe for Polycarbonate paint thinner (though it smells like Isopropyl Alcohol & Methylated Spirit {Wood Alcohol} in water to me) I’d suggest you use the properly branded stuff.
The final thing to remember is that you need to be even more careful about removing masking – possible going as far as running a scalpel along the edge of the masking to help separating the two without peeling.
Final Unmasking
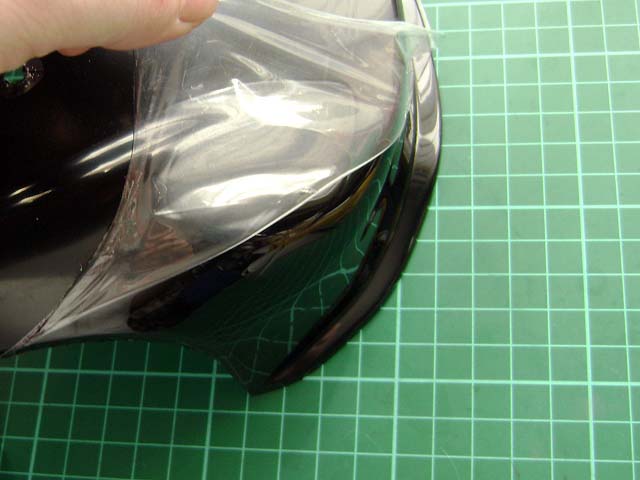
Remove the window masks by carefully picking at one corner with a craft knife until there’s enough free to grab with your fingers, and carefully peel the mask off at an extreme angle.
The protective film on the outside can be removed in a similar manner.
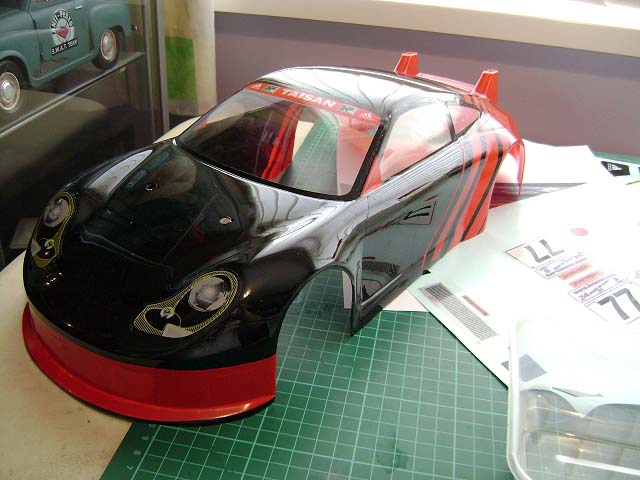
Decals
Just a brief footnote really – I’d suggest applying them wet to avoid wrinkles & fingerprints, and to make sure you get them in the right position. See my earlier piece on decals (Paint pt.12B0 if you don’t believe me ;)
Footnote
That concludes my series of articles on painting RC bodies ... it’s by no means everything there is to know about painting, but it’s everything I know at the moment – or at least, everything I could remember. That said, I’m still learning/improving, the black arts of airbrushing and rubbing out (at scale anyway) are things I’ve still yet to tackle.
Thanks for reading :)
________________________
Written by TB member Jonny Retro