TOPIC:
My M chassis builds 3 years 2 months ago #64783
|
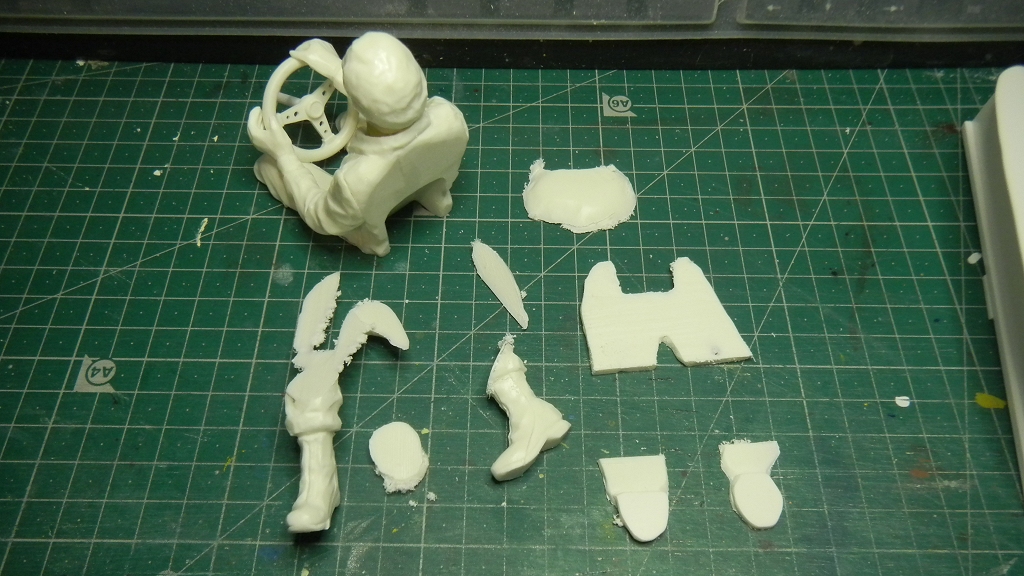
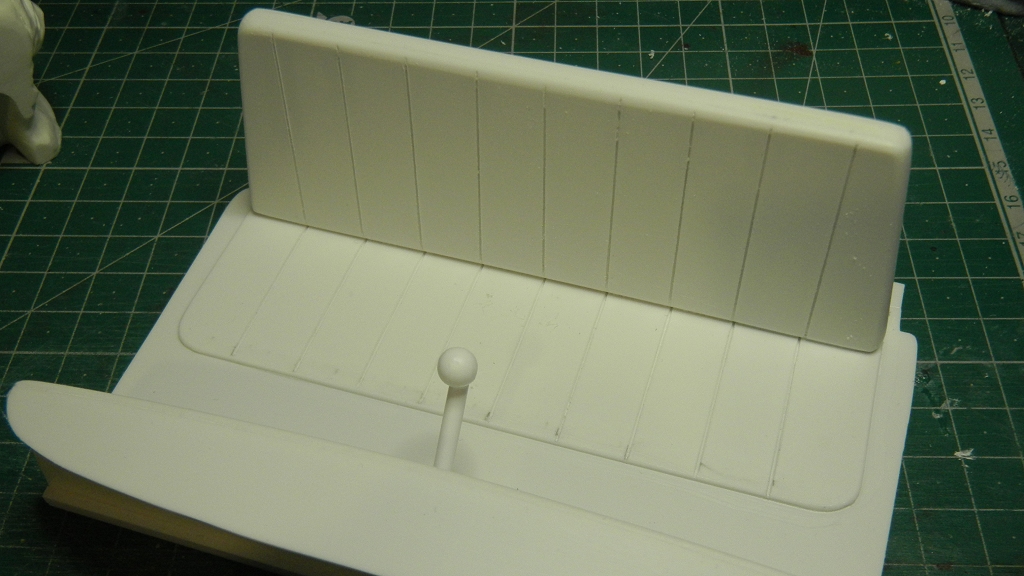
Working on the (very basic) interior - cut the feet & a slice of butt off the XR311/Cheetah driver, then added a bit to the legs because I hadn't taken account of the "seat" thickness ... then had to cut more slices off so the head wasn't touching the roof.
Head angle was changed by using a bit of M3 studding, gap filled with Milliput. Steering wheel is from a Willy's' Wheeler. Attachments: |
|
Please Log in to join the conversation. |
My M chassis builds 3 years 2 months ago #64785
|
Niiiice!
|
|
Please Log in to join the conversation. |
My M chassis builds 3 years 1 month ago #64832
|
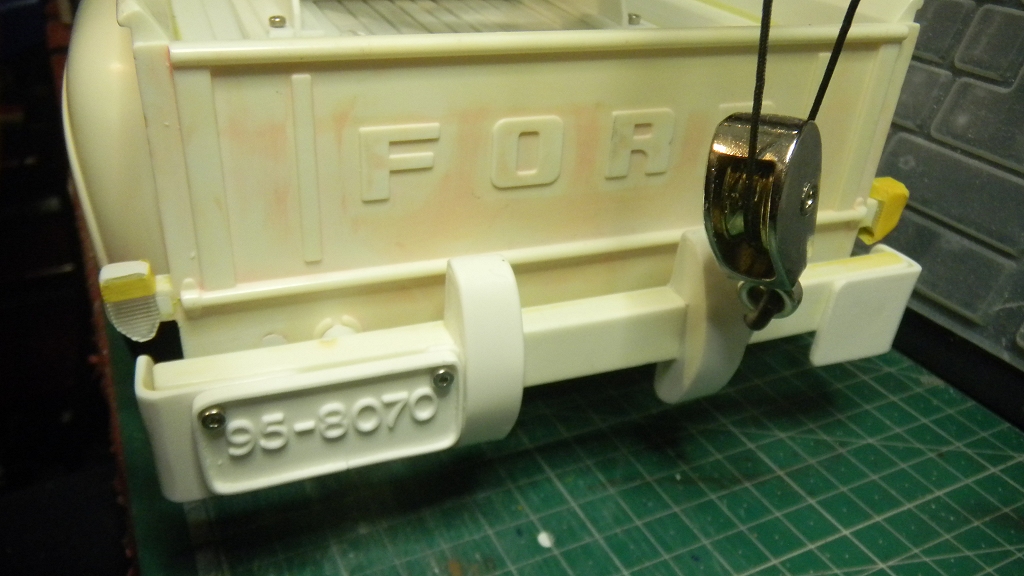
A single, large beacon on a stick made more sense than a pair on the roof, I've also spaced out the bumpers & added corner defenders, overriders & license plates.
Also started work on stuff to go in the bed: hollowed out boots & helmet from the driver, pry bars, fire extinguisher from a Willy NOS bottle I filled in some time back & a Scorcher exhaust, batteries & fuel cans, toolchest Attachments:
The following user(s) Liked this: stingray-63
|
|
Please Log in to join the conversation. |
My M chassis builds 3 years 1 month ago #64835
|
Too nice! I love this body.
|
|
Please Log in to join the conversation. |
My M chassis builds 3 years 1 month ago #64851
|
Attachments: |
|
Please Log in to join the conversation. |
My M chassis builds 3 years 5 days ago #65980
|
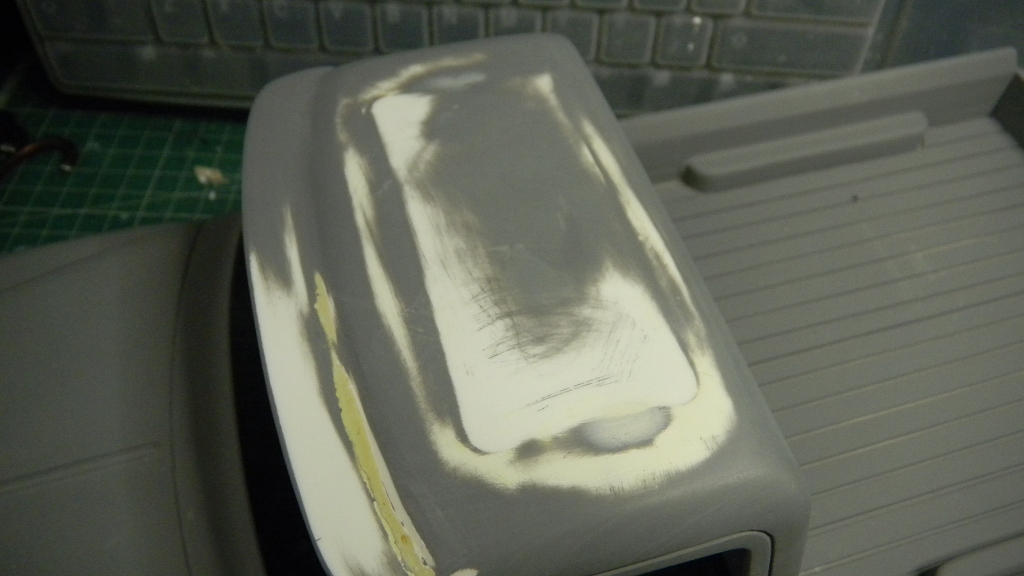
Grey plastic primer on the Pumpkin body revealed some flaws on the roof that needed rubbing down & filling, plus the a few 20+C day/ -4 night heat cycles caused around 1/3rd of the visor joint to fail
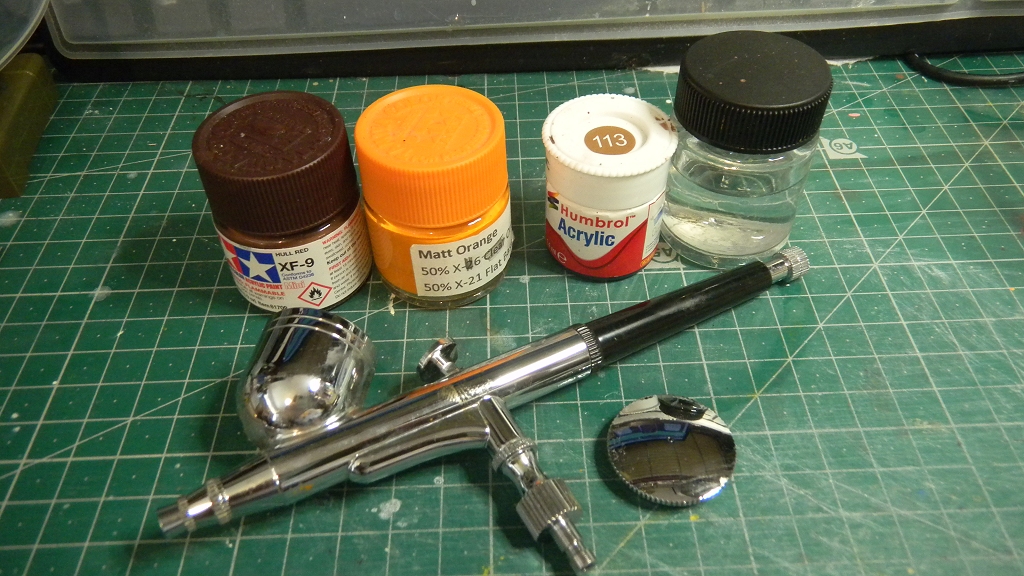
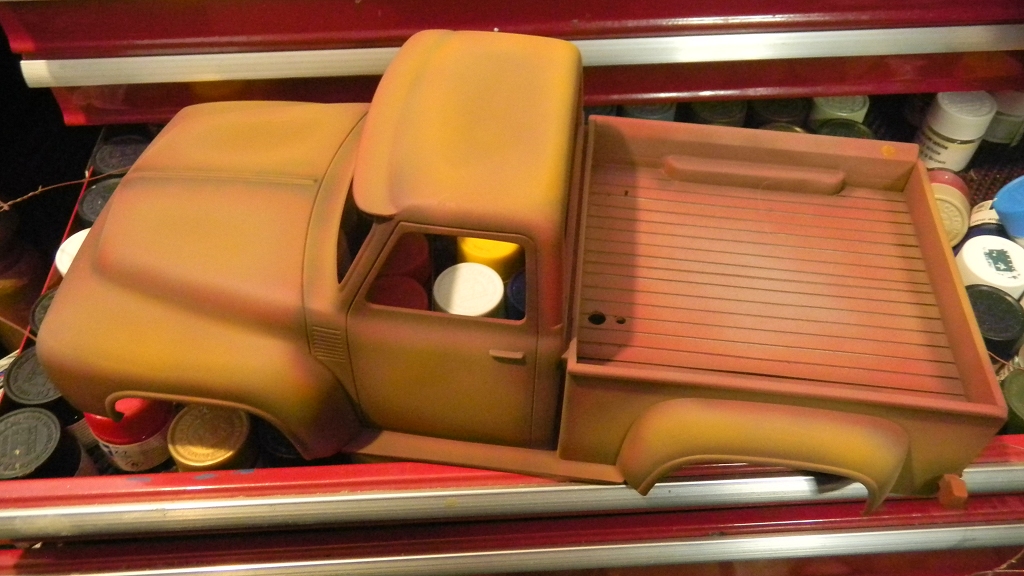
Current status is it's had more grey primer, a rub down, a layer of "Aluminium Coat", then a coat of red oxide primer. My skit/tracker thing showed that a multi-toned "rust" layer had scope, but in that case brushing the other colours on had made it much harder to "age" the paint. This time I airbrushed XF-9 Hull Red, Humbrol 113 Rust and 50/50 X-6 Orange/X-21 Flat Base. That would have been quite a lot of work with my "preferred" DA & SA Siphon fed airbrushes (mixing the 3 different colours, but mostly the clean up after), but I remembered I also have a gravity fed unit that came with my "new" small compressor. This turned out to be ideal for this sort of work - drop 1ml of thinners in the cup, add paint by eye & "Stir" by swilling around & putting a finger over the end to let the blow back bubbles mix if further. TBH the cleaning out between colours was pretty minimal too I plan to give it a bit of salt crust later, for colour painting soon Attachments: |
|
Please Log in to join the conversation. |
My M chassis builds 3 years 5 days ago #65988
|
It's not finished yet, it needs light blue all over, green on the doors, that paint "ageing" - partially rubbing through to the "rust" and "bare metal" underneath I'm still a total amateur, but I'd definitely recommend a "cheap" Chinese setup (compressor with 3L tank, a double action siphon for small areas & a single action for large) to see if you can get on with it, as long as you keep it clean (really not as onerous as I thought) I think you'd get most of the money back if you had to sell ... dont' be tempted by "canned air" typed systems though, that has to be a really, really expensive way of doing it. Aerosols continuing to multiply in types/colour availability, but there are colours & finishes you still can't get from them. Tamiya X/XF acrylics & thinner are way less stinky than aerosols too. I think you can go a long way before you really "need" a 300 GBP airbrush, or to spend the same on a compressor.
The following user(s) Liked this: stingray-63, jord001
|
|
Please Log in to join the conversation. |
Time to create page: 0.243 seconds

