TOPIC:
My Wild Willy/Willy's Wheeler/Honda City Turbo Builds 9 years 1 day ago #34239
|
|
Please Log in to join the conversation. |


My Wild Willy/Willy's Wheeler/Honda City Turbo Builds 9 years 1 day ago #34242
|
|
Please Log in to join the conversation. |
 (thats the date Tamico is giving for estimated shipping date)
My Wild Willy/Willy's Wheeler/Honda City Turbo Builds 9 years 1 day ago #34247
|
|
Please Log in to join the conversation. |
My Wild Willy/Willy's Wheeler/Honda City Turbo Builds 9 years 1 day ago #34251
|
|
Please Log in to join the conversation. |


My Wild Willy/Willy's Wheeler/Honda City Turbo Builds 9 years 5 hours ago #34254
|
|
Please Log in to join the conversation. |
")

My Wild Willy/Willy's Wheeler/Honda City Turbo Builds 8 years 11 months ago #34276
|
|
Please Log in to join the conversation. |


My Wild Willy/Willy's Wheeler/Honda City Turbo Builds 8 years 11 months ago #34342
|
|
Please Log in to join the conversation. |
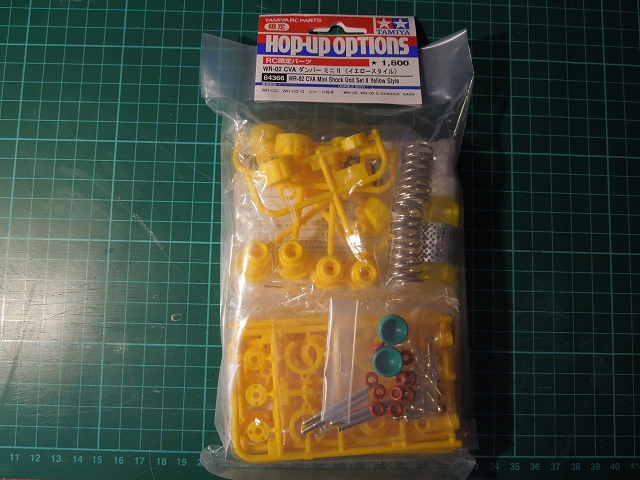

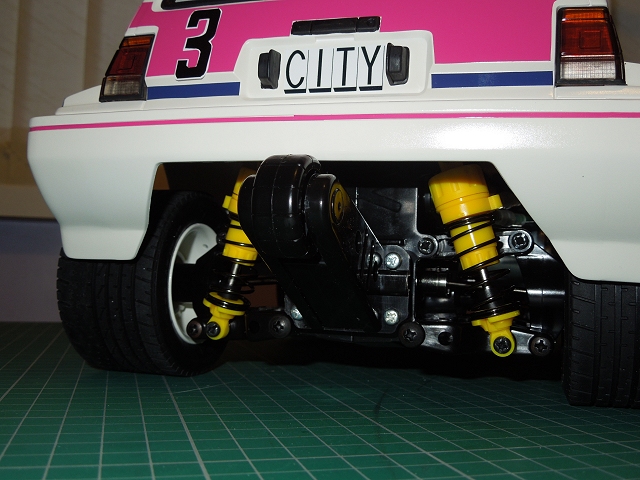

 could imagine that it would also would look good with the white CVAs (or with those dyed in a similar colour to the paintjob)
Time to create page: 0.228 seconds