|
I knew gluing all the detail pieces on before painting would increase the fiddliness of the stripes, but I hadn't appreciated quite how much - I finished the card templates, I make that 120 discrete bits of vinyl that will need cutting out. Temporary home on fake CF sheet was the most convenient black background I had for scanning purposes.
Guide coat of white primer on the cab revealed a few points that need further filling/sanding. |
Please Log in to join the conversation. |
|
The following user(s) Liked this: Edou, stingray-63
|
Please Log in to join the conversation. |
|
Why not a mixed platinum with diamond inserts Or diamon with platinum inserts
|
Please Log in to join the conversation. |
|
I think that we could make a Mr T request.
We can ask to Mr T to put this JR creation into the TAMIYA MUSEUM. or make a JR special edition of the camping car |
Please Log in to join the conversation. |
|
Been thinking about this a bit more, for "SWB" CC-01s you could sacrifice the top link & use that as a mount point for the cart springs & possibly even a damper (though TBH you'd probably want to crank the top forward several degrees rather than have the damper bolt upright).
Still no way around the lack of chassis rails, so a lot of bracketry is required (rear point would also need a sideways brace to the centre of the chassis (where there is a screw hole) IMO. This is not the most elegant of solutions, it needs at least 2 holes drilling in the chassis tube.
The following user(s) Liked this: stingray-63
|
Please Log in to join the conversation. |
|
I think you're going a bit over the top for a few bits there edou, but I know you like shiny bits So just for you (and so I don't forget, and so I can point anyone that asks here): 1: Two RC Channel shock hanger brackets (from a bulk bag, back when they cost 1/6th as much ) 2: 1/2" x 1/4" (12.7mm x 6.3mm) Aluminium bar, cut to two lengths of 140mm + drilled as follows: - 5mm holes (1st one centre 10mm from end, 2nd centre 93mm from 1st/103mm from end; - those holes drilled out with 8mm bit to depth of 4mm - 2.5mm holes as needed for brackets, tapped for M3 3: OE CC-01 balljoints 4: 4mm OD, 3mm ID brass tube, cut & turned down to 3mm (4 off) and 6.8mm (two off) 5: OE CC-01 rear shocks with King Blackfoot springs & lower seats 6: fasteners, all M3 stainless: - 2 off M3 x 25 cap head screw - 2 off M3 x 35mm cap head bolt - 4 off washers - 4 off M3 x 6mm button head screws - 2 off M3 x 14mm cap head screws - 2 off lock nut "Preload" (load before suspension moves <5% is now c. 3.2kg; maximum load before full travel reached c. 5.2kg - all without the bottom link bending. TBH I'm not sure of what load it would take to make these lower links bend ... I could make another one to test, but I think it would probably break around the rear balljoint area before bending as such: in service I think you'd be seeing screws pulled out & screw points cracking before any bending. [quote="Jonny Retro" post=29417... ... [/quote] |
Please Log in to join the conversation. |
|
Woo! Paint! 
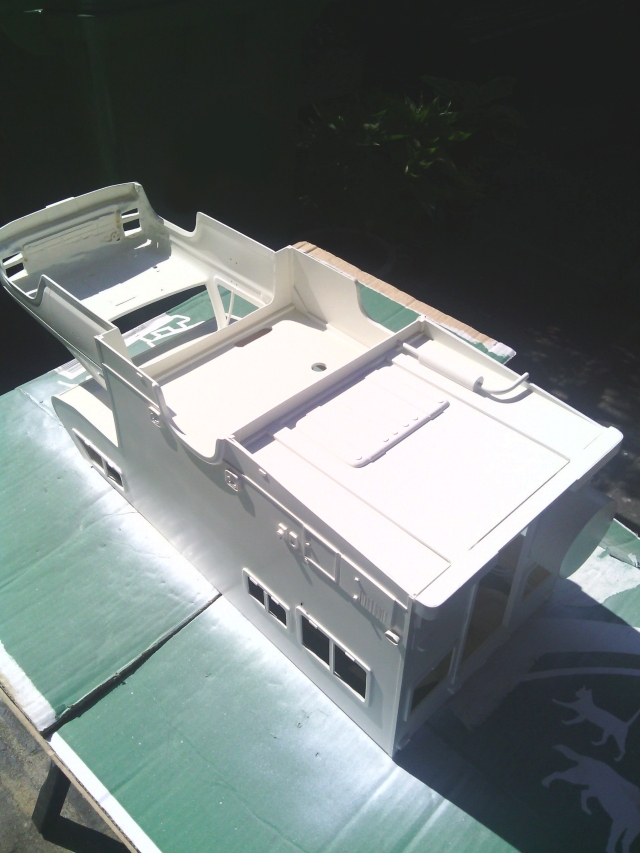
... In fact 1 & a 1/2 400ml cans of white plastic primer & 3 250ml cans of VW Alpine white ...
Primer + very light tickle with well used 1200 grit wet & dry paper. Note very slight difference in colour between Blackfoot cab & homemade body: it looks fine in good light, but in poor light, especially up against a dark background it's there ... Painting underside & underneath of details. Typically I choose the one sunny morning to do this: 08:30 & I couldn't see anything but yellow & purple blotches after the first coat Colour coats from top, then clear, ditto for roof, ladder & mirrors: Given how much I hate using white paint it went surprisingly well - only one small sag on the left rear corner of the roof ... I can't get it to show up in a photo & I'm expecting it to shrink back as the paint hardens. I'll give it a week or so, then mask up for spraying the grill & bumpers chrome. Edit - colour difference has reduced, but I'm pretty sure it's still there (off white over white primer over white styrene vs white over white over black ... I don't know what I could have done about that, spray the whole back end black so they match & then use redonkulous amounts of white primer to cover it? I couldn't of got all the thicknessness & sizes of styrene I used in black ... |
Please Log in to join the conversation.
Last edit: by Jonny Retro.
|
|
On a real camping car you can't have exactly the same tint. Cause the materials are différents.
|
Please Log in to join the conversation. |