TOPIC:
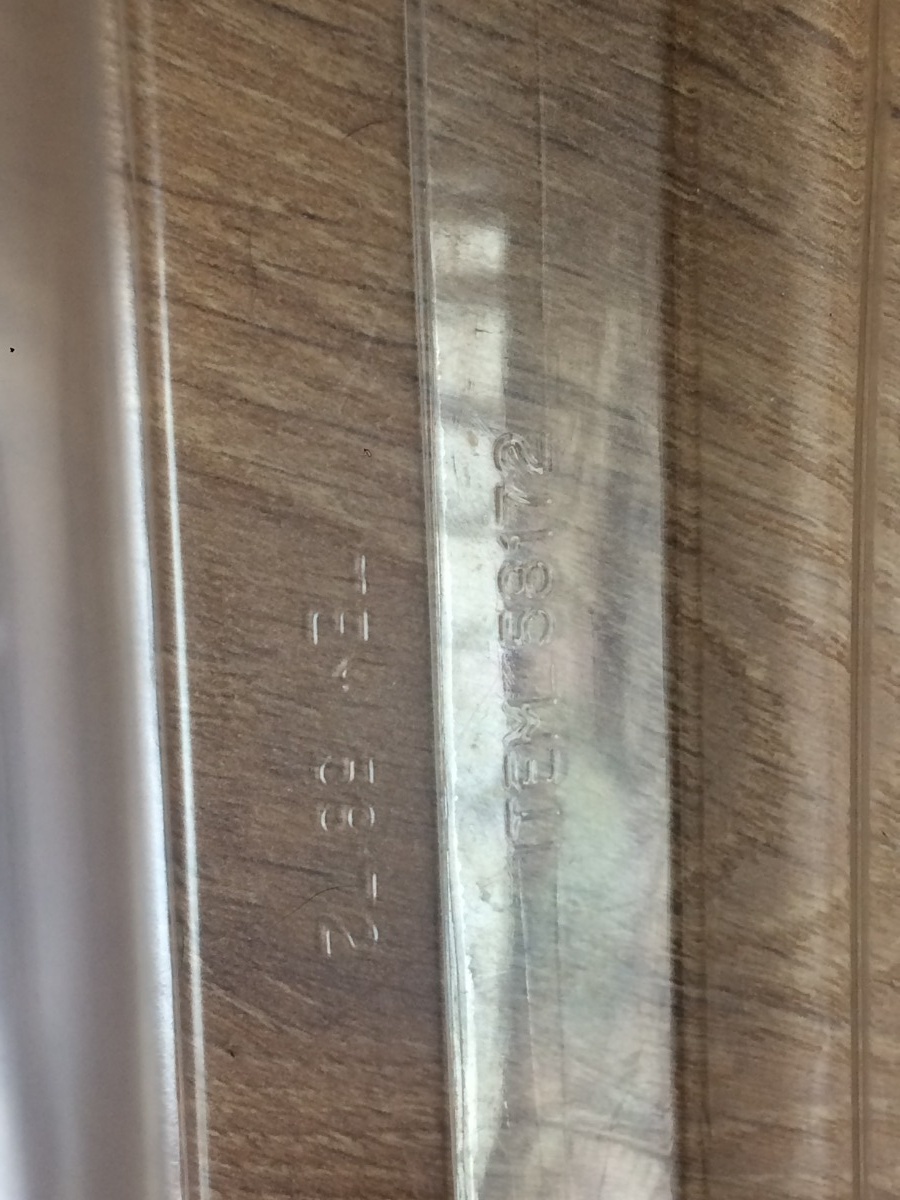
TAISAN (58172) 5 years 6 months ago #52207
|
|
Please Log in to join the conversation. |

TAISAN (58172) 5 years 6 months ago #52208
|
|
Please Log in to join the conversation. |


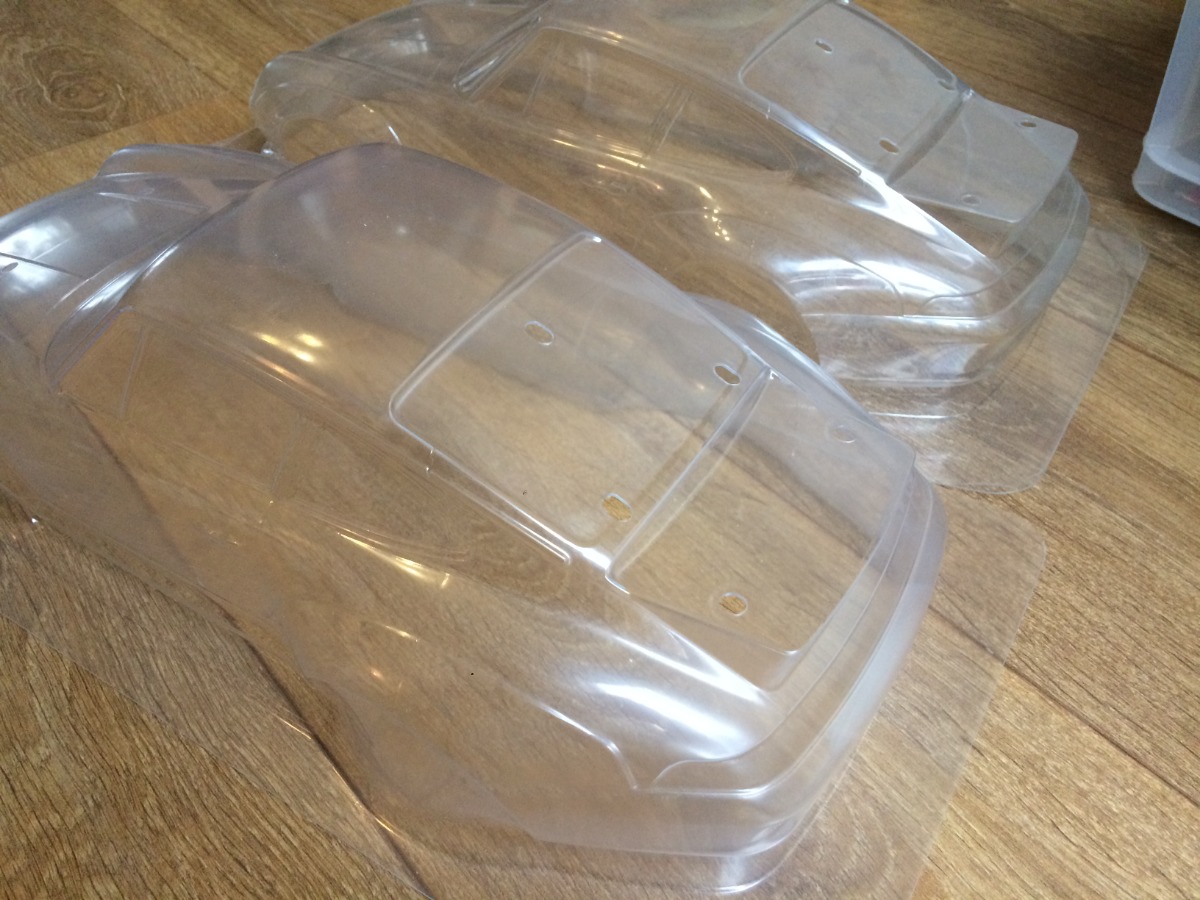
TAISAN (58172) 5 years 6 months ago #52210
|
|
Please Log in to join the conversation. |


TAISAN (58172) 5 years 6 months ago #52216
|
|
Please Log in to join the conversation. |

TAISAN (58172) 5 years 6 months ago #52225
|
|
Please Log in to join the conversation. |
")
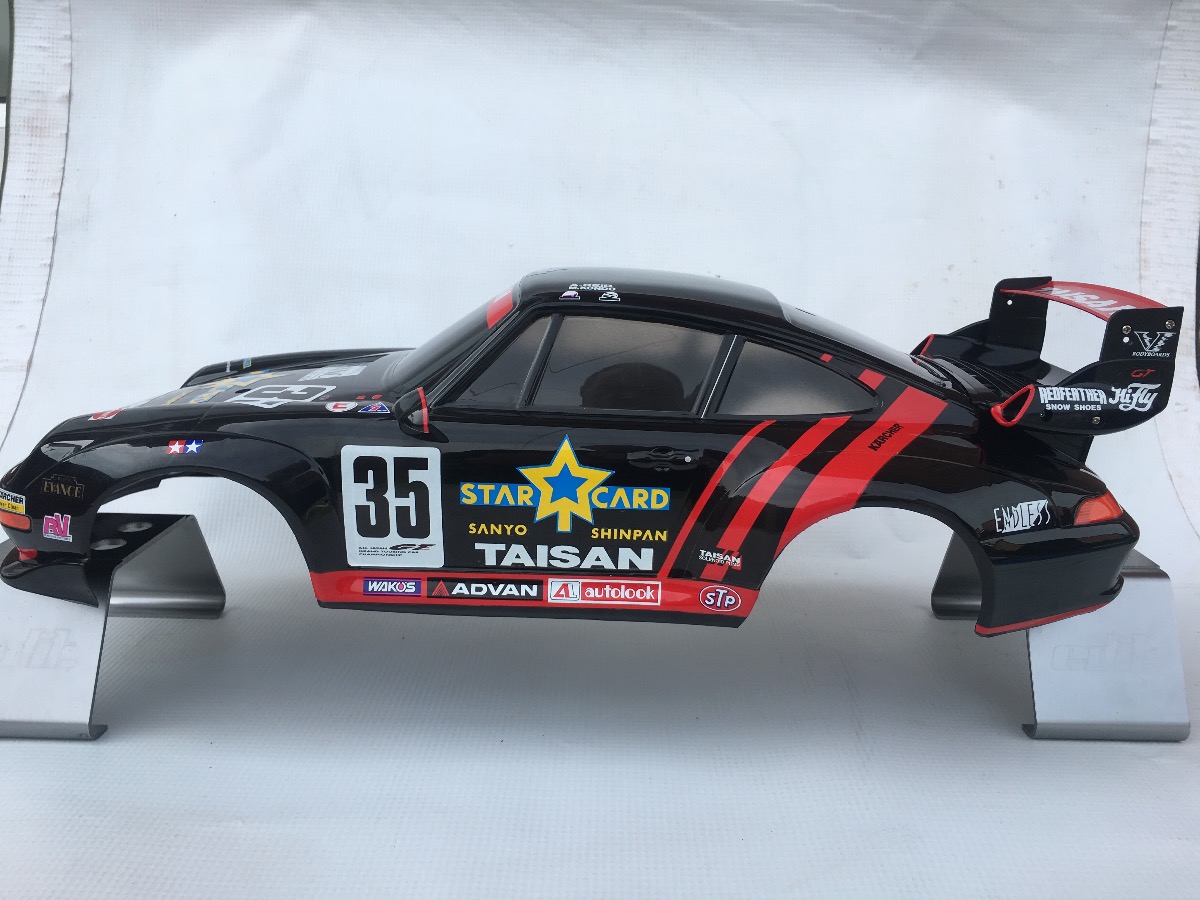
TAISAN (58172) 5 years 6 months ago #52240
|
|
Please Log in to join the conversation. |
")


TAISAN (58172) 5 years 6 months ago #52241
|
|
Please Log in to join the conversation. |

Time to create page: 0.190 seconds