Jonny I would like to make some accessories for my Rcs and I would like to know what materials you use to make your accessories.
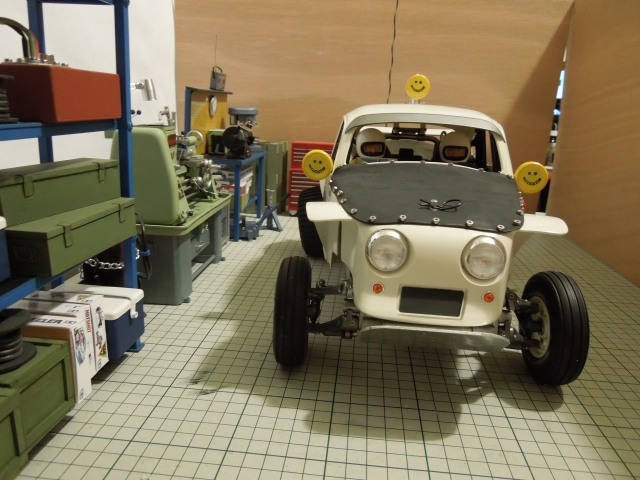
It's all here in this thread, nothing is hidden, a black art or secret ... but if I had to make a list:
Materials:
- A4 Styrene sheet: 3mm, 1.5mm, 1mm, 0.25mm
- 1mm lexan sheet
- Round styrene tube: 20mm, 10mm, 8mm, 6mm, 5mm, 4mm, 2mm
- Round styrene bar: 3mm, 2mm
- Round aluminium bar: 10mm, 8mm, 6mm
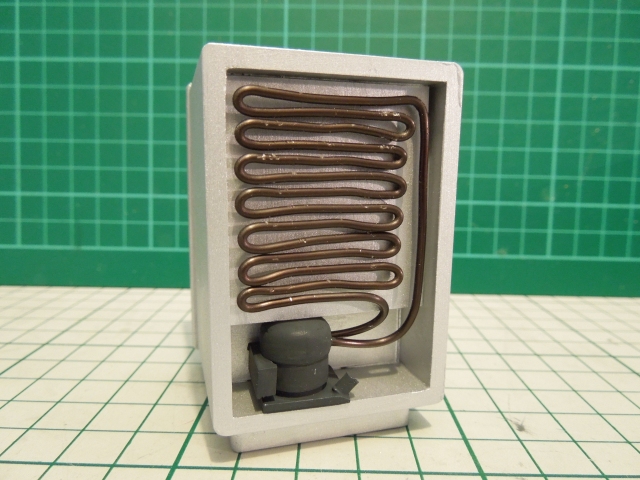
- Aluminium sheet: 3mm, 2mm, 1.5mm, 1mm, 0.5mm
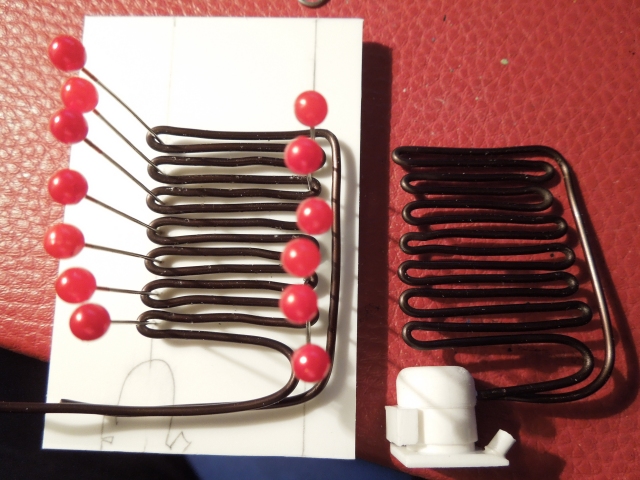
- anodised/annealed aluminium wire (look for 1mm, 2mm & 3mm "bonsai" wire)
- M2, M3, M4 screws, M2, M3 studding, paperclips, sewing pins
- Wet & dry paper: all the grades but I's say 80, 240, 400 & 1000 are most useful
- Tamiya X & XF acrylic paints + thinners, cocktail sticks for stirring, saved pots for mixing quantities of custom colours, bulk 2ml syringes, takeaway tub lids for mixing small amounts & washes
- "Squadron" brand white putty
- Humbrol "Precision Poly" glue, Dichloromethane (as "plastic weld"), superglue
masking tapes: cheap stuff, + Tamiya 6mm & 10mm for precision work
Tools:
- lots of small brushes
- pencils & electric sharpener
- cheap digital vernier gauge
- lots of steel rulers: 450mm, 300mm & 150mm
- small engineers square
- cheap craft knives
- A3 & A4 cutting mats
- M2, M3 & M4 taps & dies
- desktop lathe
- Razor saws
- cordless drill, small drill bits
- Dremel type tool & small bits, cutting discs, sanding drums
- Needle files
- clothes pegs (for clamping)
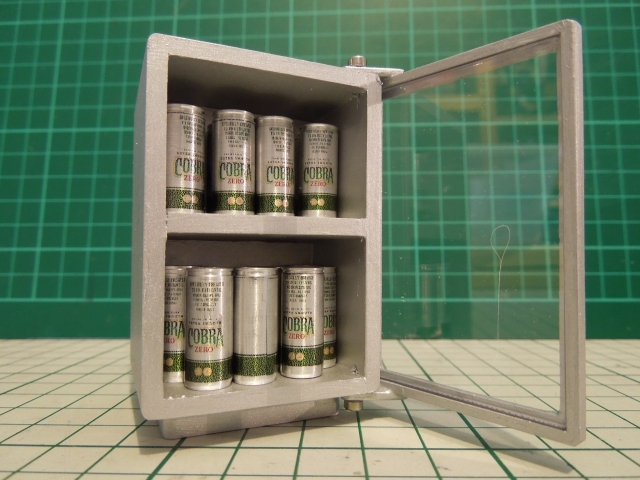
... that's quite a list, some of it I'd say is quite "advanced", but you can go quite a long way with 3mm & 1.5mm Styrene sheet, suitable glue & putty/filler, a few grades of wet & dry paper, a paints & brushes, a ruler, craft knife & A4 cutting mat - I doubt I used any more than that on the crates, ammo boxes, toolchests & so on at the beginning of this thread
")