TOPIC:
2012 re-re Bruiser & HG P407 clone builds 11 years 11 months ago #9652
|
|
Please Log in to join the conversation. |


2012 re-re Bruiser & HG P407 clone builds 11 years 11 months ago #9659
|
|
Please Log in to join the conversation. |
") ... but as anyone can hold a spraycan, I don't think the difference can be in the painting or clearcoating - so it must be in the preparation beforehand. As luck would have it, I'm writing a piece on that very subject for the TB blog, I guess you'll see it before anyone else
... but as anyone can hold a spraycan, I don't think the difference can be in the painting or clearcoating - so it must be in the preparation beforehand. As luck would have it, I'm writing a piece on that very subject for the TB blog, I guess you'll see it before anyone else 2012 re-re Bruiser & HG P407 clone builds 11 years 11 months ago #9661
|
|
Please Log in to join the conversation. |


2012 re-re Bruiser & HG P407 clone builds 11 years 11 months ago #9662
|
|
Please Log in to join the conversation. |
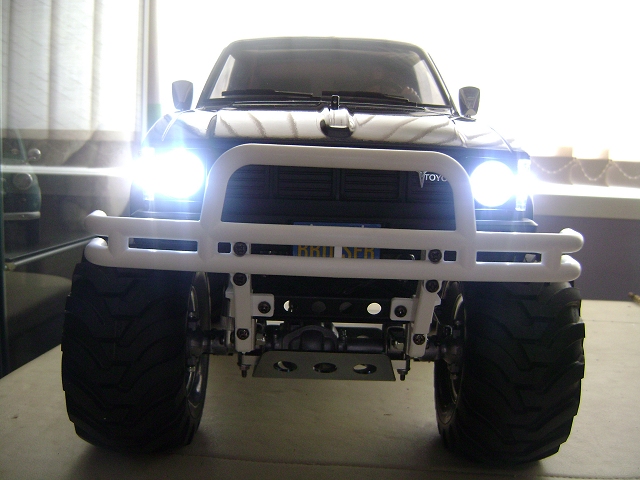
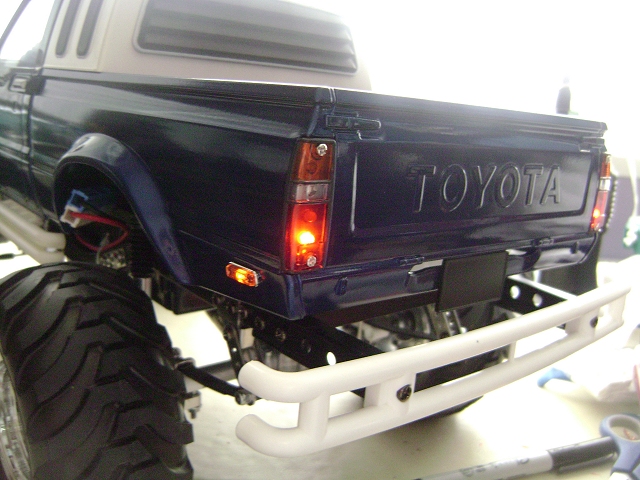

 , I rather prefer the warm white LED but the blueisch looks good with your paint.
2012 re-re Bruiser & HG P407 clone builds 11 years 11 months ago #9664
|
|
Please Log in to join the conversation. |


2012 re-re Bruiser & HG P407 clone builds 11 years 11 months ago #9670
|
|
Please Log in to join the conversation. |

Time to create page: 0.694 seconds